Posted on

Zippy Zoom DIY Reusable Cloth Napkins, with a Tutorial

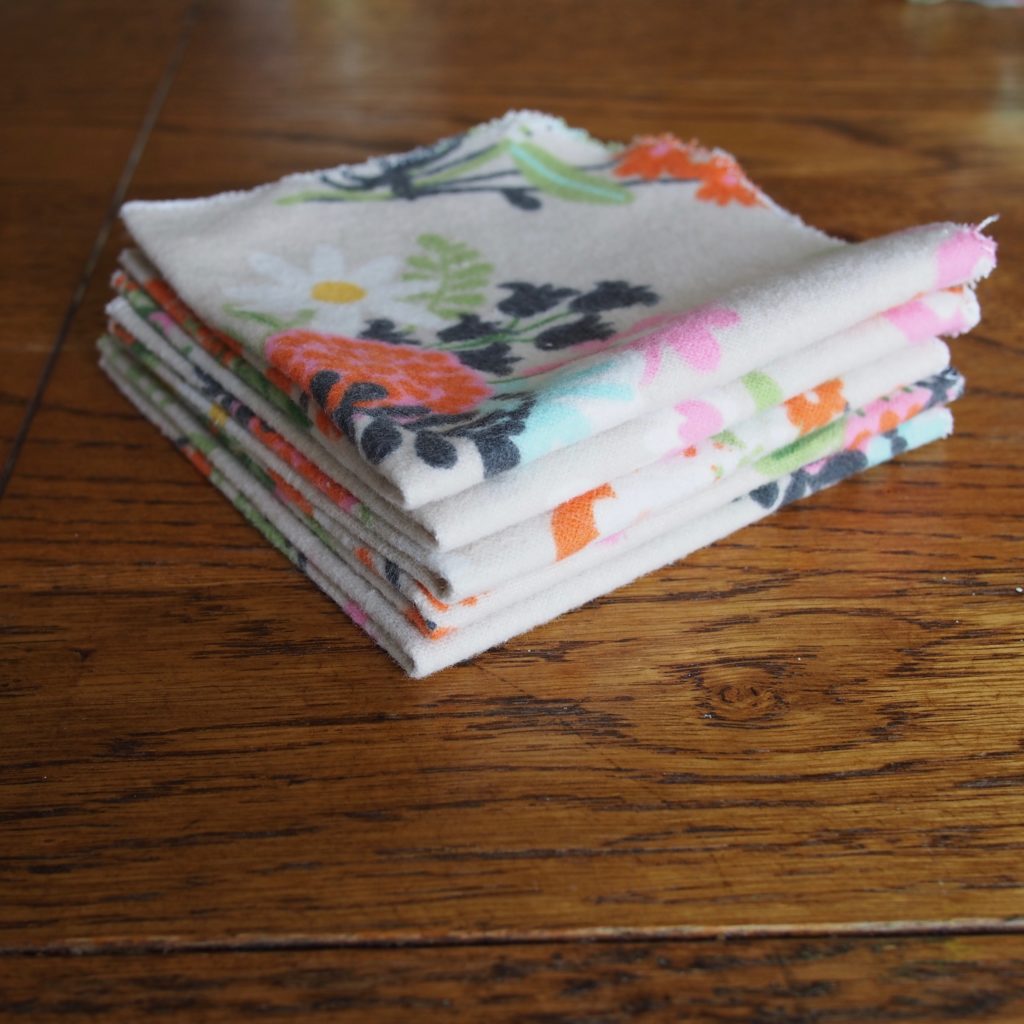
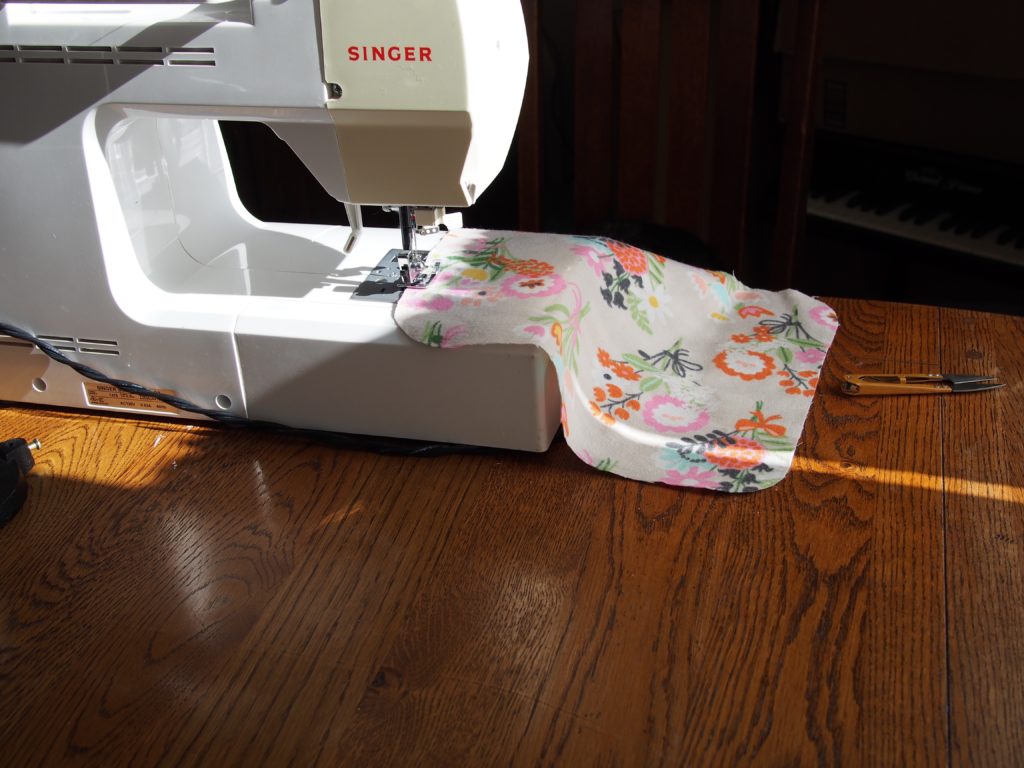
Fresh and pretty napkins made today. This represents about 20 minutes of work, total.


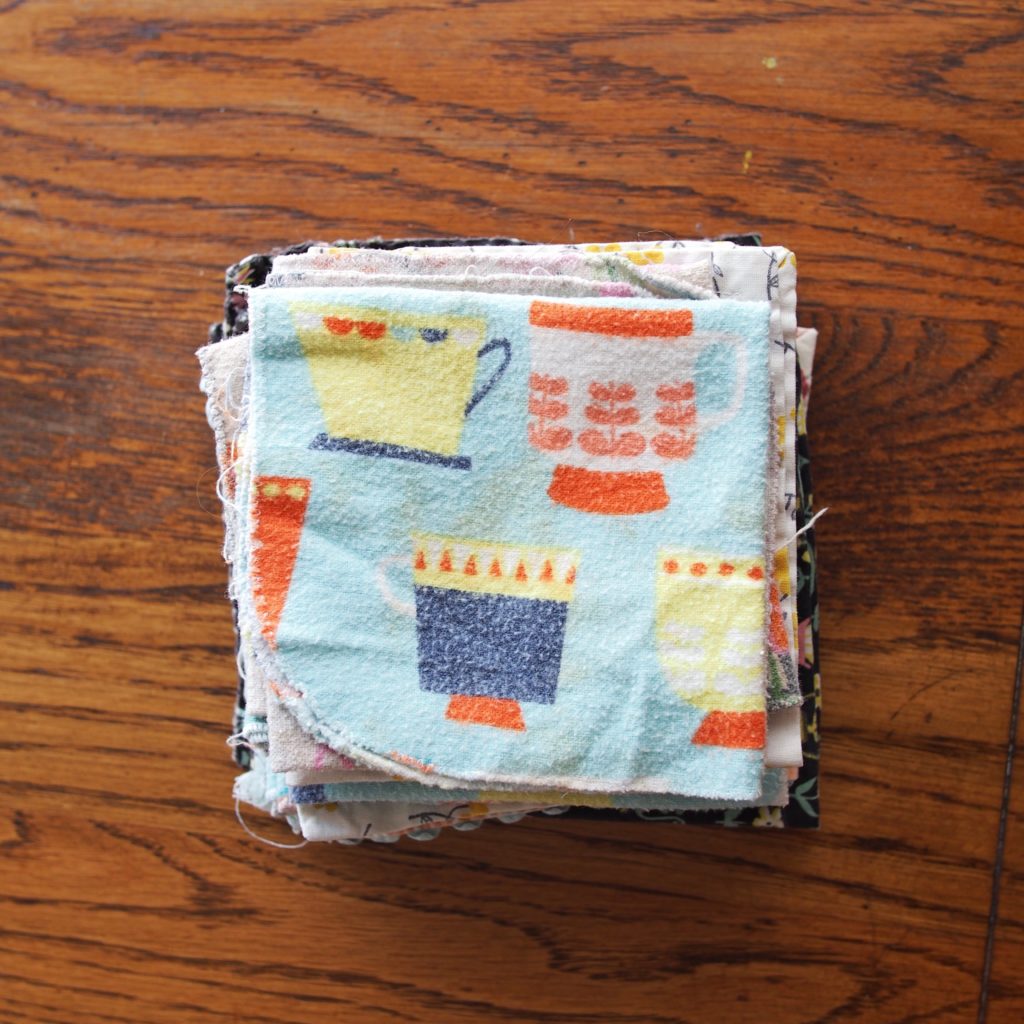
These guys have been in circulation for about a year, maybe more. They’re still doing their job, but we’ve had a few casualties and now it’s time for reinforcements.


I’ve discovered that if I leave the sewing machine set up all weekend I’ll actually get to sew in little bits and bursts.

It’s been at least 8 years since the last time I bought paper napkins that were not for a birthday party.  In my house when I was growing up the two most important parts of running the house were convenience and frugality.  But mostly convenience.  My mom did sew and make things for the house, but she was also a working mom and eventually a single working mom.  Making napkins that needed to be washed was pretty low on her list of priorities.  We went through a fair amount of paper plates, disposable everything, and frozen food because it was there and it promised convenience.  I knew deep down in my soul that those disposable things were robbing me of something.  It felt obvious that disposable things were robbing me of beauty and pleasure, but I didn’t then understand the scale of their environmental impact.  Filling up landfills with stuff that doesn’t need to be there robs us all of many, many things.  Even paper napkins have the potential for creation when they get composted and turned into new soil instead of squashed into airless mountains of garbage in a landfill.  But I didn’t know what compost even was when I made my first set of reusable napkins.  I just wanted to make something pretty that would enhance my every day life.

Before I made my own napkins I bought pretty antique linen ones from the Rose Bowl Flea Market.  They were beautiful, and we used them at my wedding, but they were too fancy to use every day.  I’ve also bought vintage napkins from Goodwill and newly made napkins on Etsy. Unfortunately vintage napkins are often made with acrylic or acrylic blend fabric and they are super unabsorbent.  Anyway, I’m digressing.  The point is that now I have kids and napkins get used very intensely.  I can’t bother with shopping for just the right Goodwill napkins and I don’t like scratchy cotton napkins and I don’t want cute napkins to get ruined.  So I make my own. Did I mention that I loathe hemming?  Well I freakin’ do.  I’d rather get a post-bikini-wax tweeze from a blind woman than hem the amount of napkins we need to get from wash to wash. The following tutorial makes the easiest, softest, sweetest alternative to paper napkins.  I keep a basket for dirty napkins in the dining room and I wash them with kitchen towels.
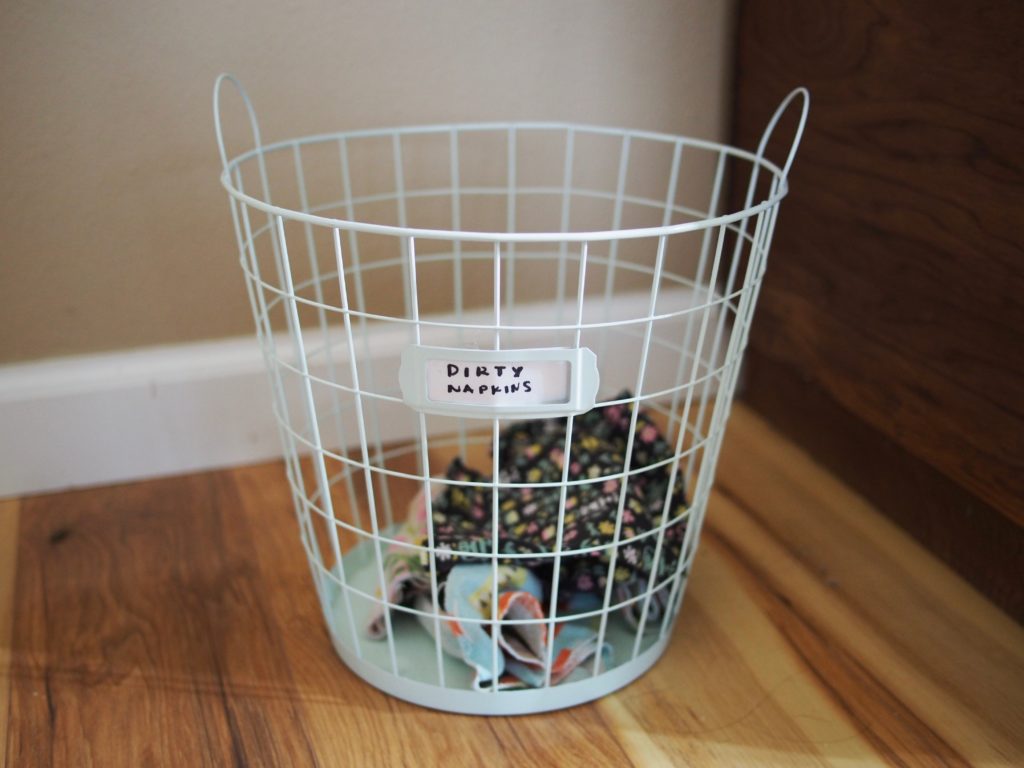
A place to put the dirty napkins is as essential as the napkins themselves if you want to switch from paper to cloth.  I chuck napkins and kitchen towels into the washing machine every few days.  I keep the clean ones folded in half on a cake stand on the dining table.


If you’re looking for a very functional, very simple way to make your own reusable cloth napkins, here’s how I make mine.

Materials:

Pre-washed, ironed flannel, cut into 9″ x 9″ squares.

Tips:  *Busy prints hide funky stitches and also stains.  **Joann’s often has flannel for about $2.50/ yard in winter and spring.  Old flannel sheets would also work great and they’d be FREE.  You could even get buck wild and dye old sheets to give them new life.

Tools: 

Sewing machine, ruler, washable marker, scissors, thread.

Step 1.

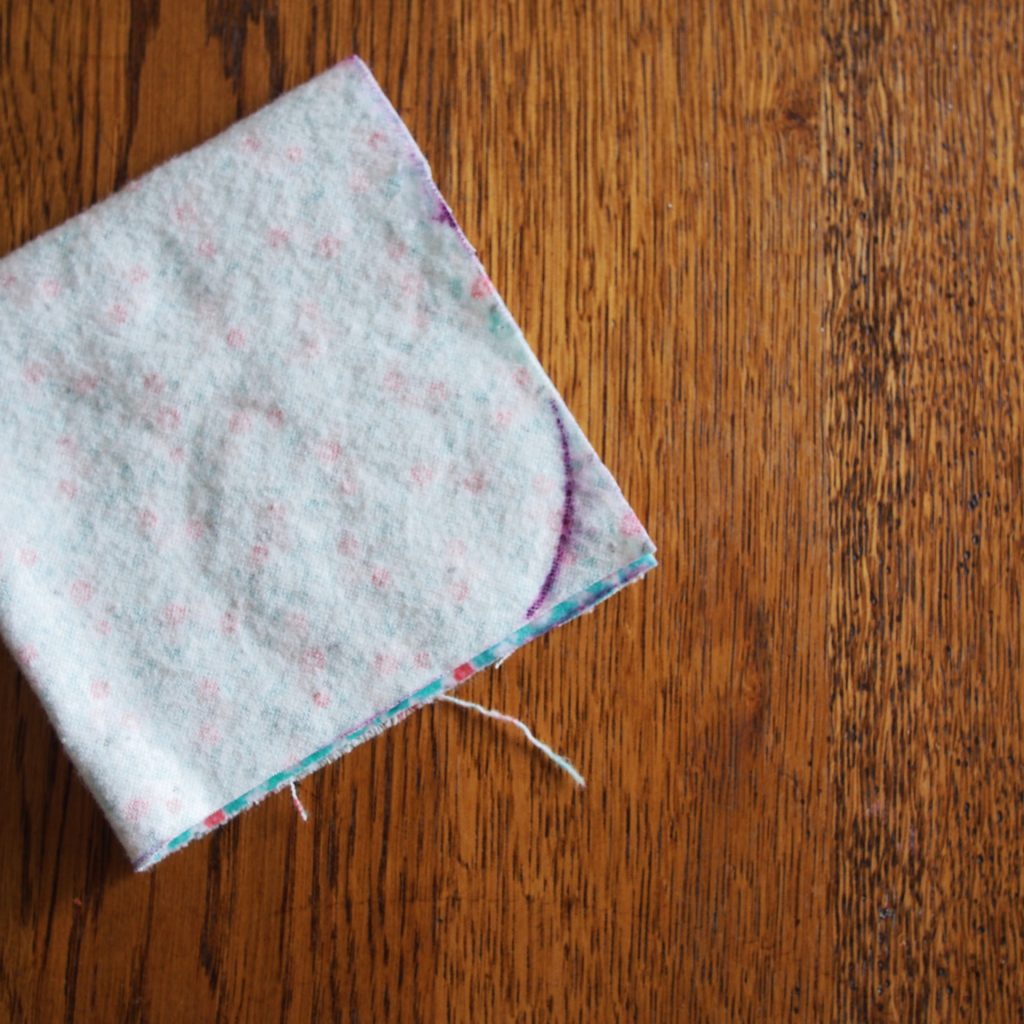
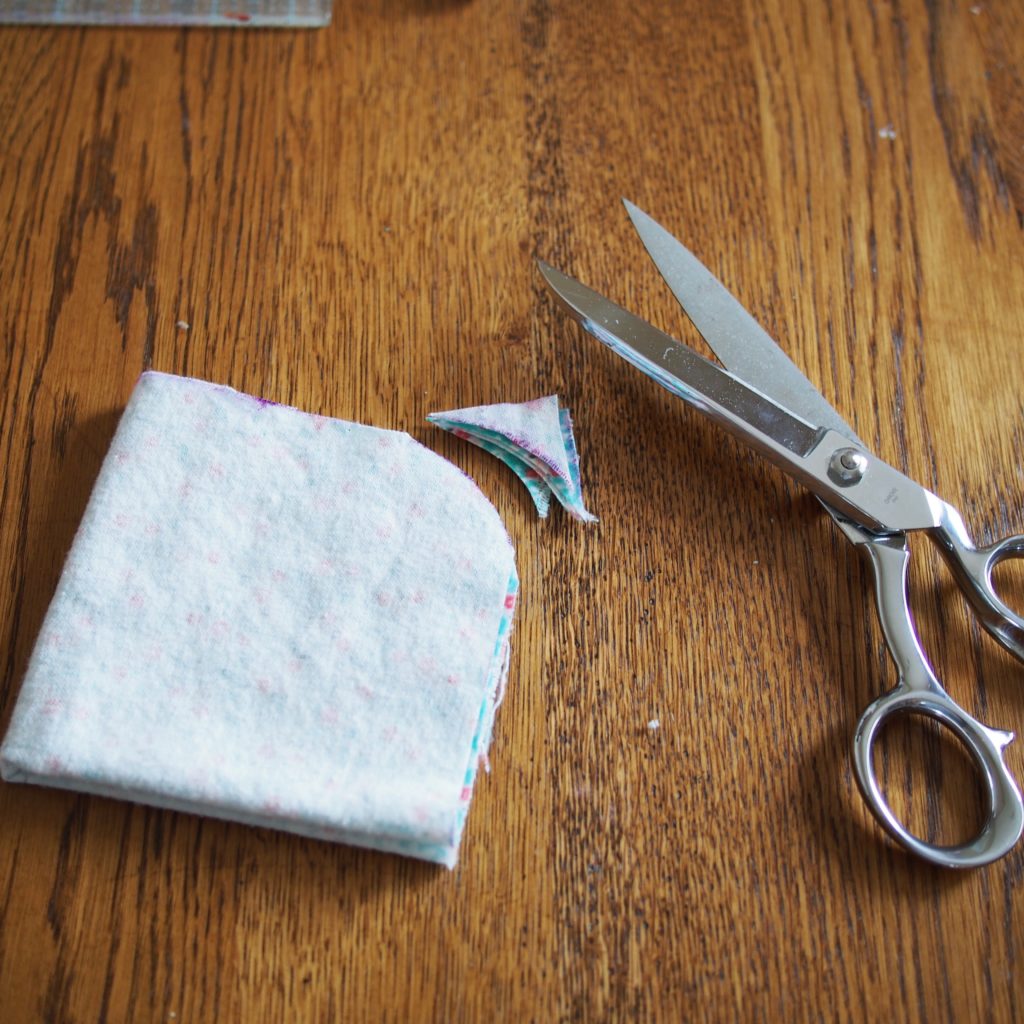
Fold each 9″ square into quarters.  On the corner with all the open folds, use a cup to trace a rounded edge with a washable marker.  Cut on the line, through all layers. Unfold and lay flat.
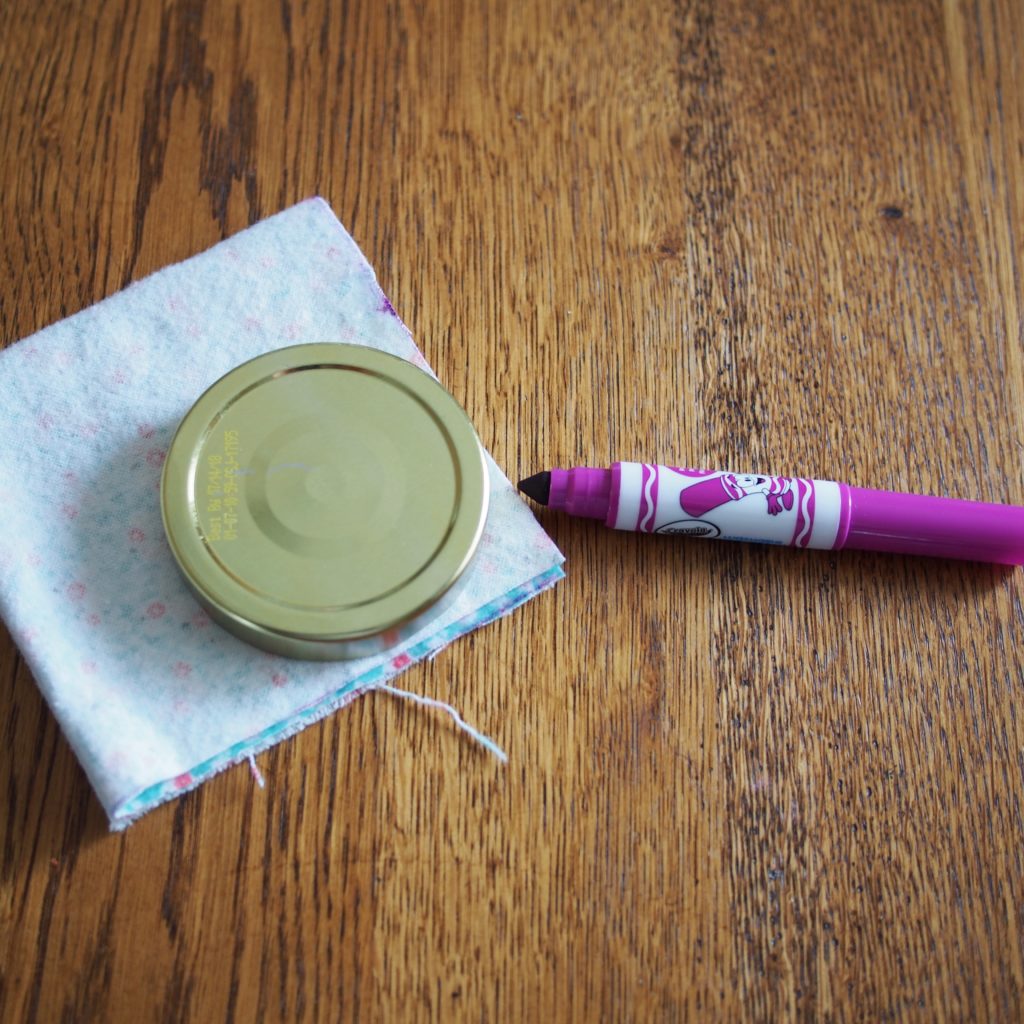
Rounding the corners makes zig zag stitching all the way around the napkins much easier.
If you use machine washable markers any left over ink will just wash out the first time you launder your napkins.
If ever there was a case for having dedicated fabric scissors, this is it. Cutting through all layers at once will save oodles of time. Go get some Ginghers if you don’t have any yet.
Step 2.

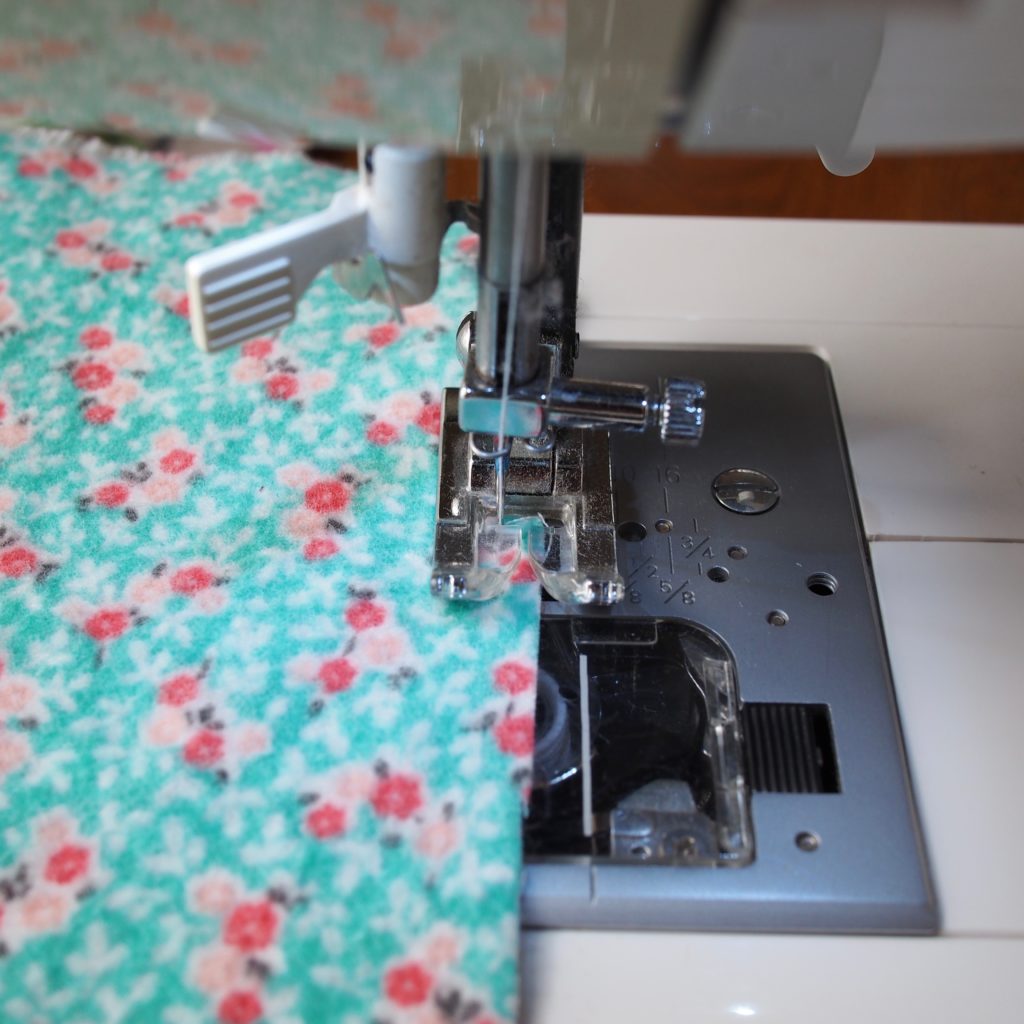
Set your sewing machine to zig zag stitch.  We’re looking for a wide stitch (side to side), with a short distance between each stitch.  I set my machine to nearly the widest setting and slightly shorter than the standard stitch.  If you’re not familiar with stitch settings I’d suggest taking a scrap piece of fabric and playing around with the zig zag stitch options until you get something that looks like what you see in the pictures.  A really long stitch length will mean lots of frayed fabric and a really short stitch length will mean lots of wasted thread, wavy napkin edges, and possibly lots of knots along the way.  Take a close look at the placement of the needle in the following pictures.
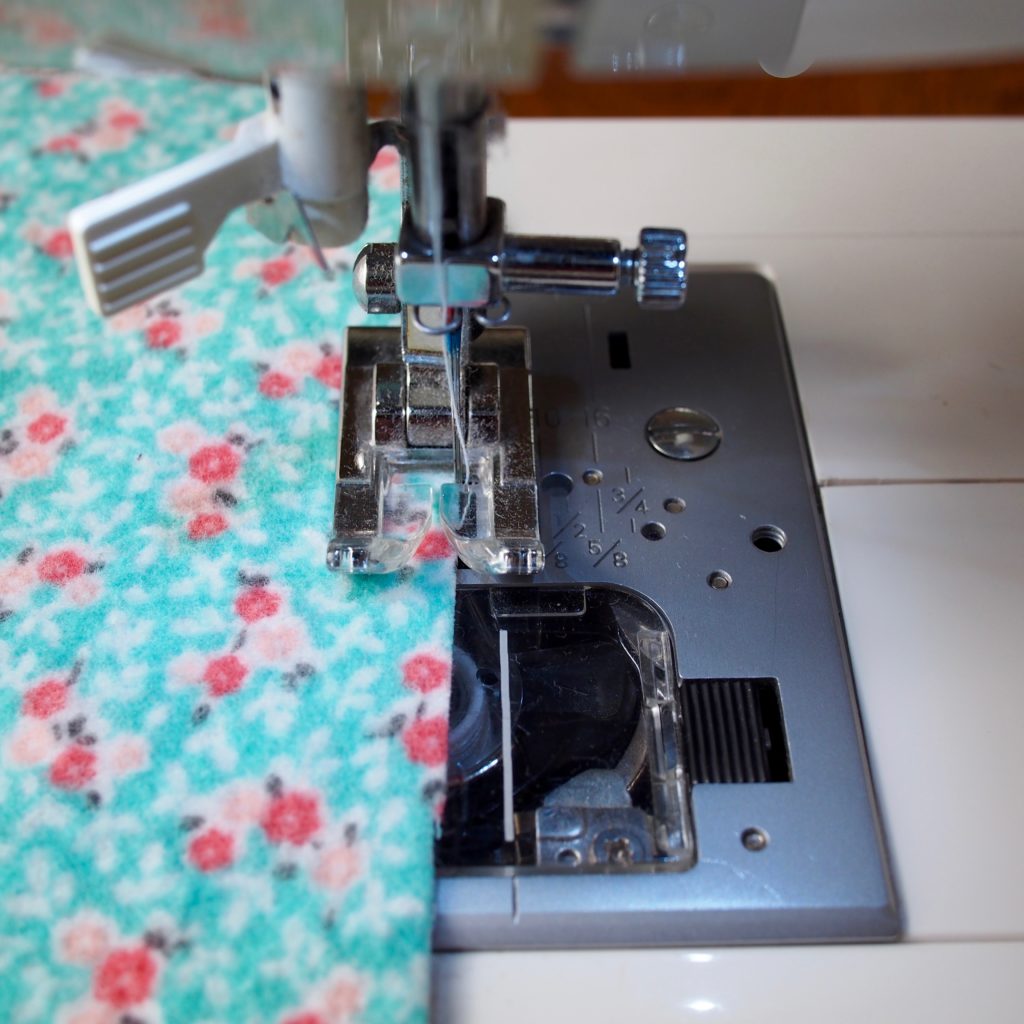
The needle here is all the way to the right of the fabric edge. Notice where the fabric lines up in relation to the sewing foot. You might find it helpful to use a bit of washi tape to make a guide for yourself.


Now the needle is inserted into the fabric. The fabric remains in the same position, while the needles goes back and forth, left and right, over the edge.
Step 3.

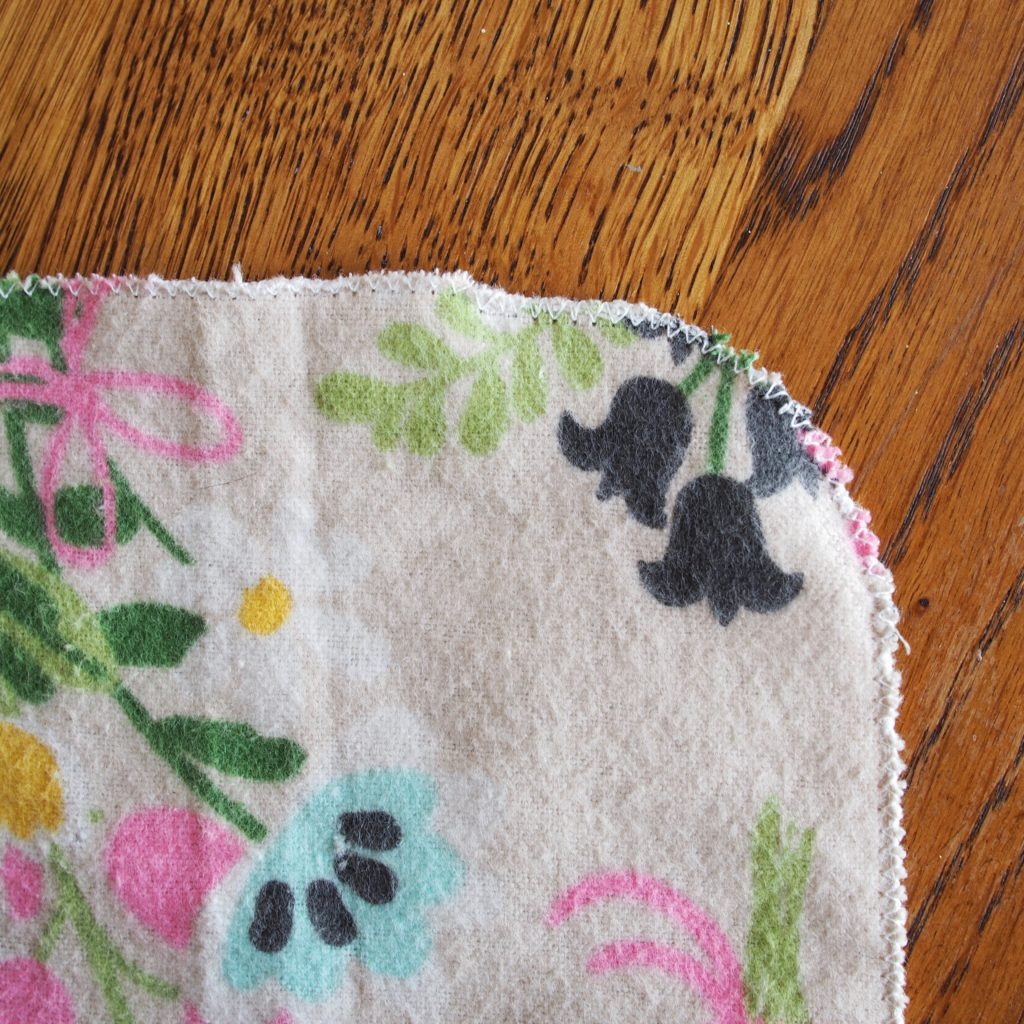
Go ahead and sew around your fabric, taking a little extra time as you go around the corners.  To go around the corners, use your left hand to gently pivot the fabric as you stitch.  Don’t yank the fabric.  If you’re having a hard time going around corners it may help to insert the needle into the fabric, take your foot off the pedal, lift the sewing foot, and turn the fabric.  Then put the sewing foot back down and continue sewing slowly.  It’s okay to go back over spots you missed, and don’t stress out about “ugly” spots.  These are family napkins after all, not tea with the Queen napkins.  Using a fabric with a print on it helps hide not just stains, but also funky sewing.  When you’ve gone all the way around the napkin, overlap your first stitches by about 1/2″ and stop sewing.  Remove the needle and snip the loose threads.  All done!  YOU MADE A NAPKIN!
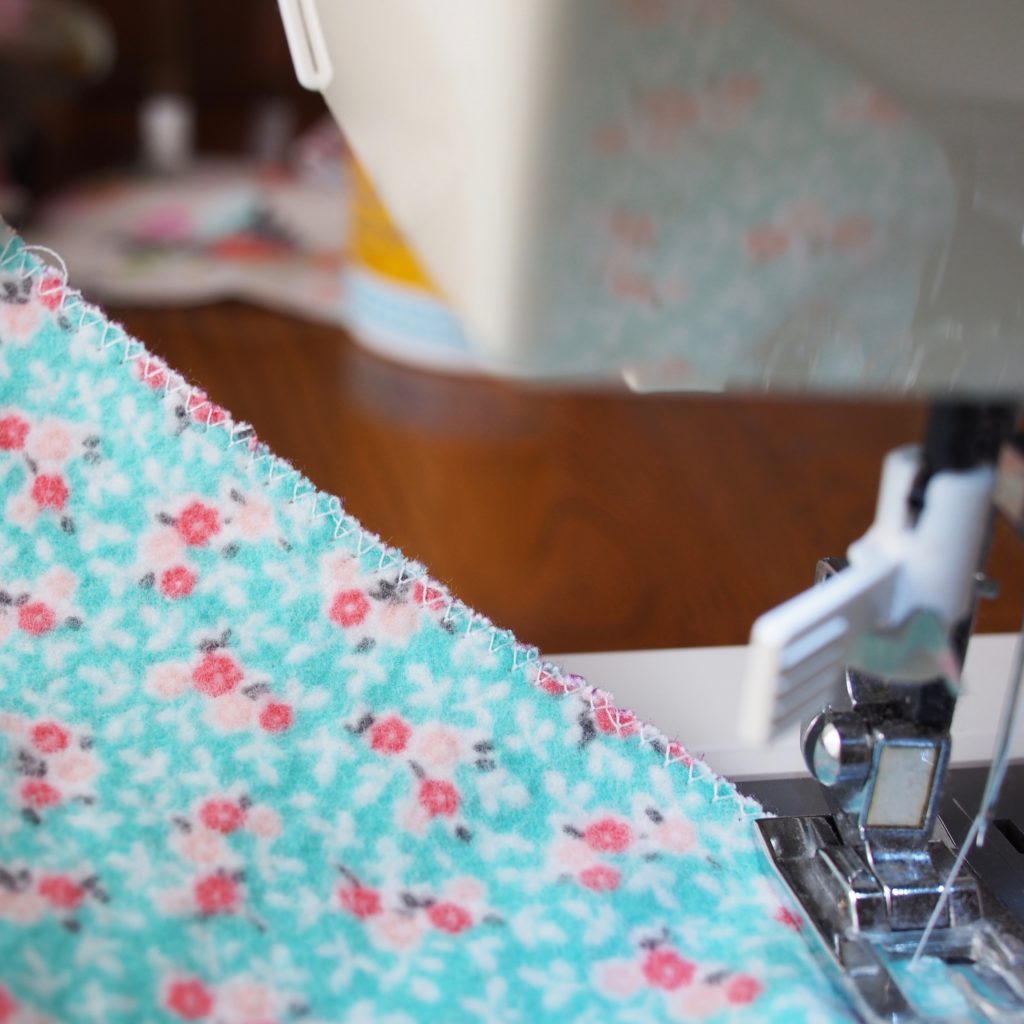
I could have made these stitches a little closer together, length wise, but this will still do a perfectly good job of keeping the fabric from fraying.


Simple, pretty, soft, and highly functional every day napkins.

And there you have it.  Zero waste.  DIY.  Pretty.  Functional.  Napkins.

Posted on

Play dough. Ethnicity. Hair Cuts.


Holy crap.  It’s not until I collected pictures from the last week to put into a post that I see just how much stuff I juggle and how many things I am all at once.

I’m realizing that I live in kind of like a swirl of me’s.  Me, suburban mom, who does stuff like make play dough and bake bread and drive to homeschool school.  Me, the brown half of my cafe con leche marriage.  Me, the crafter, who makes just stupid cute stuff whenever given five minutes of silence.    I’m going to unpack this real quick, because these things can’t be separated.  I’m all of them.

Being Mexican American, being ethnic in a very white part of the country, I’m beginning to realize just how important it is to be a lot more outspoken about all of who I am.  When I lived in California we took this stuff for granted, that there would be people of all ethnicities mingling together.  Role models of many different cultures were all around.  But in Oregon it’s different.  Farming culture and Crunchy Millennial Hipsterism are the dominant cultures here.  It’s easy to leave out the ethnic parts of myself because people around me might not get it.  I can’t do that anymore.  I really miss diversity.  I can’t exactly see us moving back to San Fernando, so I just need to seek out culture where we are.

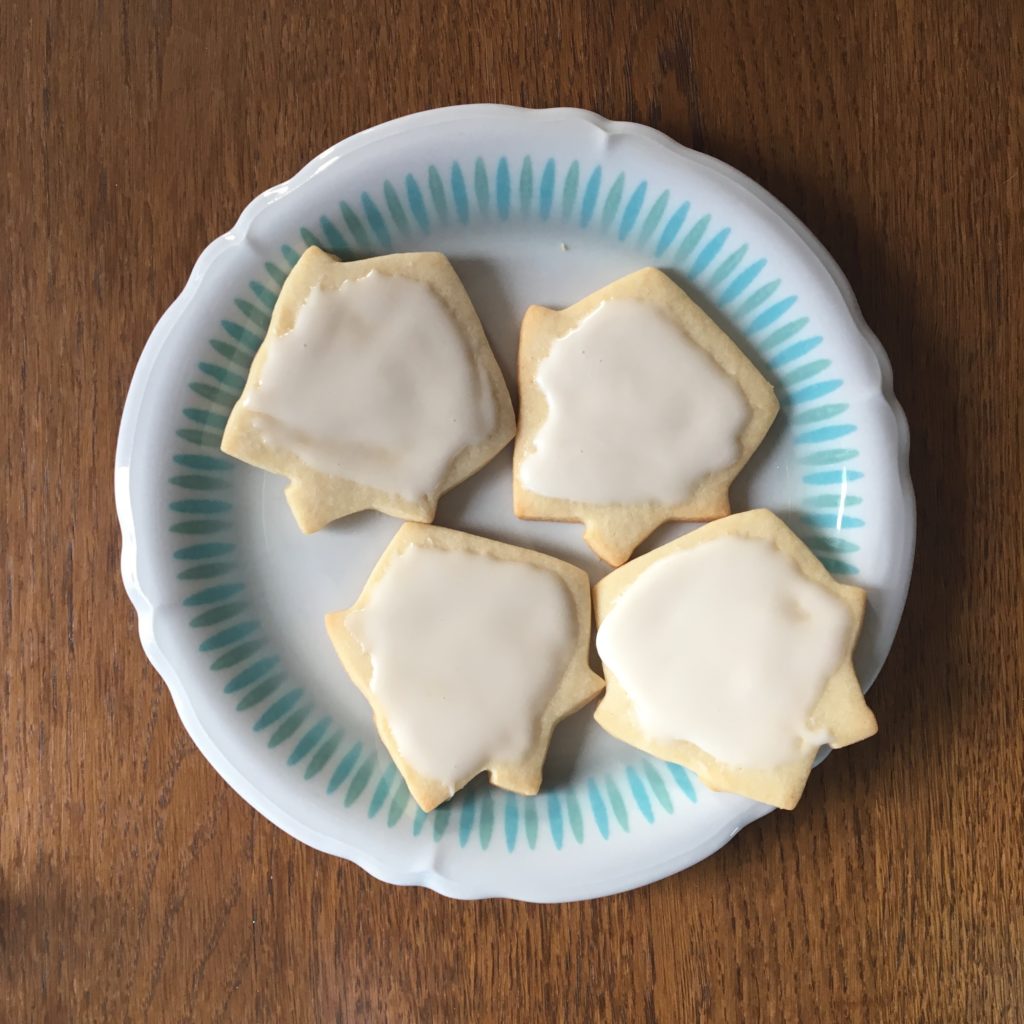
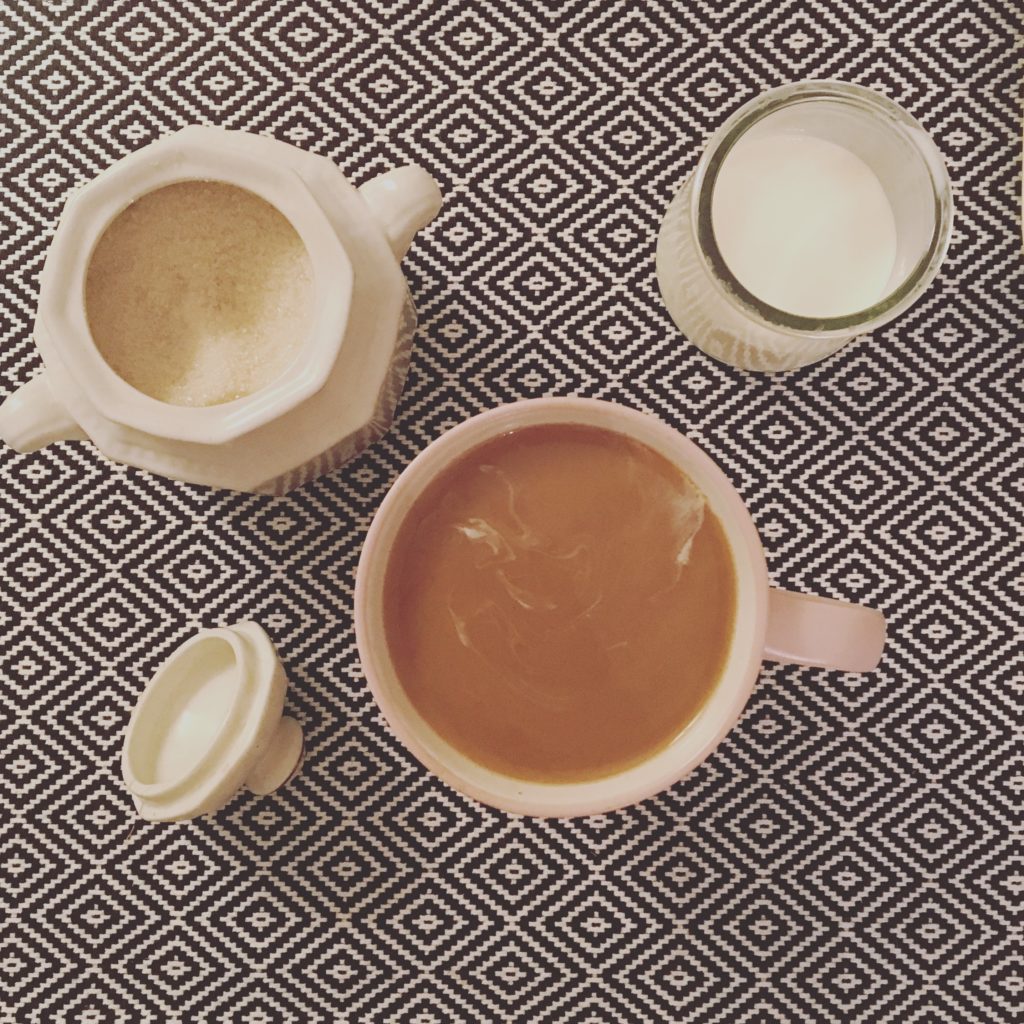
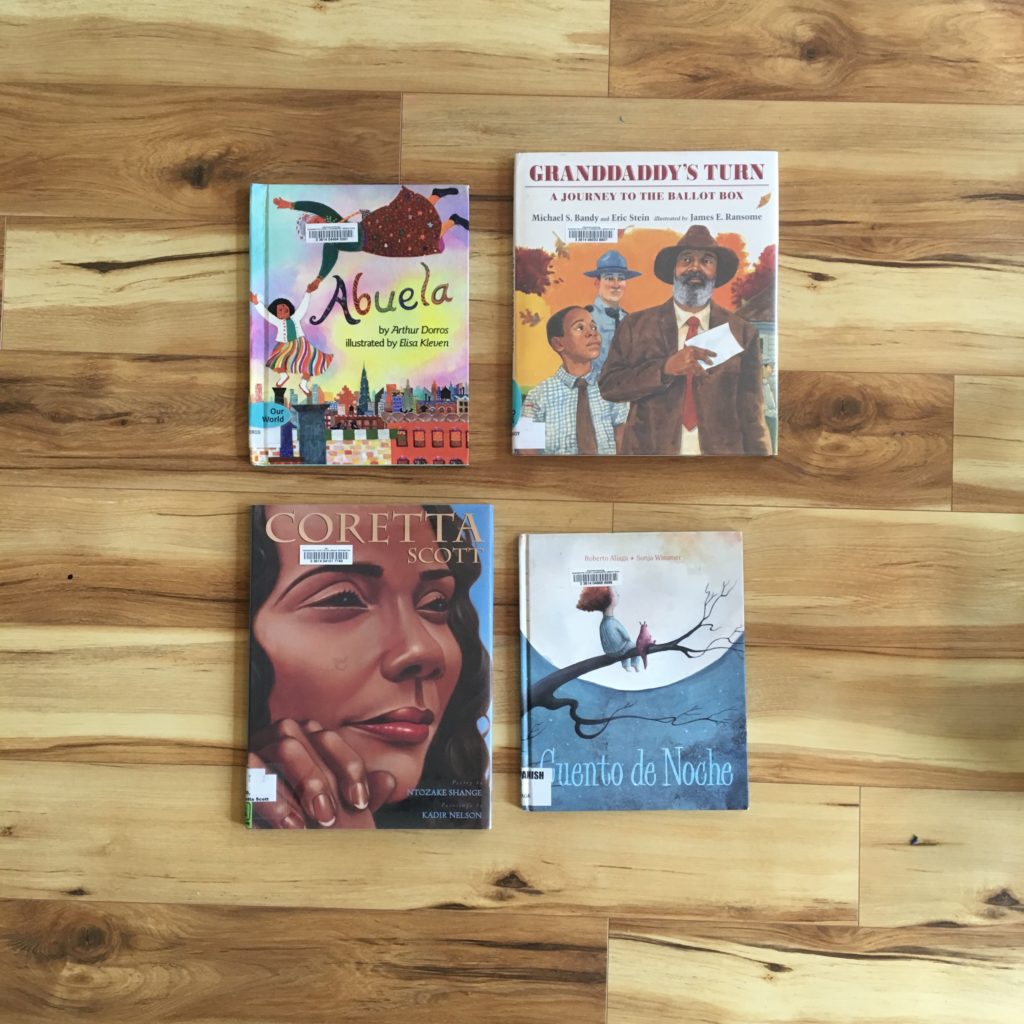
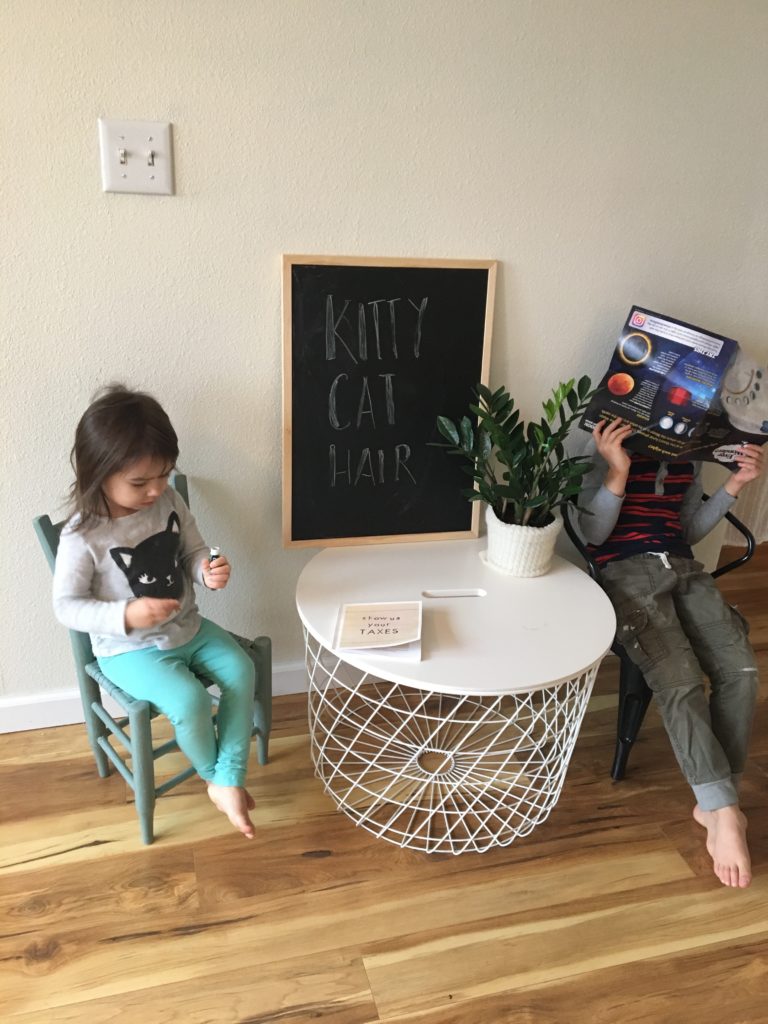
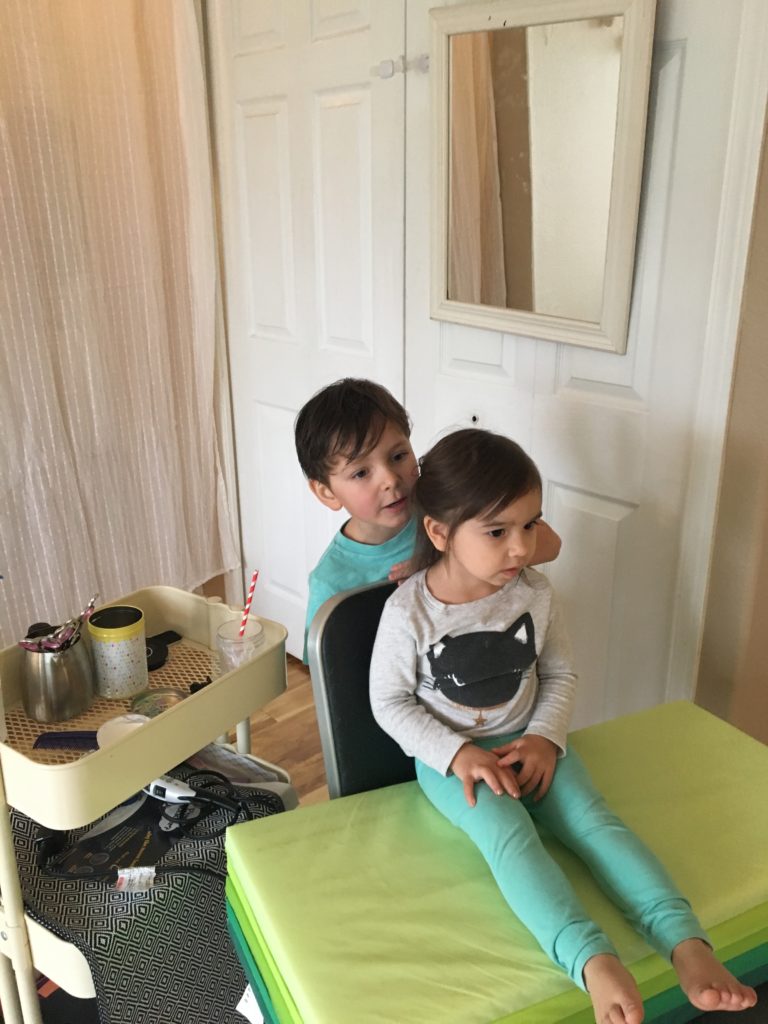
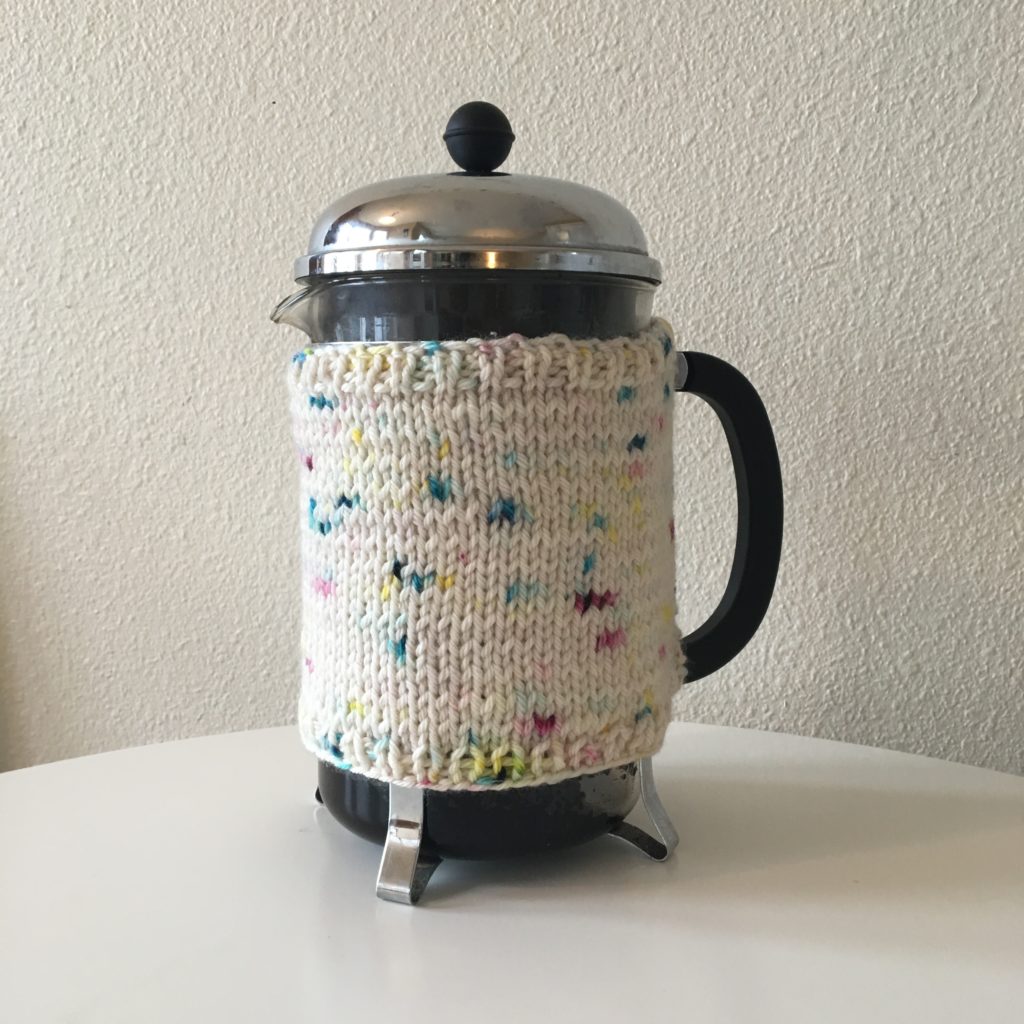
Anyway.  Stuff I did this week.  I laid out homemade play dough and led about 5 free form art projects,  I knitted a french press cozy.  I tricked my 5 year old into getting a haircut by setting up the Kitty Cat hair salon in the family room.  We read books in Spanish.  I try to do this every day.  We read books about the Civil Rights movement (they’re never too young for this.  Really.).  I took the kids to homeschool school and made a couple of new friends.    I made earrings, I made hair bows, I played with my hair (It never got as big as I wanted).  I painted on freezer tape.  I ate about two boxes of cookies with tea.  I cut back all the blackberry canes in the backyard.  I mapped out the front yard for future garden planning.  I gave yogurt to the chickens, coaxed Sweet Pea down off the fence about 3 times, and collected 6 eggs- thank you, Honey.  I got invited for lunch at my favorite crafty ladies’ house, I sorted through fabric that Jenn gave me, I made ridiculous stuff with it, and I took pictures of my kids doing cute stuff.  I also kissed about 80 boo boos and swept the house 387 times.  I snuggled up on my man like 4 times, which is impressive for life with two kids who monopolize daddy snuggles. I gave him lovey eyes at least three times and only yelled at him like a wild woman once, and he deserved that (it seriously is not that hard to put dirty dishes IN the sink).  I kind of feel like I’m a badass mom after reading all that.

I wonder what I’ll do next week.


Posted on

The Year that Made all the Difference

I’ve had a blog for almost ten years, off and on.   It started out as a crafty blog, and a marketing blog for my shop.  It was also a lifestyle blog and eventually it became kind of a crafty mom blog.  Sort of.  I mean, it’s always been just things that are on my mind and come from my heart.  It has never ever been an income producing, ad-drenched thing.  That shit makes me mad and sad.  Anyway, I wiped my blog completely clean a couple of weeks ago.  So now I have this new thing and I’ve been trying to think about what to do with it.  But I mean, the answer is clear.  I need a place to just share my world as it is now.

I don’t care if no one reads it. I need a place to share, outside of myself, the things that I see and do and think.  Because I think they’re worth sharing.  Because we live in a new, weird world, where voices and images are losing their uniqueness.  Social media is training us in a new vocabulary, a new style of expressing ourselves.  We share articles, we use a finite collection of emojis and likes to convey our feelings, we accept poor spelling and grammar and robot-corrected phrasing.  Who the fuck are we actually?  Well I am still me and you are still you, and our completely unique thoughts and words and designs are desperately needed right now.

….

In Which I Turn fear into Strength, like a Magician.

So who the fuck am I today?  Compared to who I was one year ago, on January 17, 2017?  I can say for certain that I am not the things I was last year.  I am not grieving, I am not scared, I am not lost.  I am not confused, I am not overwhelmed, I am not panicking.  November 8, 2016 was the beginning of a deeply painful time for me and for a crapload of you.  But here I am today, feeling none of those things.  Actually I feel solid and strong and capable and unafraid of the future.  It’s not because we suddenly have a new president.  It’s not because racism and sexism and abuse and intolerance and poverty and war have evaporated from the planet.  It’s because last year I went to the bottom of my own pit.  I went to some of the darkest places inside myself. I flailed.  I panicked.  I questioned my assumptions about the world.  I questioned friendships.  I shut down.  I turned things off.  And it was worth it.  The pain, the grief, the fear.  It was worth it to feel those things.  Because here I am, unafraid.  Eyes open.  Secure in myself.

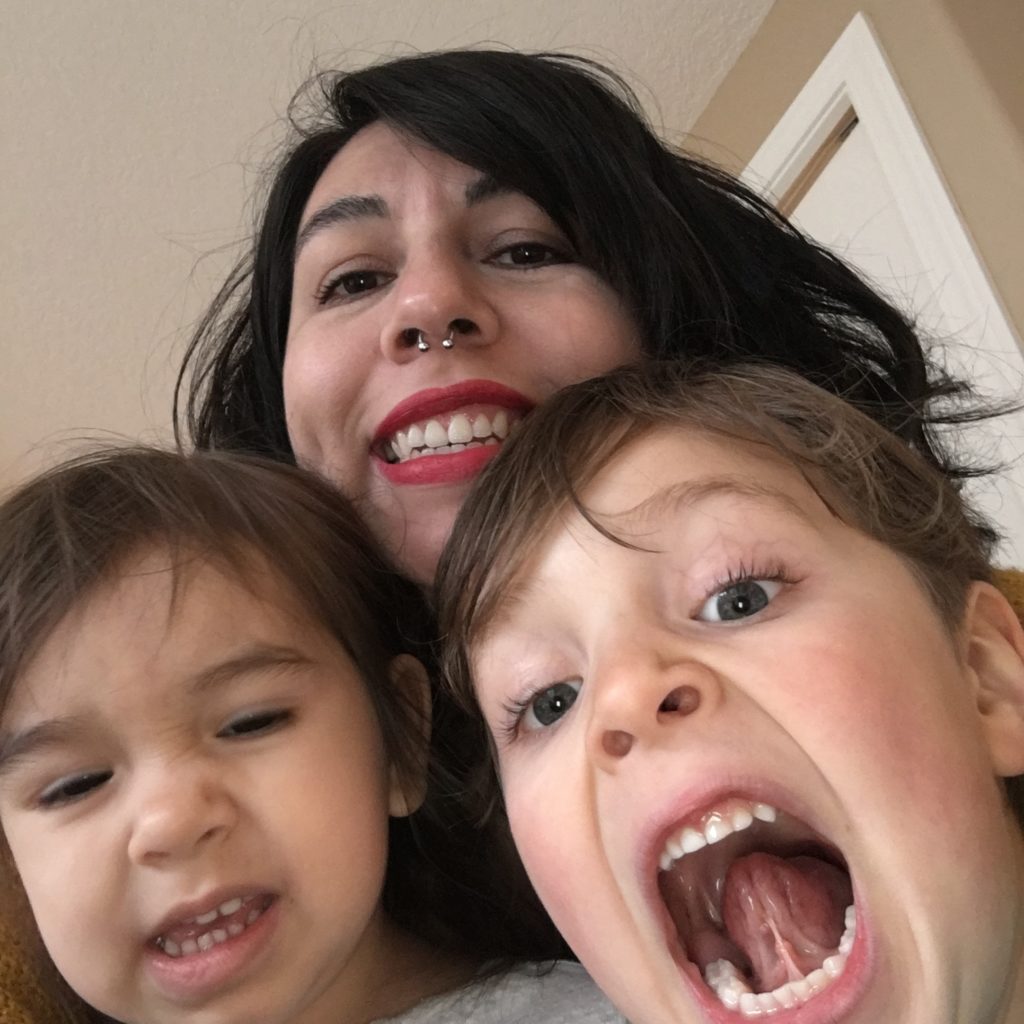
Who the fuck am I?  I’m Ixchel Paloma Lechuga.  I’m a maker.  I’m a mom.  I’m the lady half of a mixed race hetero love ball.  I’m an animal lover, a sewist, a grower of things, a protector of authenticity, a lover of period dramas and unashamed supporter of bad words, pink things, and junk food binges.  I recycle shit more and more.  I reuse shit more and more.  I’m a Californian in Oregon.  A city girl in a small town.  A Mexican American who doesn’t have a space in either sphere.  I aspire to embrace my contradictions.

Welcome.