Posted on

Zippy Zoom DIY Reusable Cloth Napkins, with a Tutorial

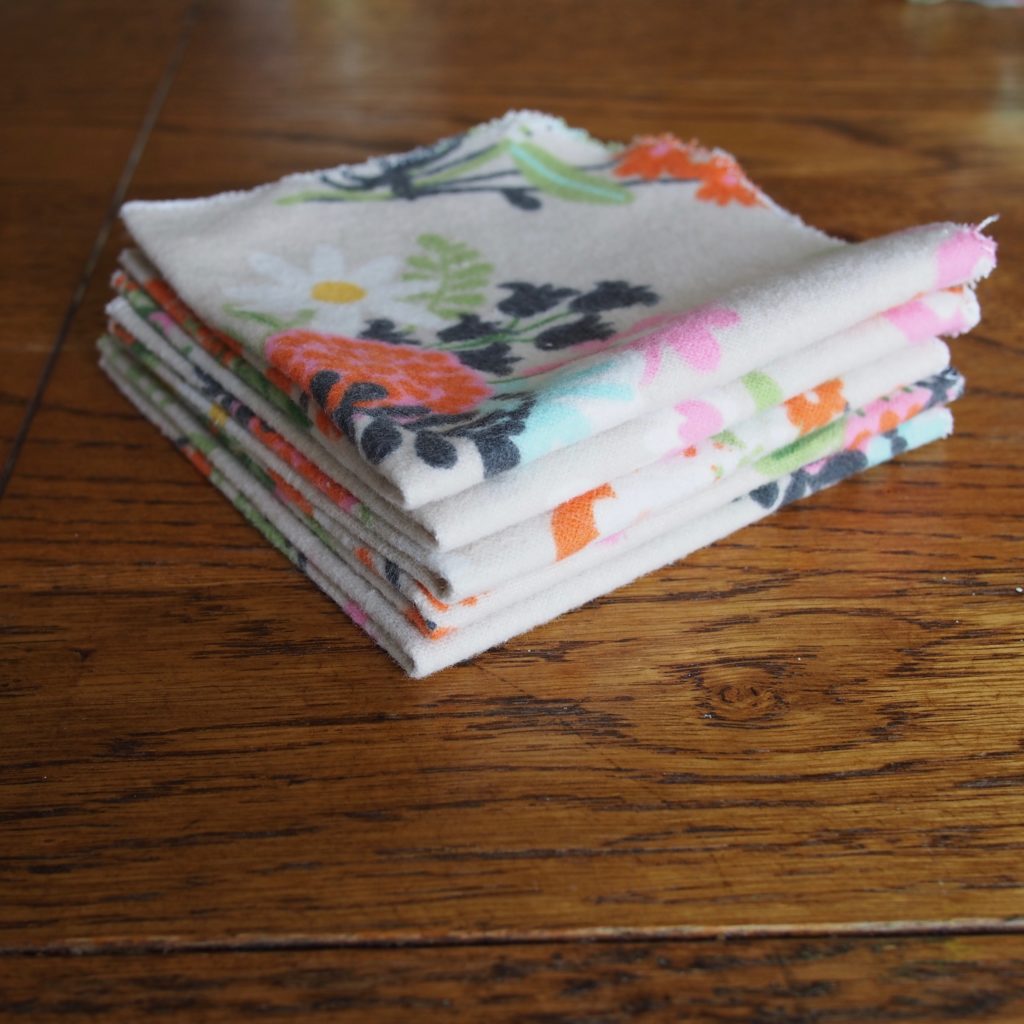
Fresh and pretty napkins made today. This represents about 20 minutes of work, total.


These guys have been in circulation for about a year, maybe more. They’re still doing their job, but we’ve had a few casualties and now it’s time for reinforcements.


I’ve discovered that if I leave the sewing machine set up all weekend I’ll actually get to sew in little bits and bursts.

It’s been at least 8 years since the last time I bought paper napkins that were not for a birthday party.  In my house when I was growing up the two most important parts of running the house were convenience and frugality.  But mostly convenience.  My mom did sew and make things for the house, but she was also a working mom and eventually a single working mom.  Making napkins that needed to be washed was pretty low on her list of priorities.  We went through a fair amount of paper plates, disposable everything, and frozen food because it was there and it promised convenience.  I knew deep down in my soul that those disposable things were robbing me of something.  It felt obvious that disposable things were robbing me of beauty and pleasure, but I didn’t then understand the scale of their environmental impact.  Filling up landfills with stuff that doesn’t need to be there robs us all of many, many things.  Even paper napkins have the potential for creation when they get composted and turned into new soil instead of squashed into airless mountains of garbage in a landfill.  But I didn’t know what compost even was when I made my first set of reusable napkins.  I just wanted to make something pretty that would enhance my every day life.

Before I made my own napkins I bought pretty antique linen ones from the Rose Bowl Flea Market.  They were beautiful, and we used them at my wedding, but they were too fancy to use every day.  I’ve also bought vintage napkins from Goodwill and newly made napkins on Etsy. Unfortunately vintage napkins are often made with acrylic or acrylic blend fabric and they are super unabsorbent.  Anyway, I’m digressing.  The point is that now I have kids and napkins get used very intensely.  I can’t bother with shopping for just the right Goodwill napkins and I don’t like scratchy cotton napkins and I don’t want cute napkins to get ruined.  So I make my own. Did I mention that I loathe hemming?  Well I freakin’ do.  I’d rather get a post-bikini-wax tweeze from a blind woman than hem the amount of napkins we need to get from wash to wash. The following tutorial makes the easiest, softest, sweetest alternative to paper napkins.  I keep a basket for dirty napkins in the dining room and I wash them with kitchen towels.
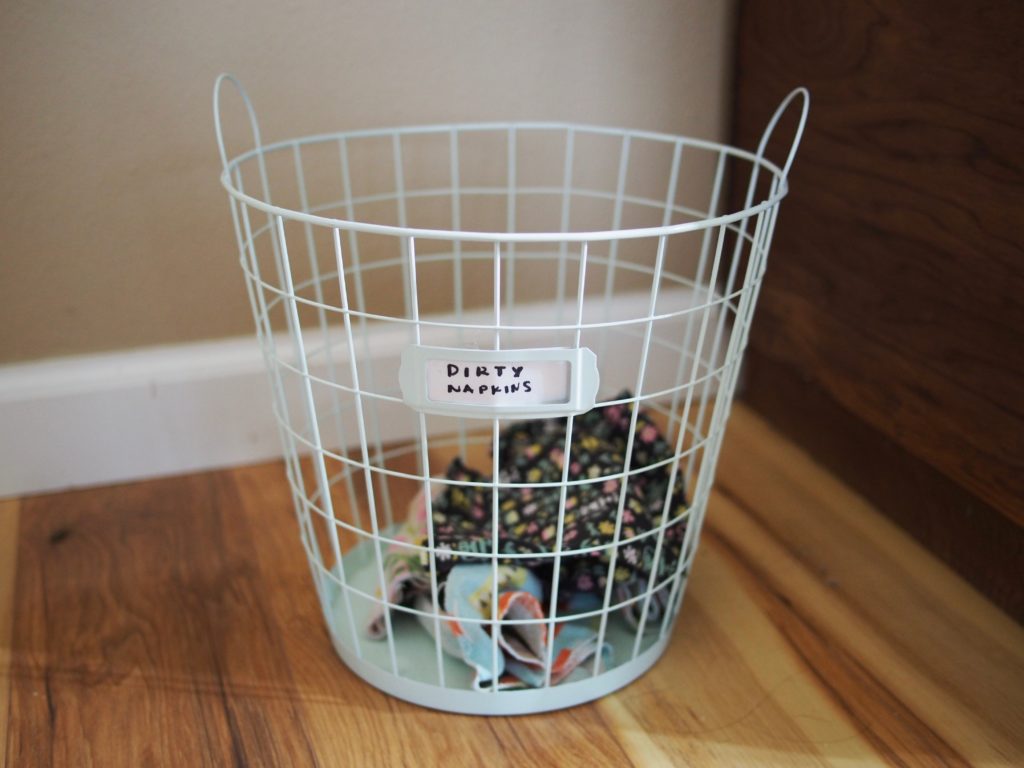
A place to put the dirty napkins is as essential as the napkins themselves if you want to switch from paper to cloth.  I chuck napkins and kitchen towels into the washing machine every few days.  I keep the clean ones folded in half on a cake stand on the dining table.


If you’re looking for a very functional, very simple way to make your own reusable cloth napkins, here’s how I make mine.

Materials:

Pre-washed, ironed flannel, cut into 9″ x 9″ squares.

Tips:  *Busy prints hide funky stitches and also stains.  **Joann’s often has flannel for about $2.50/ yard in winter and spring.  Old flannel sheets would also work great and they’d be FREE.  You could even get buck wild and dye old sheets to give them new life.

Tools: 

Sewing machine, ruler, washable marker, scissors, thread.

Step 1.

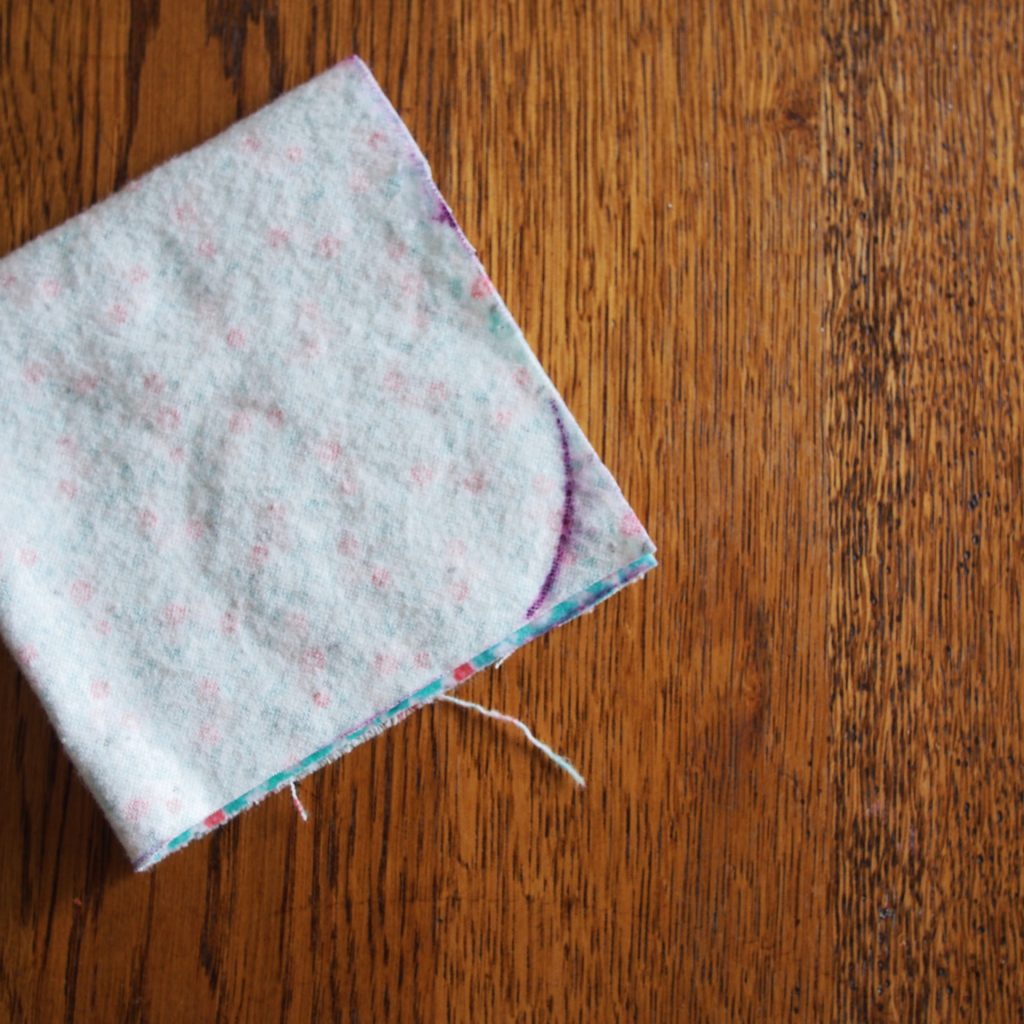
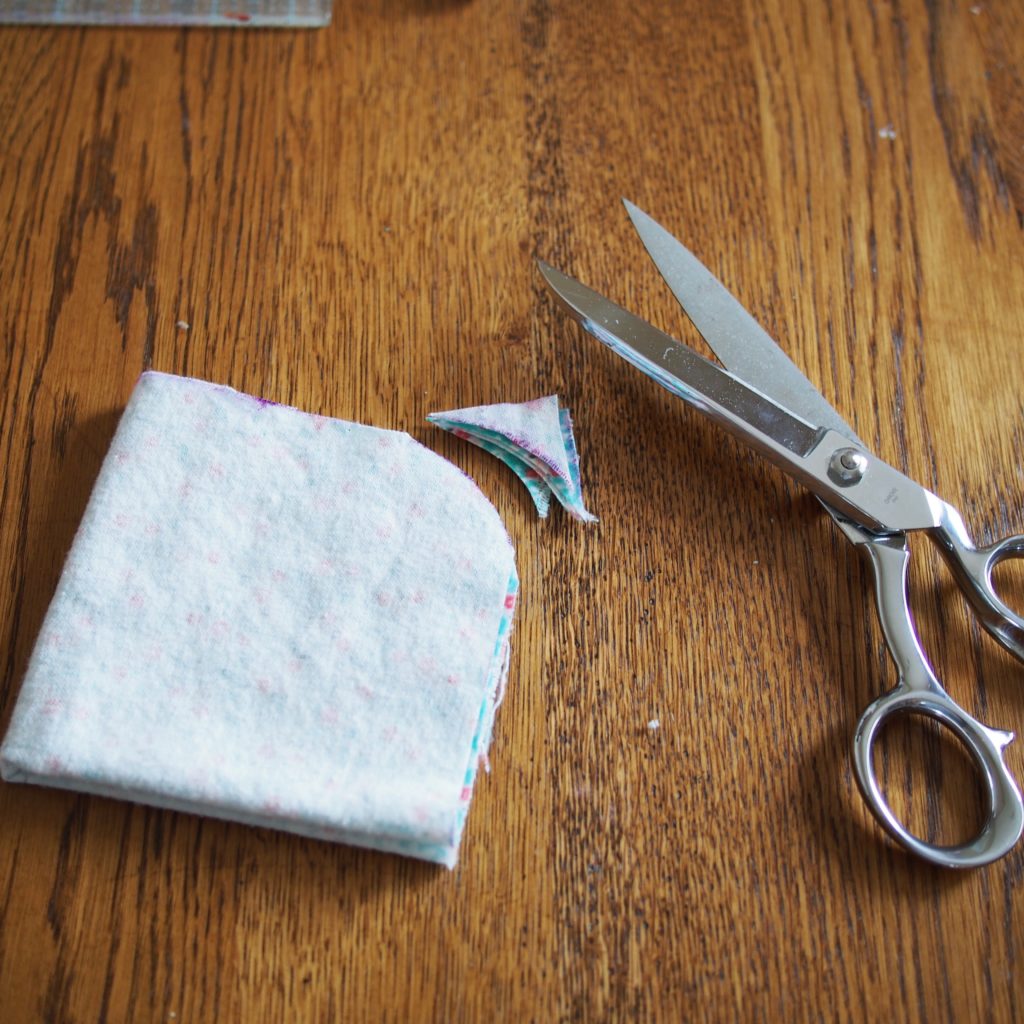
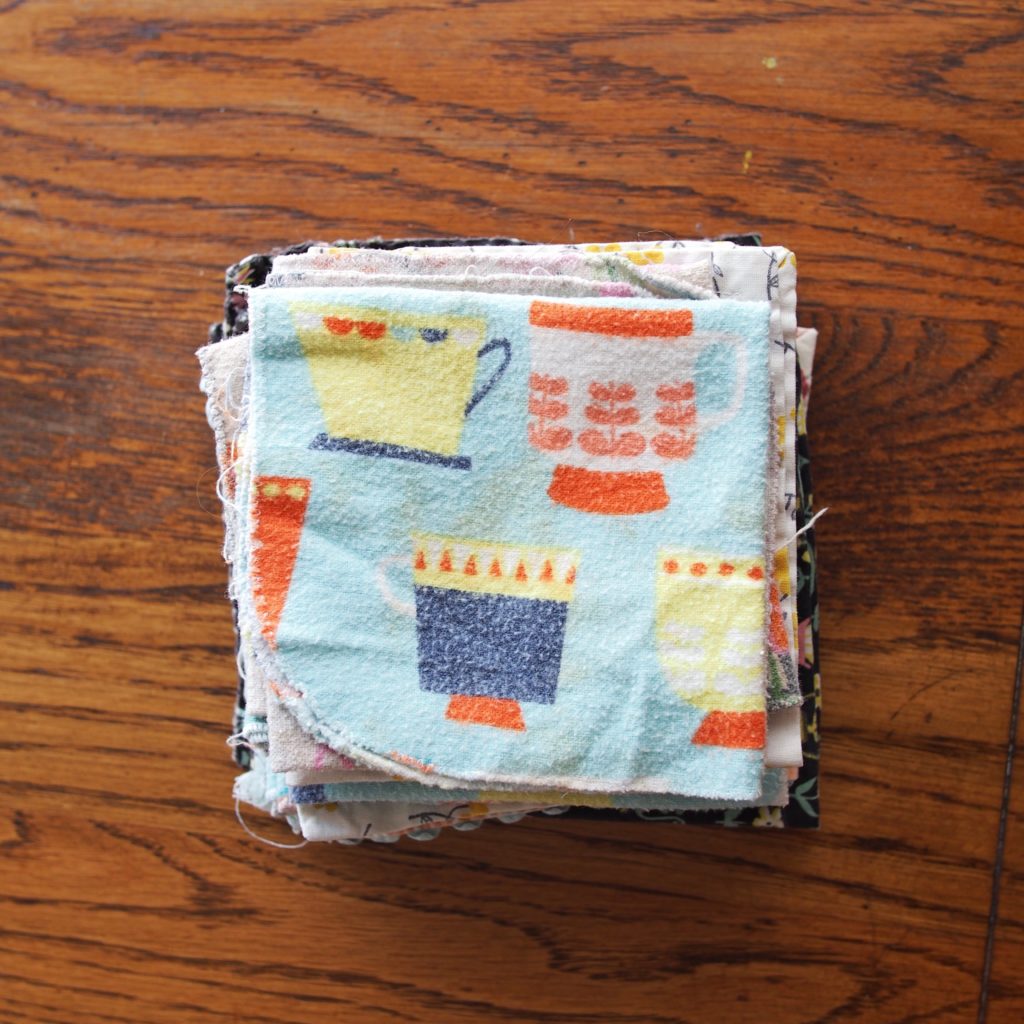
Fold each 9″ square into quarters.  On the corner with all the open folds, use a cup to trace a rounded edge with a washable marker.  Cut on the line, through all layers. Unfold and lay flat.
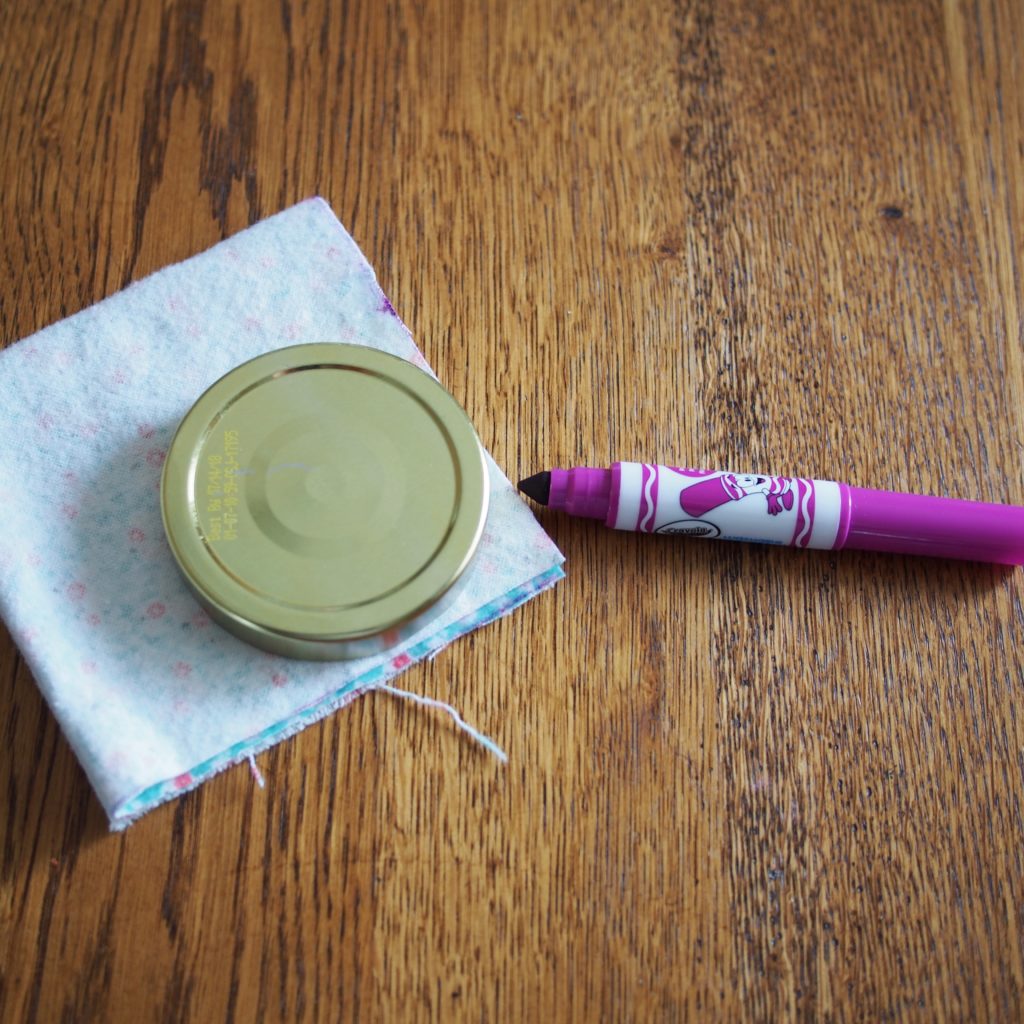
Rounding the corners makes zig zag stitching all the way around the napkins much easier.
If you use machine washable markers any left over ink will just wash out the first time you launder your napkins.
If ever there was a case for having dedicated fabric scissors, this is it. Cutting through all layers at once will save oodles of time. Go get some Ginghers if you don’t have any yet.
Step 2.

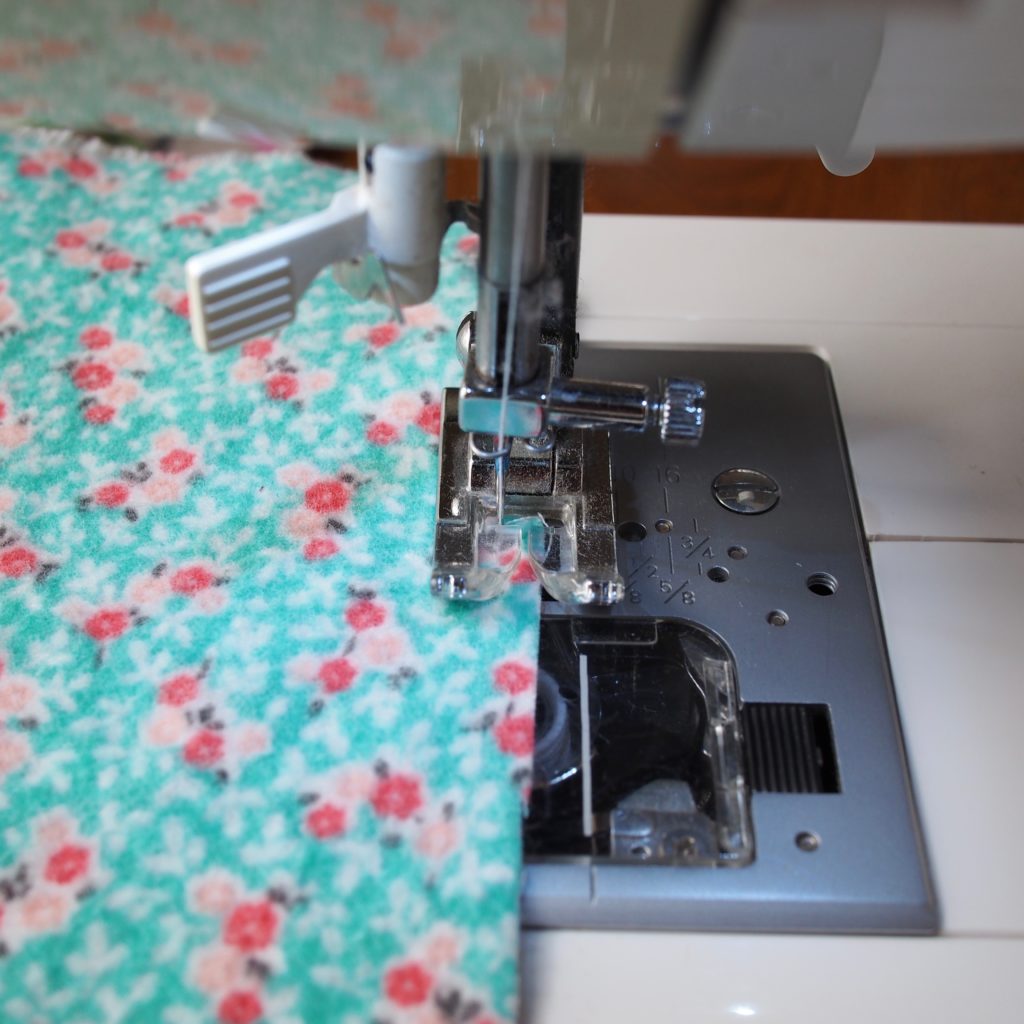
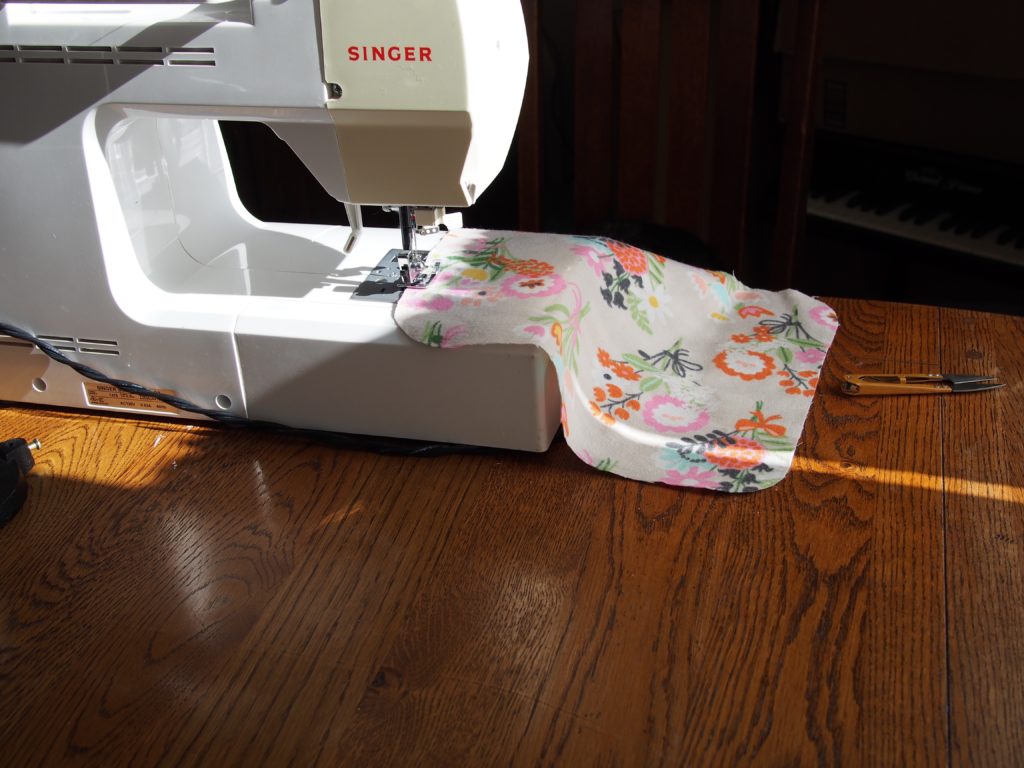
Set your sewing machine to zig zag stitch.  We’re looking for a wide stitch (side to side), with a short distance between each stitch.  I set my machine to nearly the widest setting and slightly shorter than the standard stitch.  If you’re not familiar with stitch settings I’d suggest taking a scrap piece of fabric and playing around with the zig zag stitch options until you get something that looks like what you see in the pictures.  A really long stitch length will mean lots of frayed fabric and a really short stitch length will mean lots of wasted thread, wavy napkin edges, and possibly lots of knots along the way.  Take a close look at the placement of the needle in the following pictures.
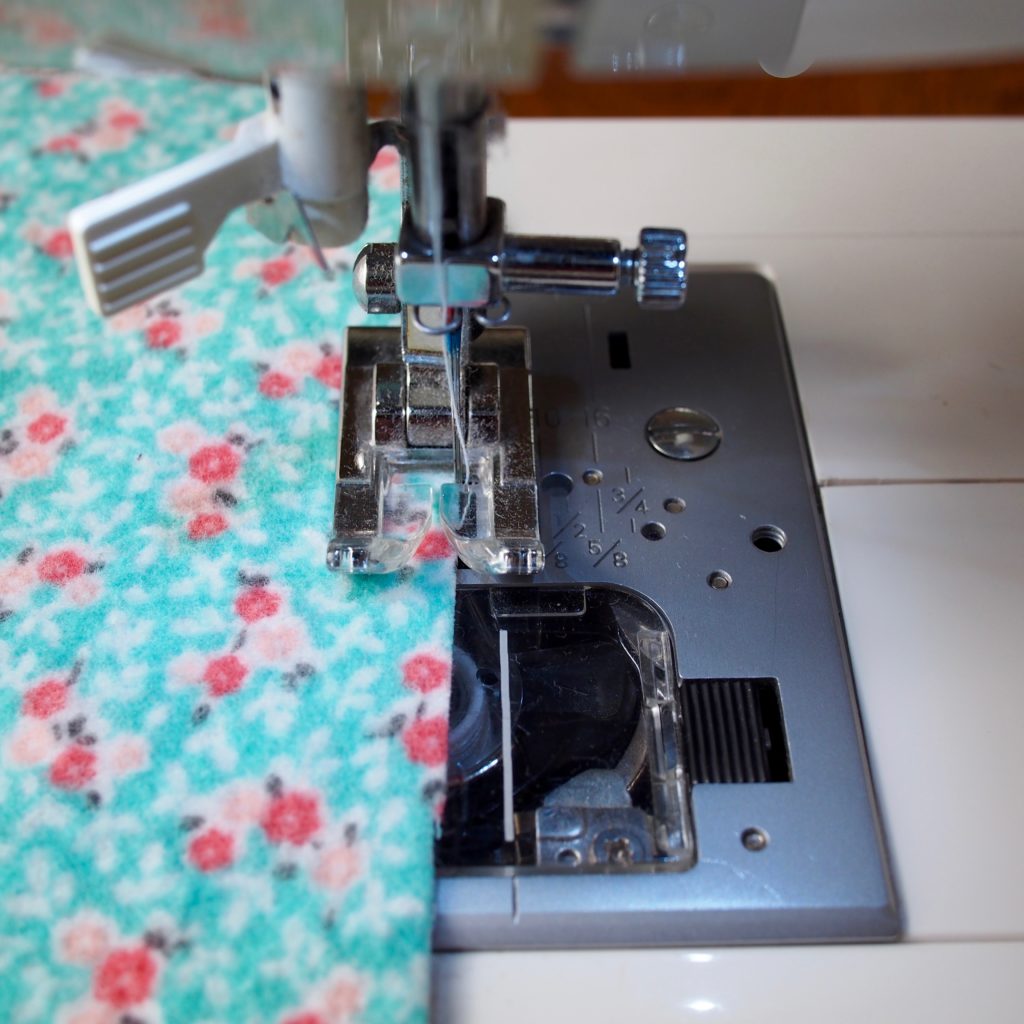
The needle here is all the way to the right of the fabric edge. Notice where the fabric lines up in relation to the sewing foot. You might find it helpful to use a bit of washi tape to make a guide for yourself.


Now the needle is inserted into the fabric. The fabric remains in the same position, while the needles goes back and forth, left and right, over the edge.
Step 3.

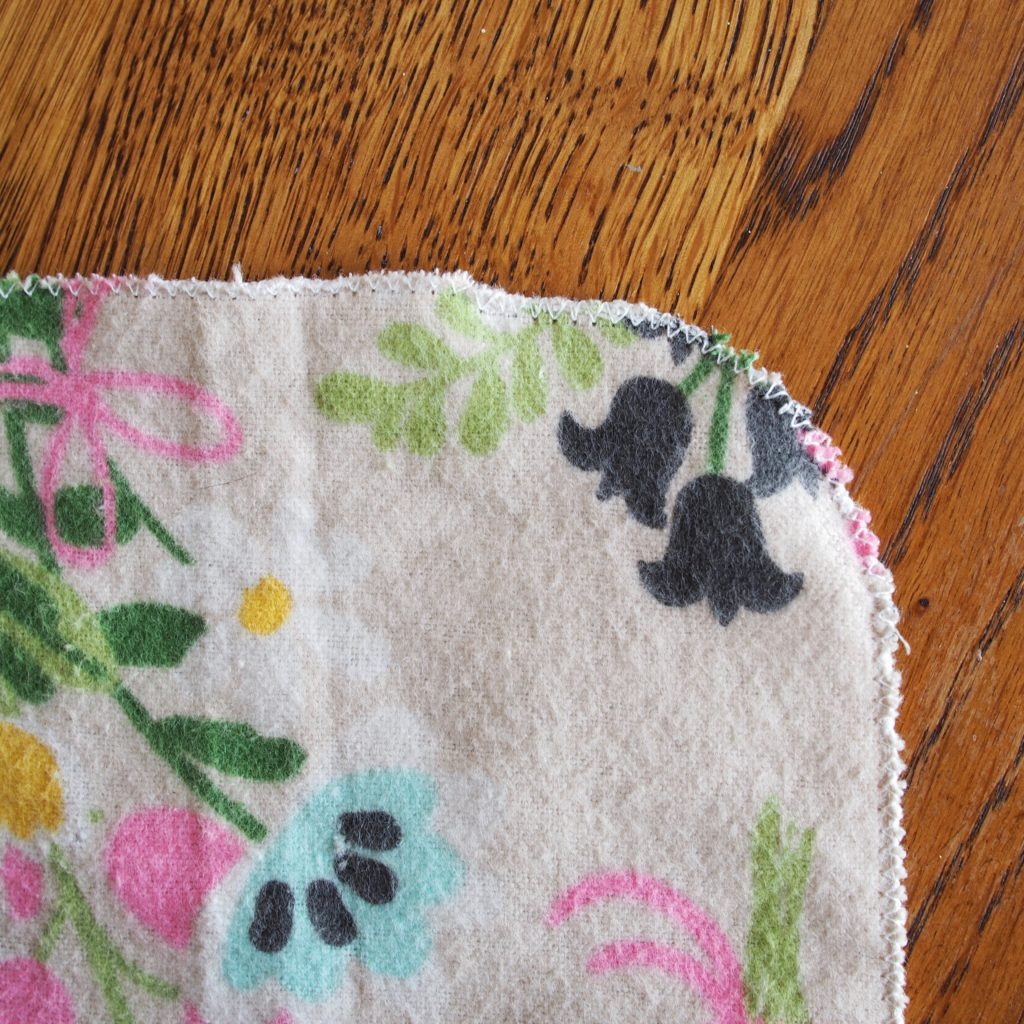
Go ahead and sew around your fabric, taking a little extra time as you go around the corners.  To go around the corners, use your left hand to gently pivot the fabric as you stitch.  Don’t yank the fabric.  If you’re having a hard time going around corners it may help to insert the needle into the fabric, take your foot off the pedal, lift the sewing foot, and turn the fabric.  Then put the sewing foot back down and continue sewing slowly.  It’s okay to go back over spots you missed, and don’t stress out about “ugly” spots.  These are family napkins after all, not tea with the Queen napkins.  Using a fabric with a print on it helps hide not just stains, but also funky sewing.  When you’ve gone all the way around the napkin, overlap your first stitches by about 1/2″ and stop sewing.  Remove the needle and snip the loose threads.  All done!  YOU MADE A NAPKIN!
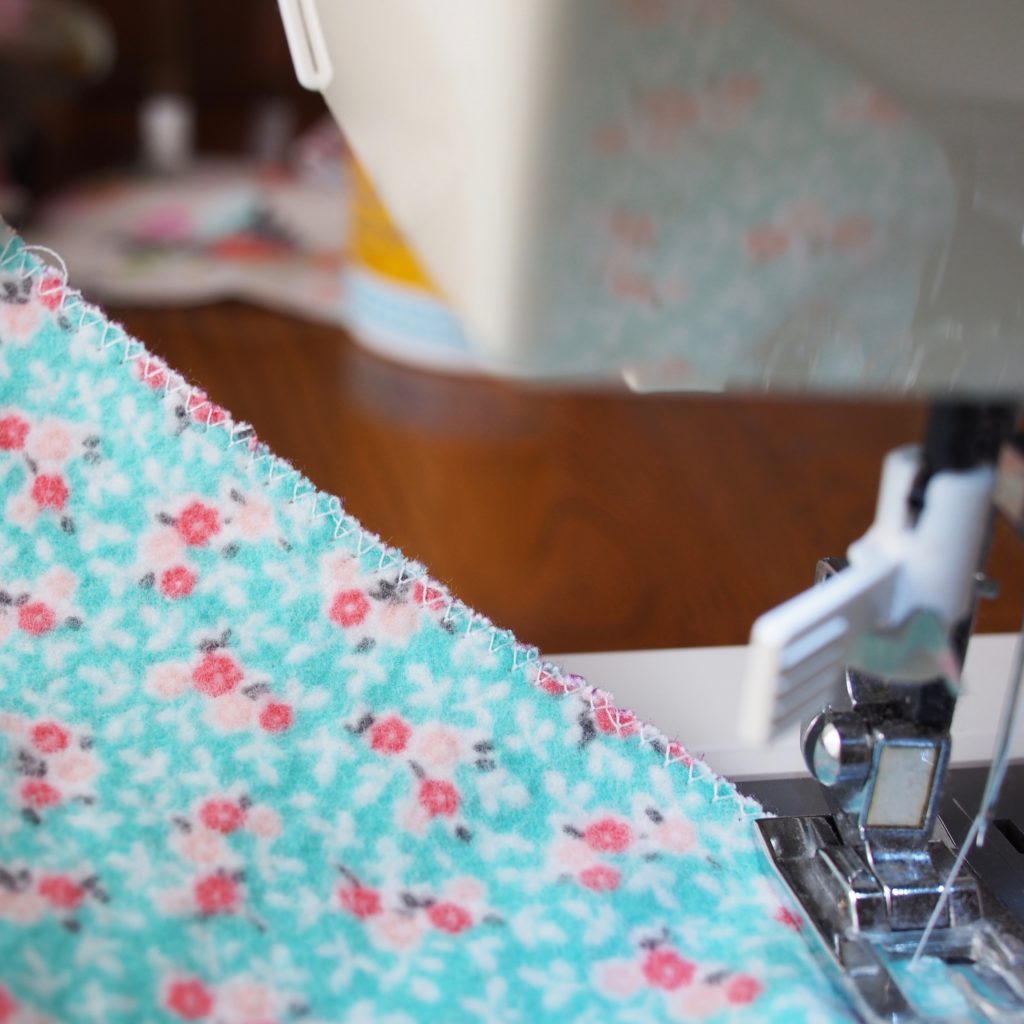
I could have made these stitches a little closer together, length wise, but this will still do a perfectly good job of keeping the fabric from fraying.


Simple, pretty, soft, and highly functional every day napkins.

And there you have it.  Zero waste.  DIY.  Pretty.  Functional.  Napkins.

Posted on 2 Comments

Zero Waste Food Storage without Judgement

Mexican Tupperware.  That’s what we call recycled food storage in my family.  I feel like an asshole for making fun of my grandma all those years ago for keeping half cut onions in a mug and putting leftovers in yogurt containers.  She was a champion of zero waste living.  I was a damn fool. I scrunched my face at the way she used soda bottles to water plants or cut in half to use as planters for her billions of plants.  I laughed when she used an old toilet as a plant holder.  The random hubcap in the backyard?  You guessed it, a plant holder.

Don’t even get me started on the Grandma Style permaculture system.  Grandma had fruiting trees growing that she didn’t even know she had!  On a 50 foot x 100 foot plot, where most of the land was taken up by the house, the garage, and cement driveway and patio she managed to grow pomegranates, two kinds of figs, grapes, papayas, white nectarines, oranges, kumquats, guayabas, mint, and ginger, plus hundreds of non-edibles.  You know what’s amazing about that?  None of the things she did were because she wanted to keep up with her peers.  She did not do it so that she could post pictures of it on Instagram.  She didn’t do any of those things because people would think less of her for *not* doing them.  She just did them because they made sense to her and they made her happy.

The pictures of jars of trash, or mason jar filled refrigerators we’re starting to see all over social media are definitely inspiring, but they also feel like pressure.  Some eco conscious stuff is lovely and some of it  makes me angry because it feels super judgey.  Not everyone can take time to research every single thing they purchase and make sure it’s humane/local/sustainable/non-gmo/compostable/organic, etc.  Most of us are just trying to survive.  I don’t think that I always understood that, but I definitely do now.

I aim to be less wasteful.  I aim to eat well and feed my kids wholesome food.  I cook from scratch as much as I can, and am working at finding ways to grow more of my own food.  I don’t buy junk meat, because it matters to me how an animal lived before it died to feed me.  But that’s my business, not yours, and not the dude at the library, not the lady at school, not really even my friends.  I like my ladies to just get me and not give a crap what gets recycled in my house and what doesn’t.   I like to be inspired by other people but I’m not competing with anyone, and you shouldn’t either.

So in that spirit, I want to share some of my “zero waste” practices, Mexican style.  Ghetto style.  Pretty style.

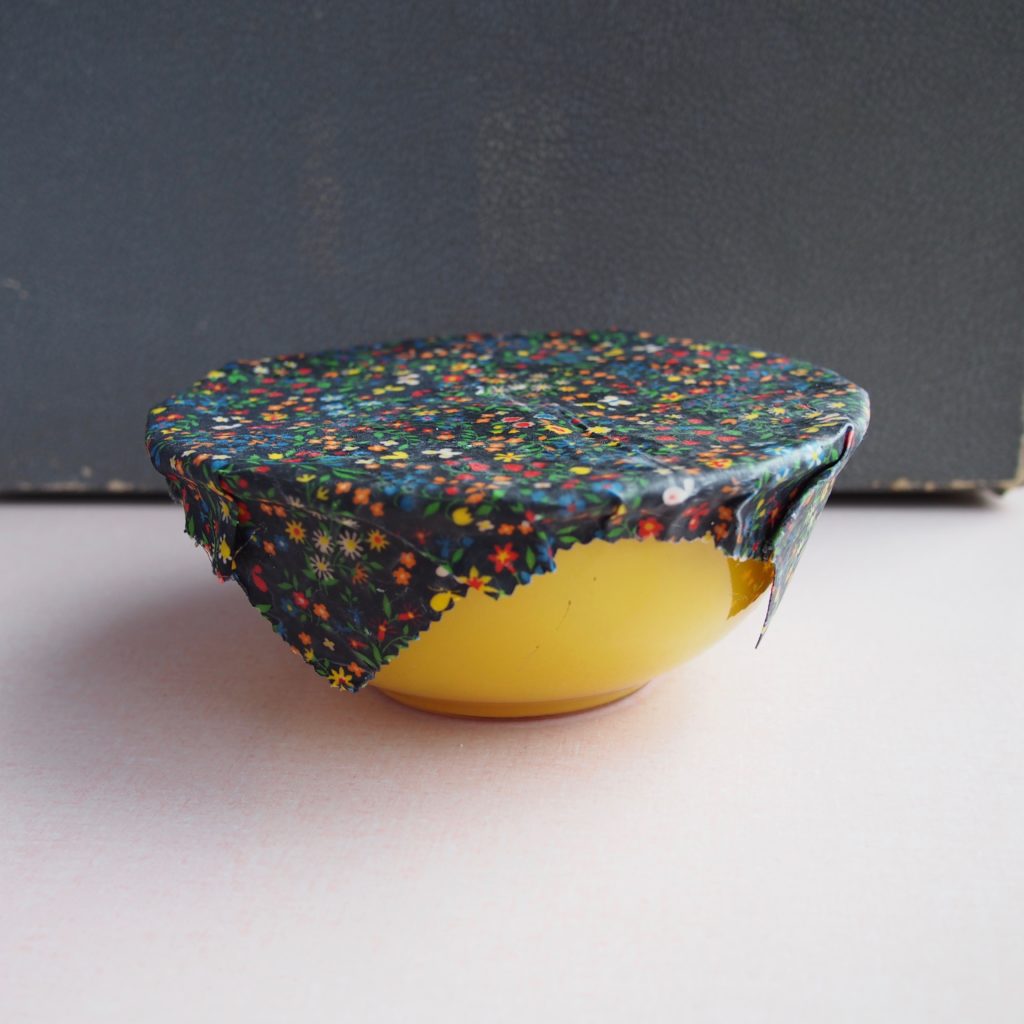
Last year my friend, Ashley, and I made beeswax wraps to use instead of plastic wrap.  They are the very best.  They’re a beautiful and functional addition to my food storage drawer.  I wash them with soap and cool water and hang dry them.  I think a tutorial is probably in the future because they were really easy to make.  Go order some beeswax pellets and buy some parchment paper at the market in the meantime.


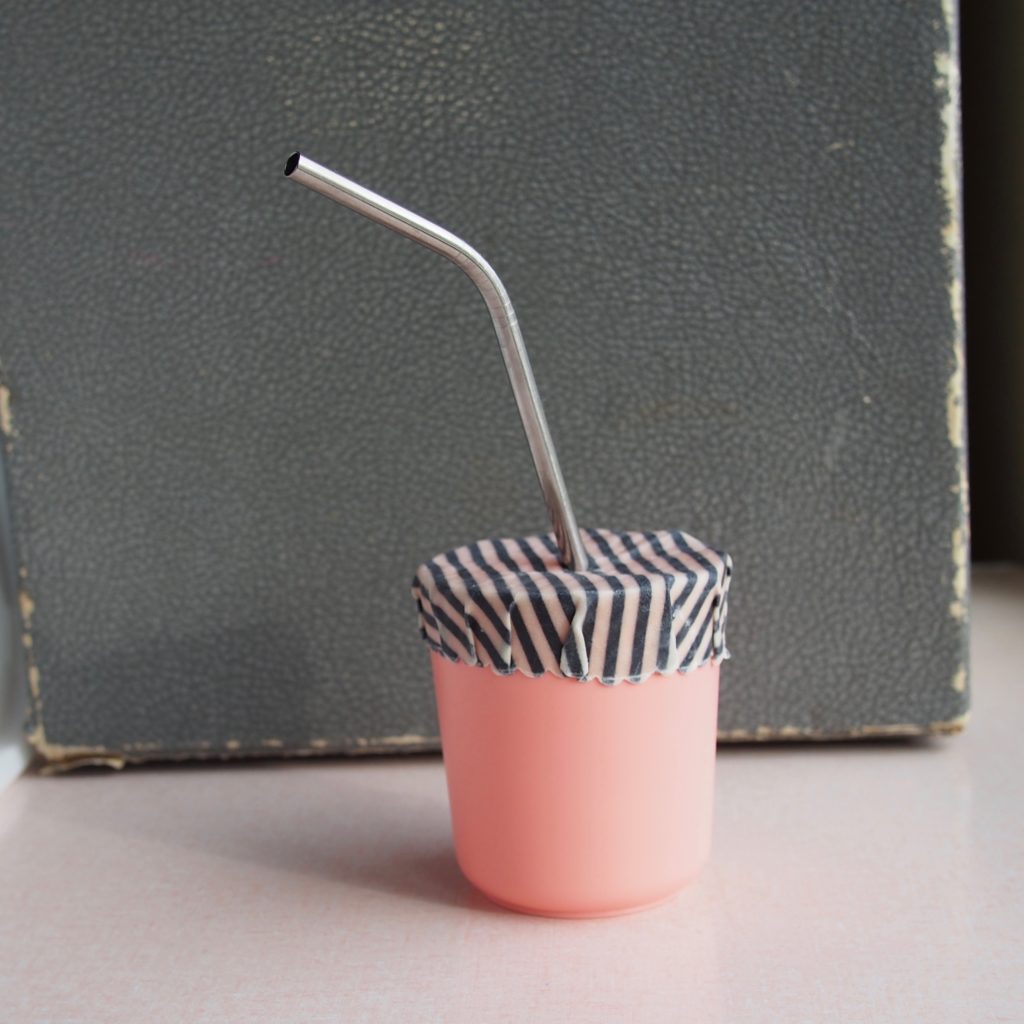
This set up here gets used almost daily.  It’s a plastic cup (my kids break glass, yo)  a beeswax cup topper with a hole, and a stainless steel straw.  We drink smoothies a lot and Lola spills cups like it’s an Olympic sport.  The girl would win a gold medal for that.    So far this works better than a sippy cup.  No major spills to report, but I do usually add a rubber band to keep the beeswax wrap in place.
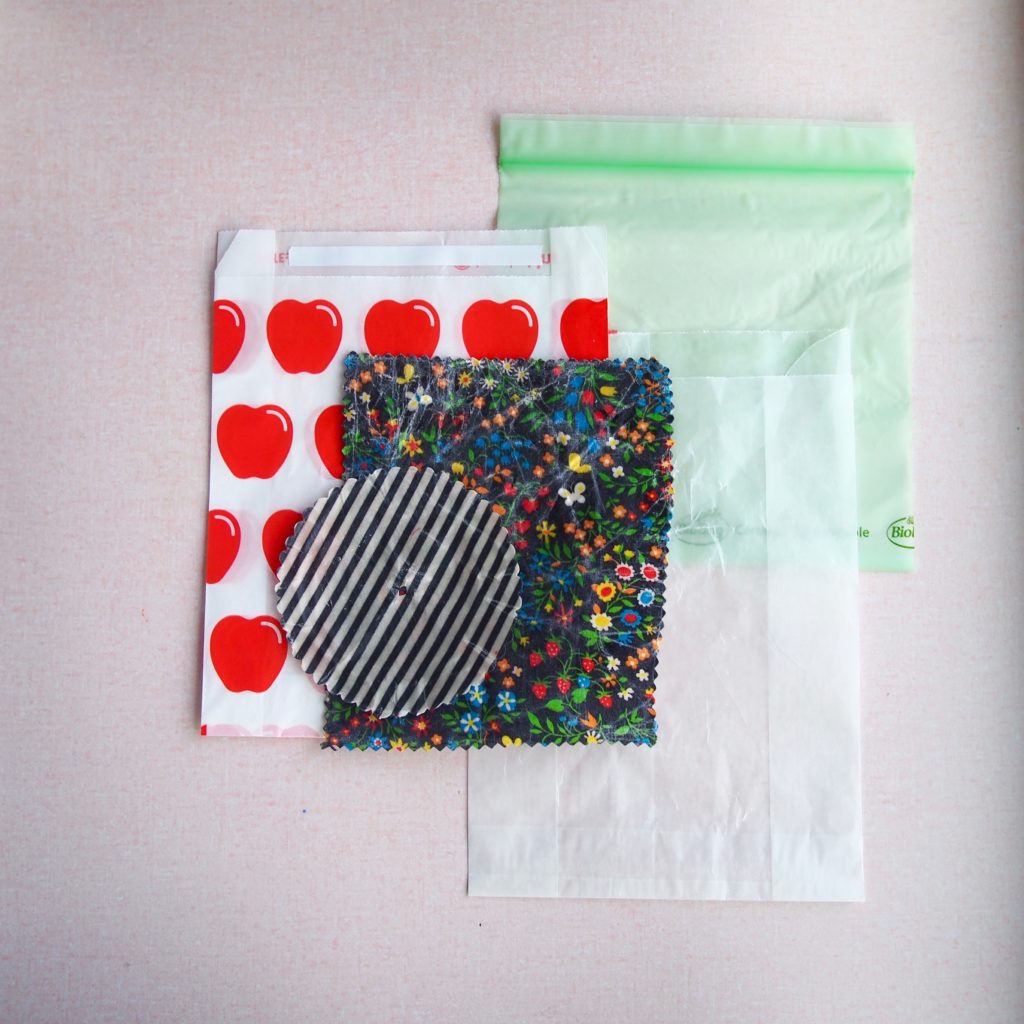
I just discovered compostable “plastic” bags (thanks, Jenn!), which I LOVE for the things that just need plastic bags.  We use wax bags, and Jenn also gave me some of those stinking adorable wax bags with the apples on them.  Also shown here are my small DIY beeswax wraps.


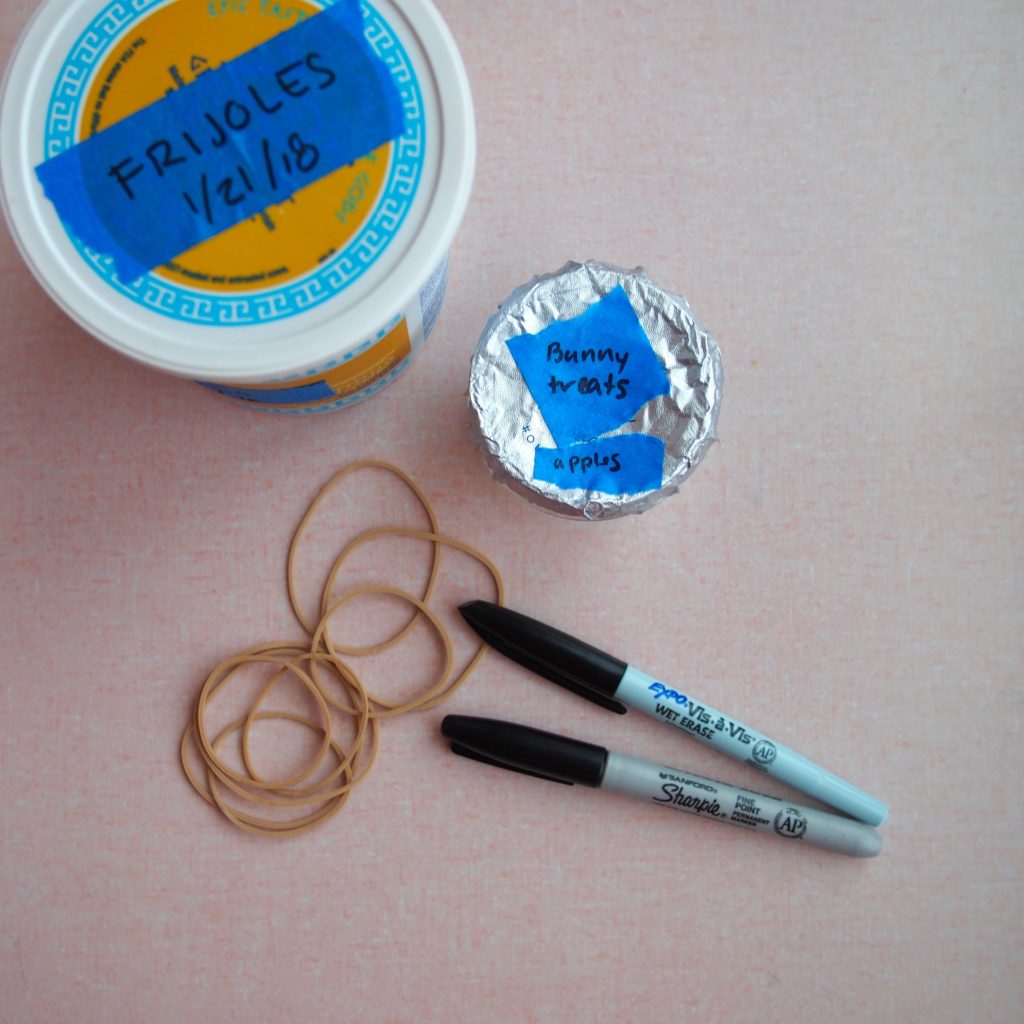
Ghetto and genius food saving items: 1. Yogurt tubs.  2.  Masking tape or painters tape and sharpies.  3.  Wet erase markers- write directly on mason jars and it washes off easily.  4. Packaged food foil.  The stuff that covers yogurt cups and stuff like that?  Yup, I totally reuse those because they are the perfect size for little things.  And 5.  Rubber bands for beeswax covers or wax paper covers.

So there you have a peek into my food storage.  I hope it inspired you and also didn’t make you want to empty your cabinets and replace everything in them before your next houseguest comes to visit.  Not that I’ve ever felt that way.  Okay, yes I definitely have. Do you have any no pressure ghetto zero waste ideas and hacks?  Share them please!