It’s been at least 8 years since the last time I bought paper napkins that were not for a birthday party. In my house when I was growing up the two most important parts of running the house were convenience and frugality. But mostly convenience. My mom did sew and make things for the house, but she was also a working mom and eventually a single working mom. Making napkins that needed to be washed was pretty low on her list of priorities. We went through a fair amount of paper plates, disposable everything, and frozen food because it was there and it promised convenience. I knew deep down in my soul that those disposable things were robbing me of something. It felt obvious that disposable things were robbing me of beauty and pleasure, but I didn’t then understand the scale of their environmental impact. Filling up landfills with stuff that doesn’t need to be there robs us all of many, many things. Even paper napkins have the potential for creation when they get composted and turned into new soil instead of squashed into airless mountains of garbage in a landfill. But I didn’t know what compost even was when I made my first set of reusable napkins. I just wanted to make something pretty that would enhance my every day life.
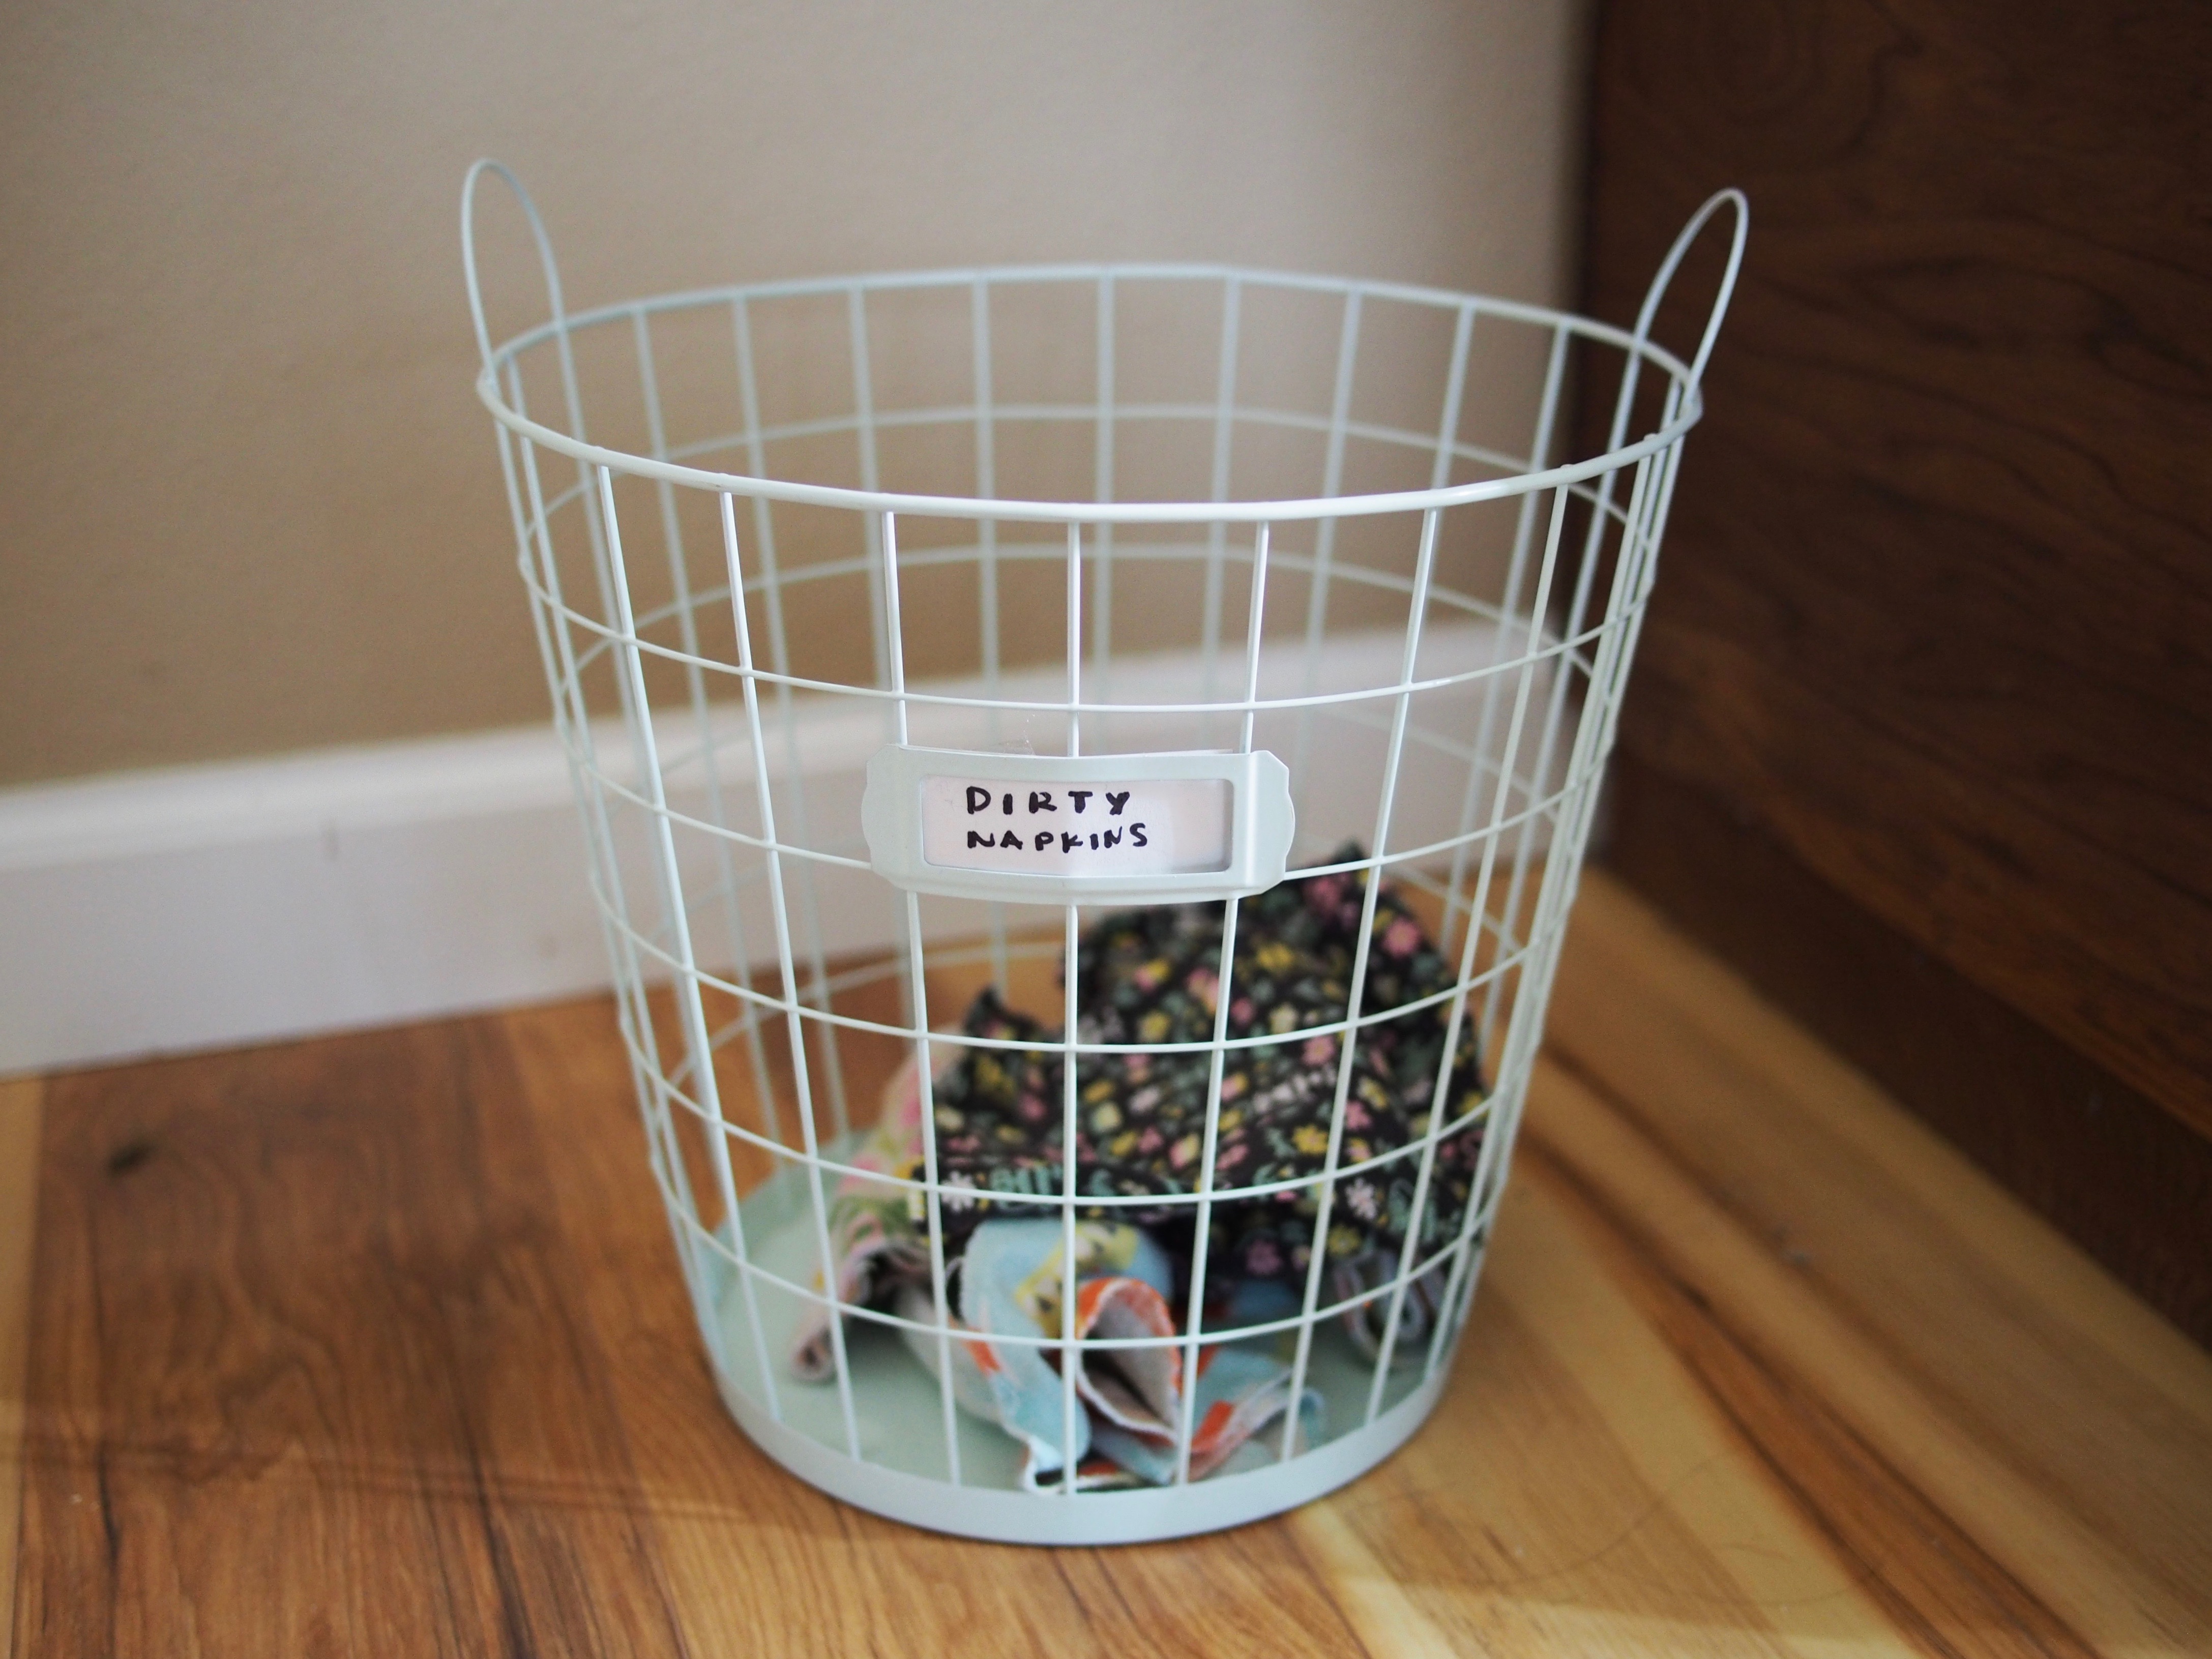
Before I made my own napkins I bought pretty antique linen ones from the Rose Bowl Flea Market. They were beautiful, and we used them at my wedding, but they were too fancy to use every day. I’ve also bought vintage napkins from Goodwill and newly made napkins on Etsy. Unfortunately vintage napkins are often made with acrylic or acrylic blend fabric and they are super unabsorbent. Anyway, I’m digressing. The point is that now I have kids and napkins get used very intensely. I can’t bother with shopping for just the right Goodwill napkins and I don’t like scratchy cotton napkins and I don’t want cute napkins to get ruined. So I make my own. Did I mention that I loathe hemming? Well I freakin’ do. I’d rather get a post-bikini-wax tweeze from a blind woman than hem the amount of napkins we need to get from wash to wash. The following tutorial makes the easiest, softest, sweetest alternative to paper napkins. I keep a basket for dirty napkins in the dining room and I wash them with kitchen towels.
If you’re looking for a very functional, very simple way to make your own reusable cloth napkins, here’s how I make mine.
Materials:
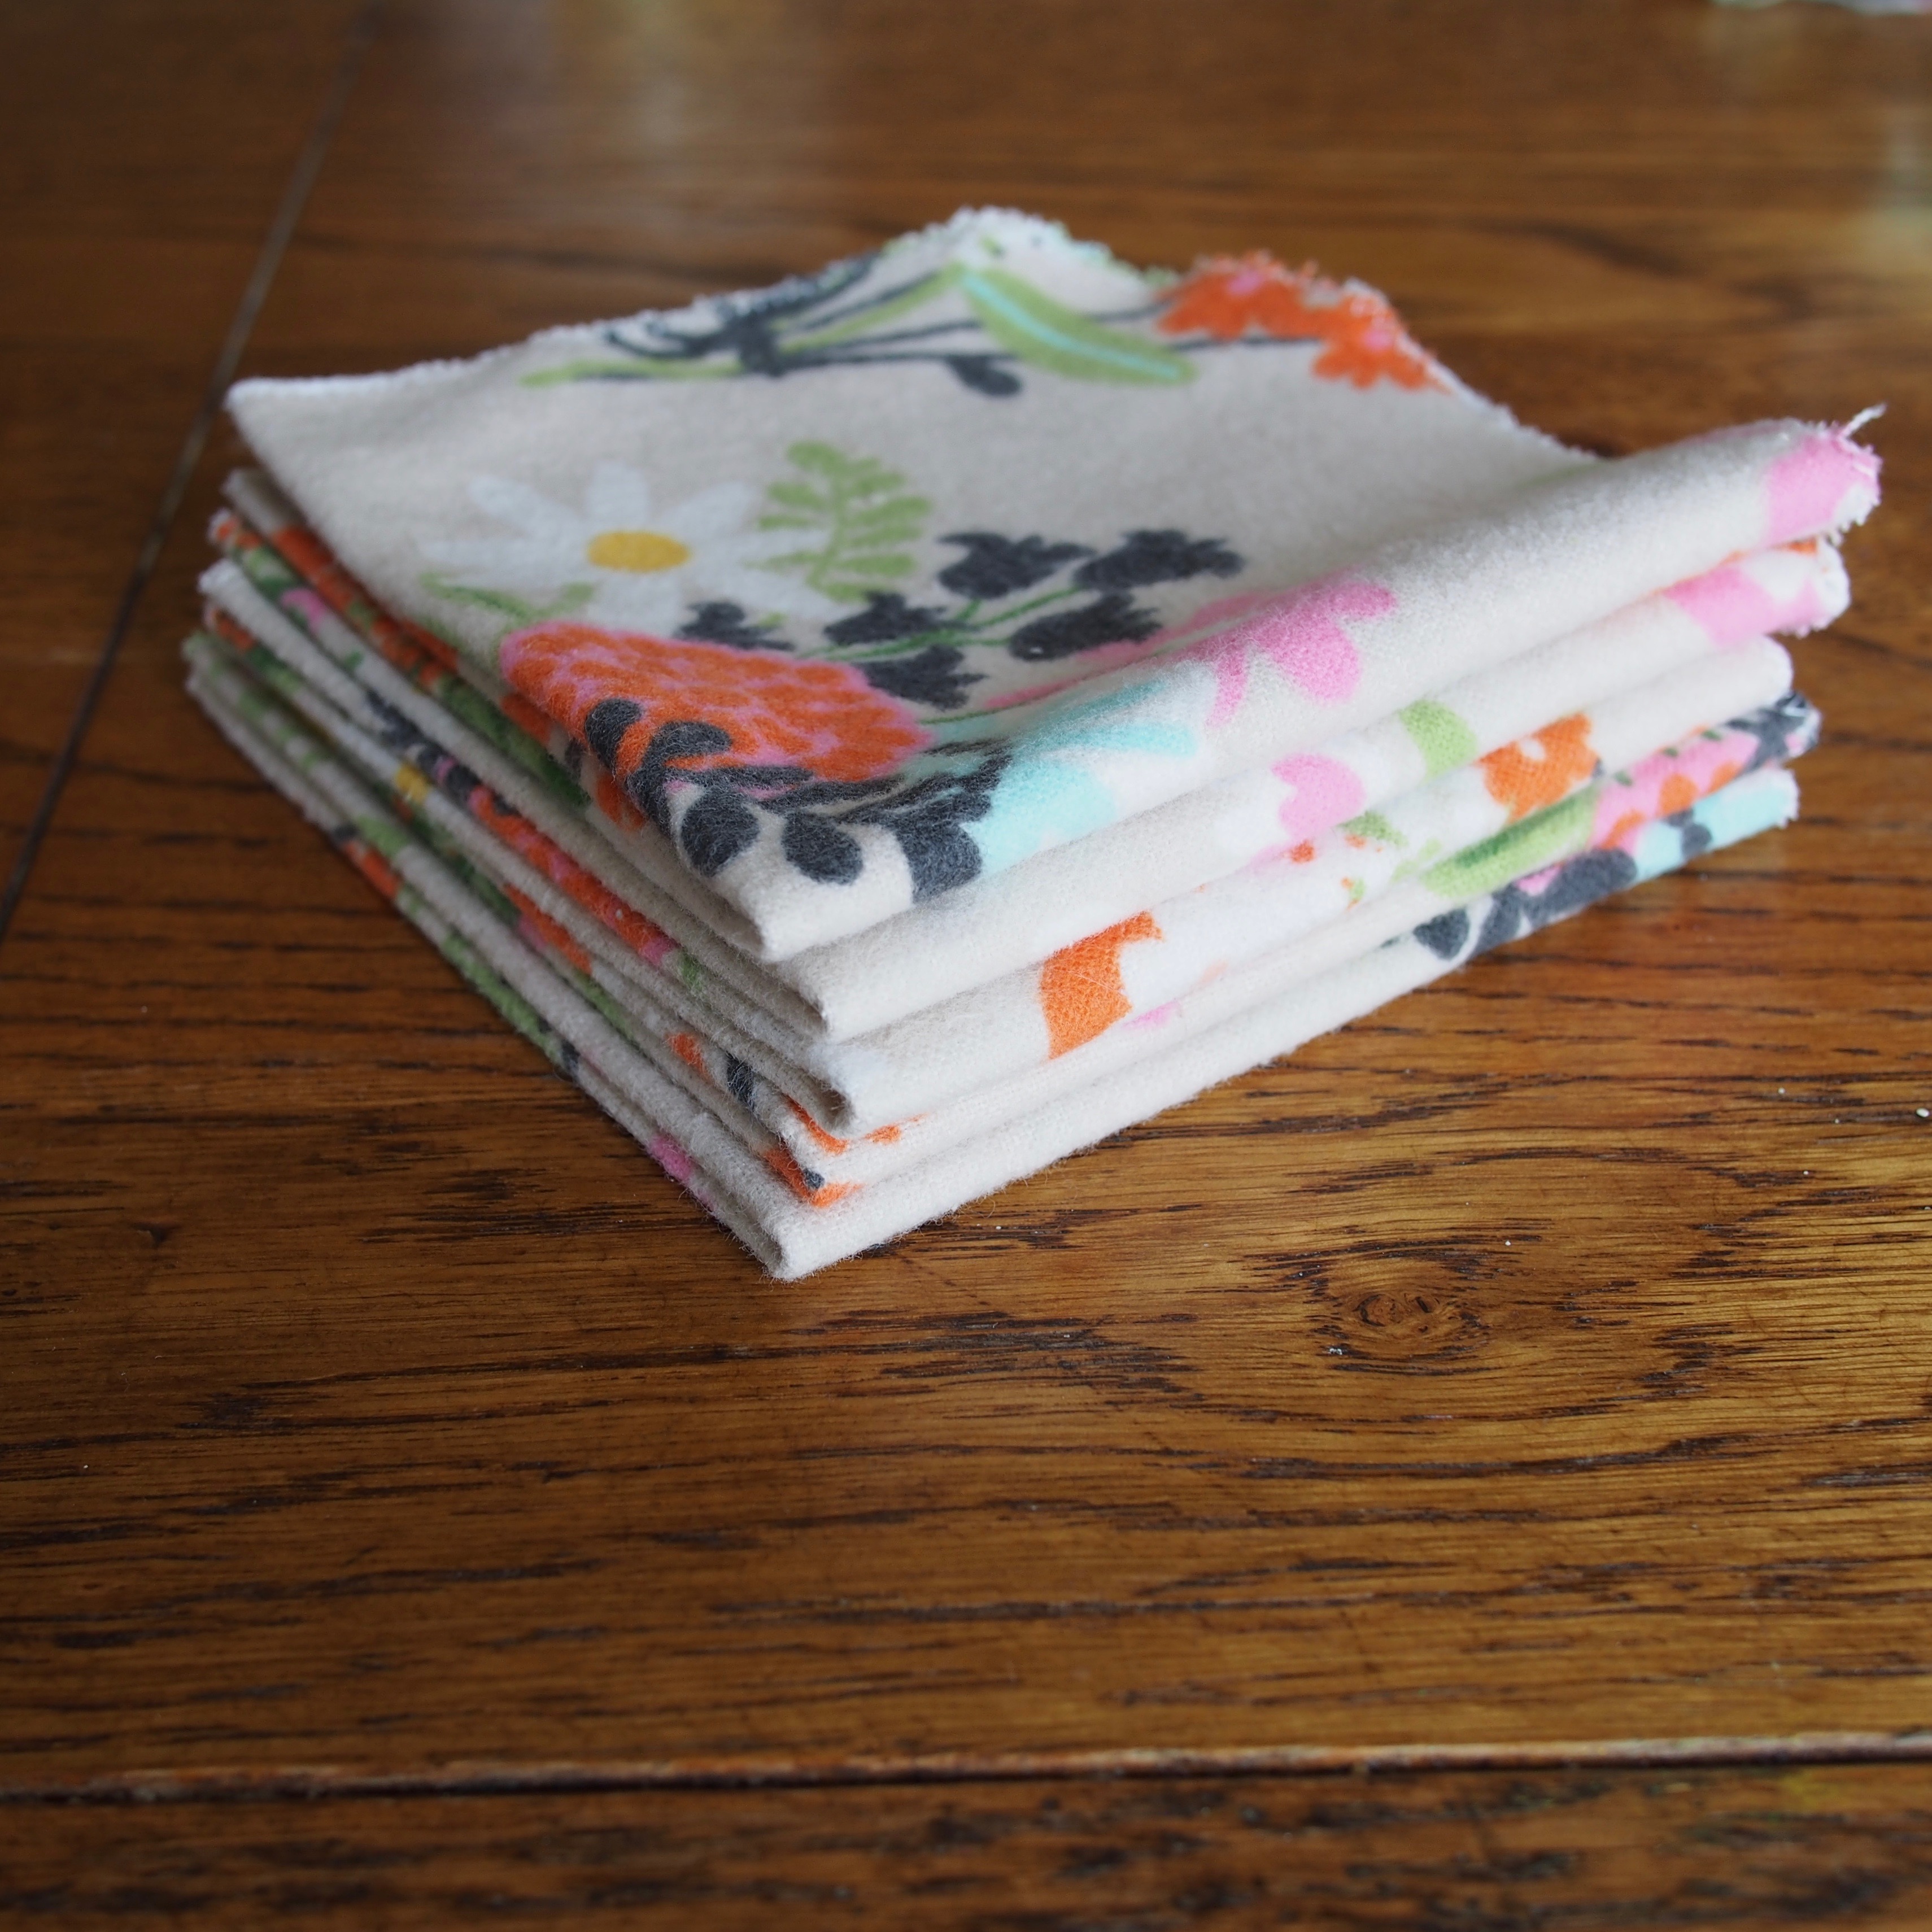
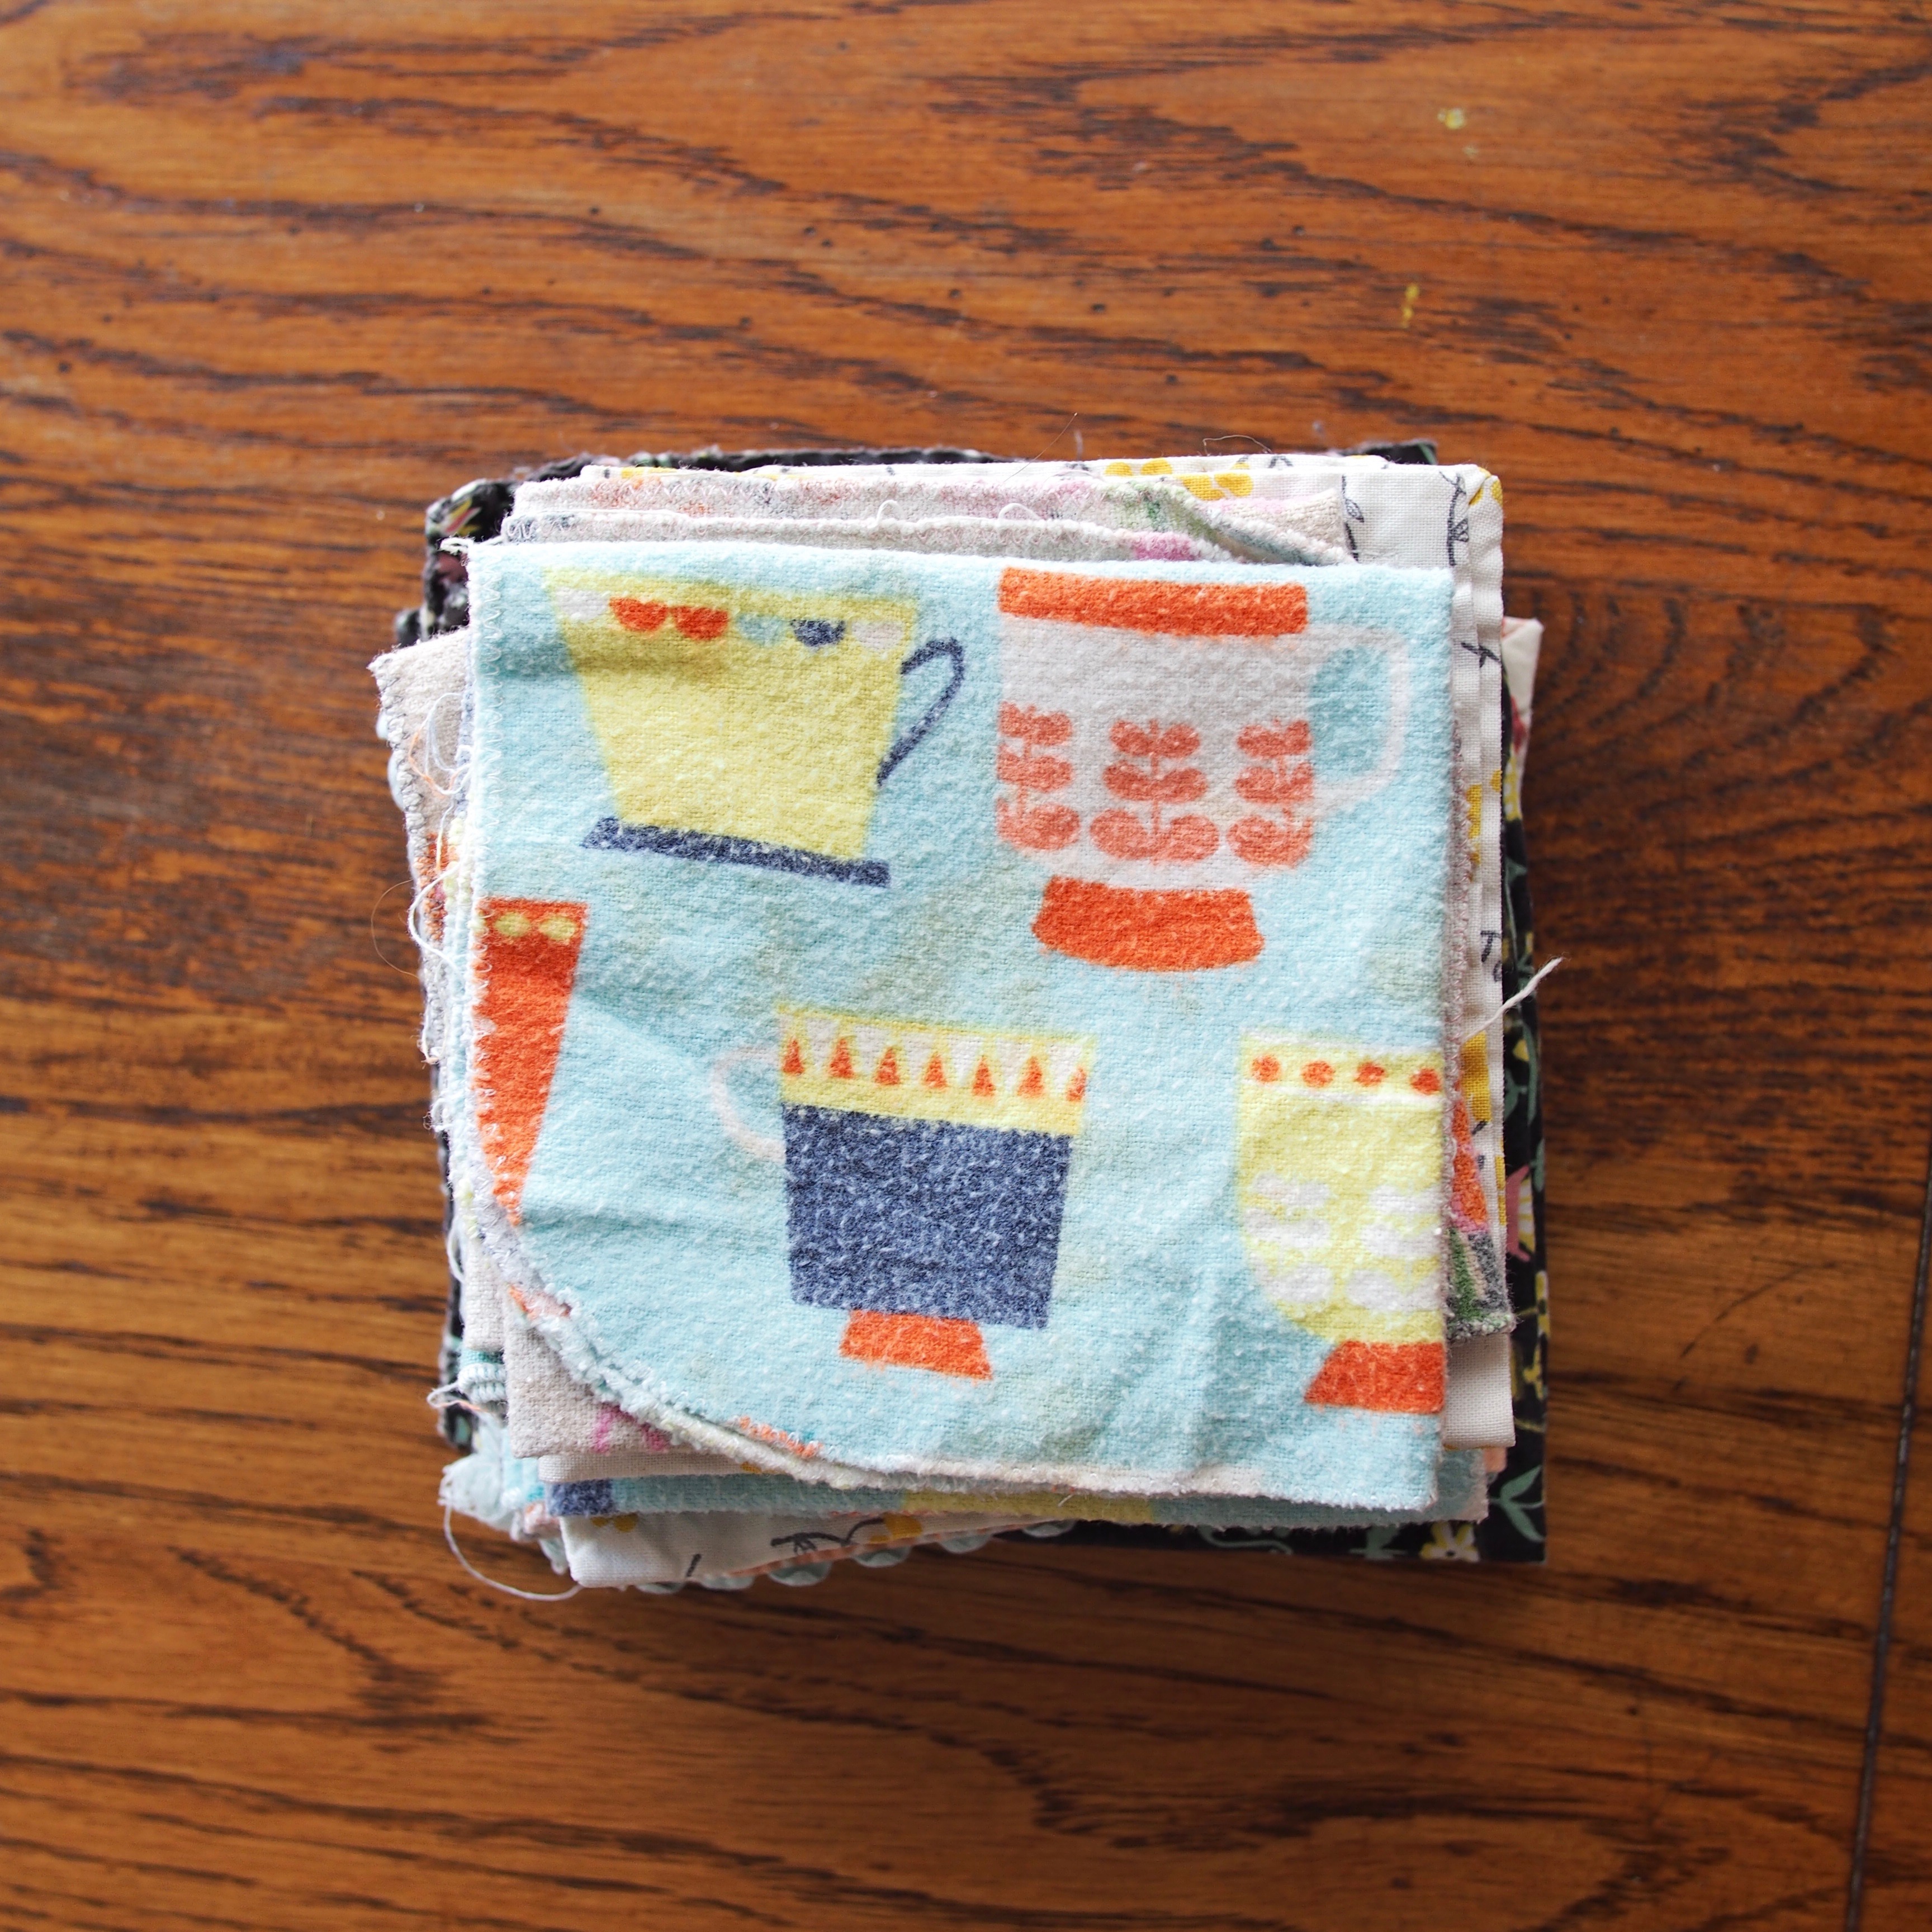
Pre-washed, ironed flannel, cut into 9″ x 9″ squares.
Tips: *Busy prints hide funky stitches and also stains. **Joann’s often has flannel for about $2.50/ yard in winter and spring. Old flannel sheets would also work great and they’d be FREE. You could even get buck wild and dye old sheets to give them new life.
Tools:
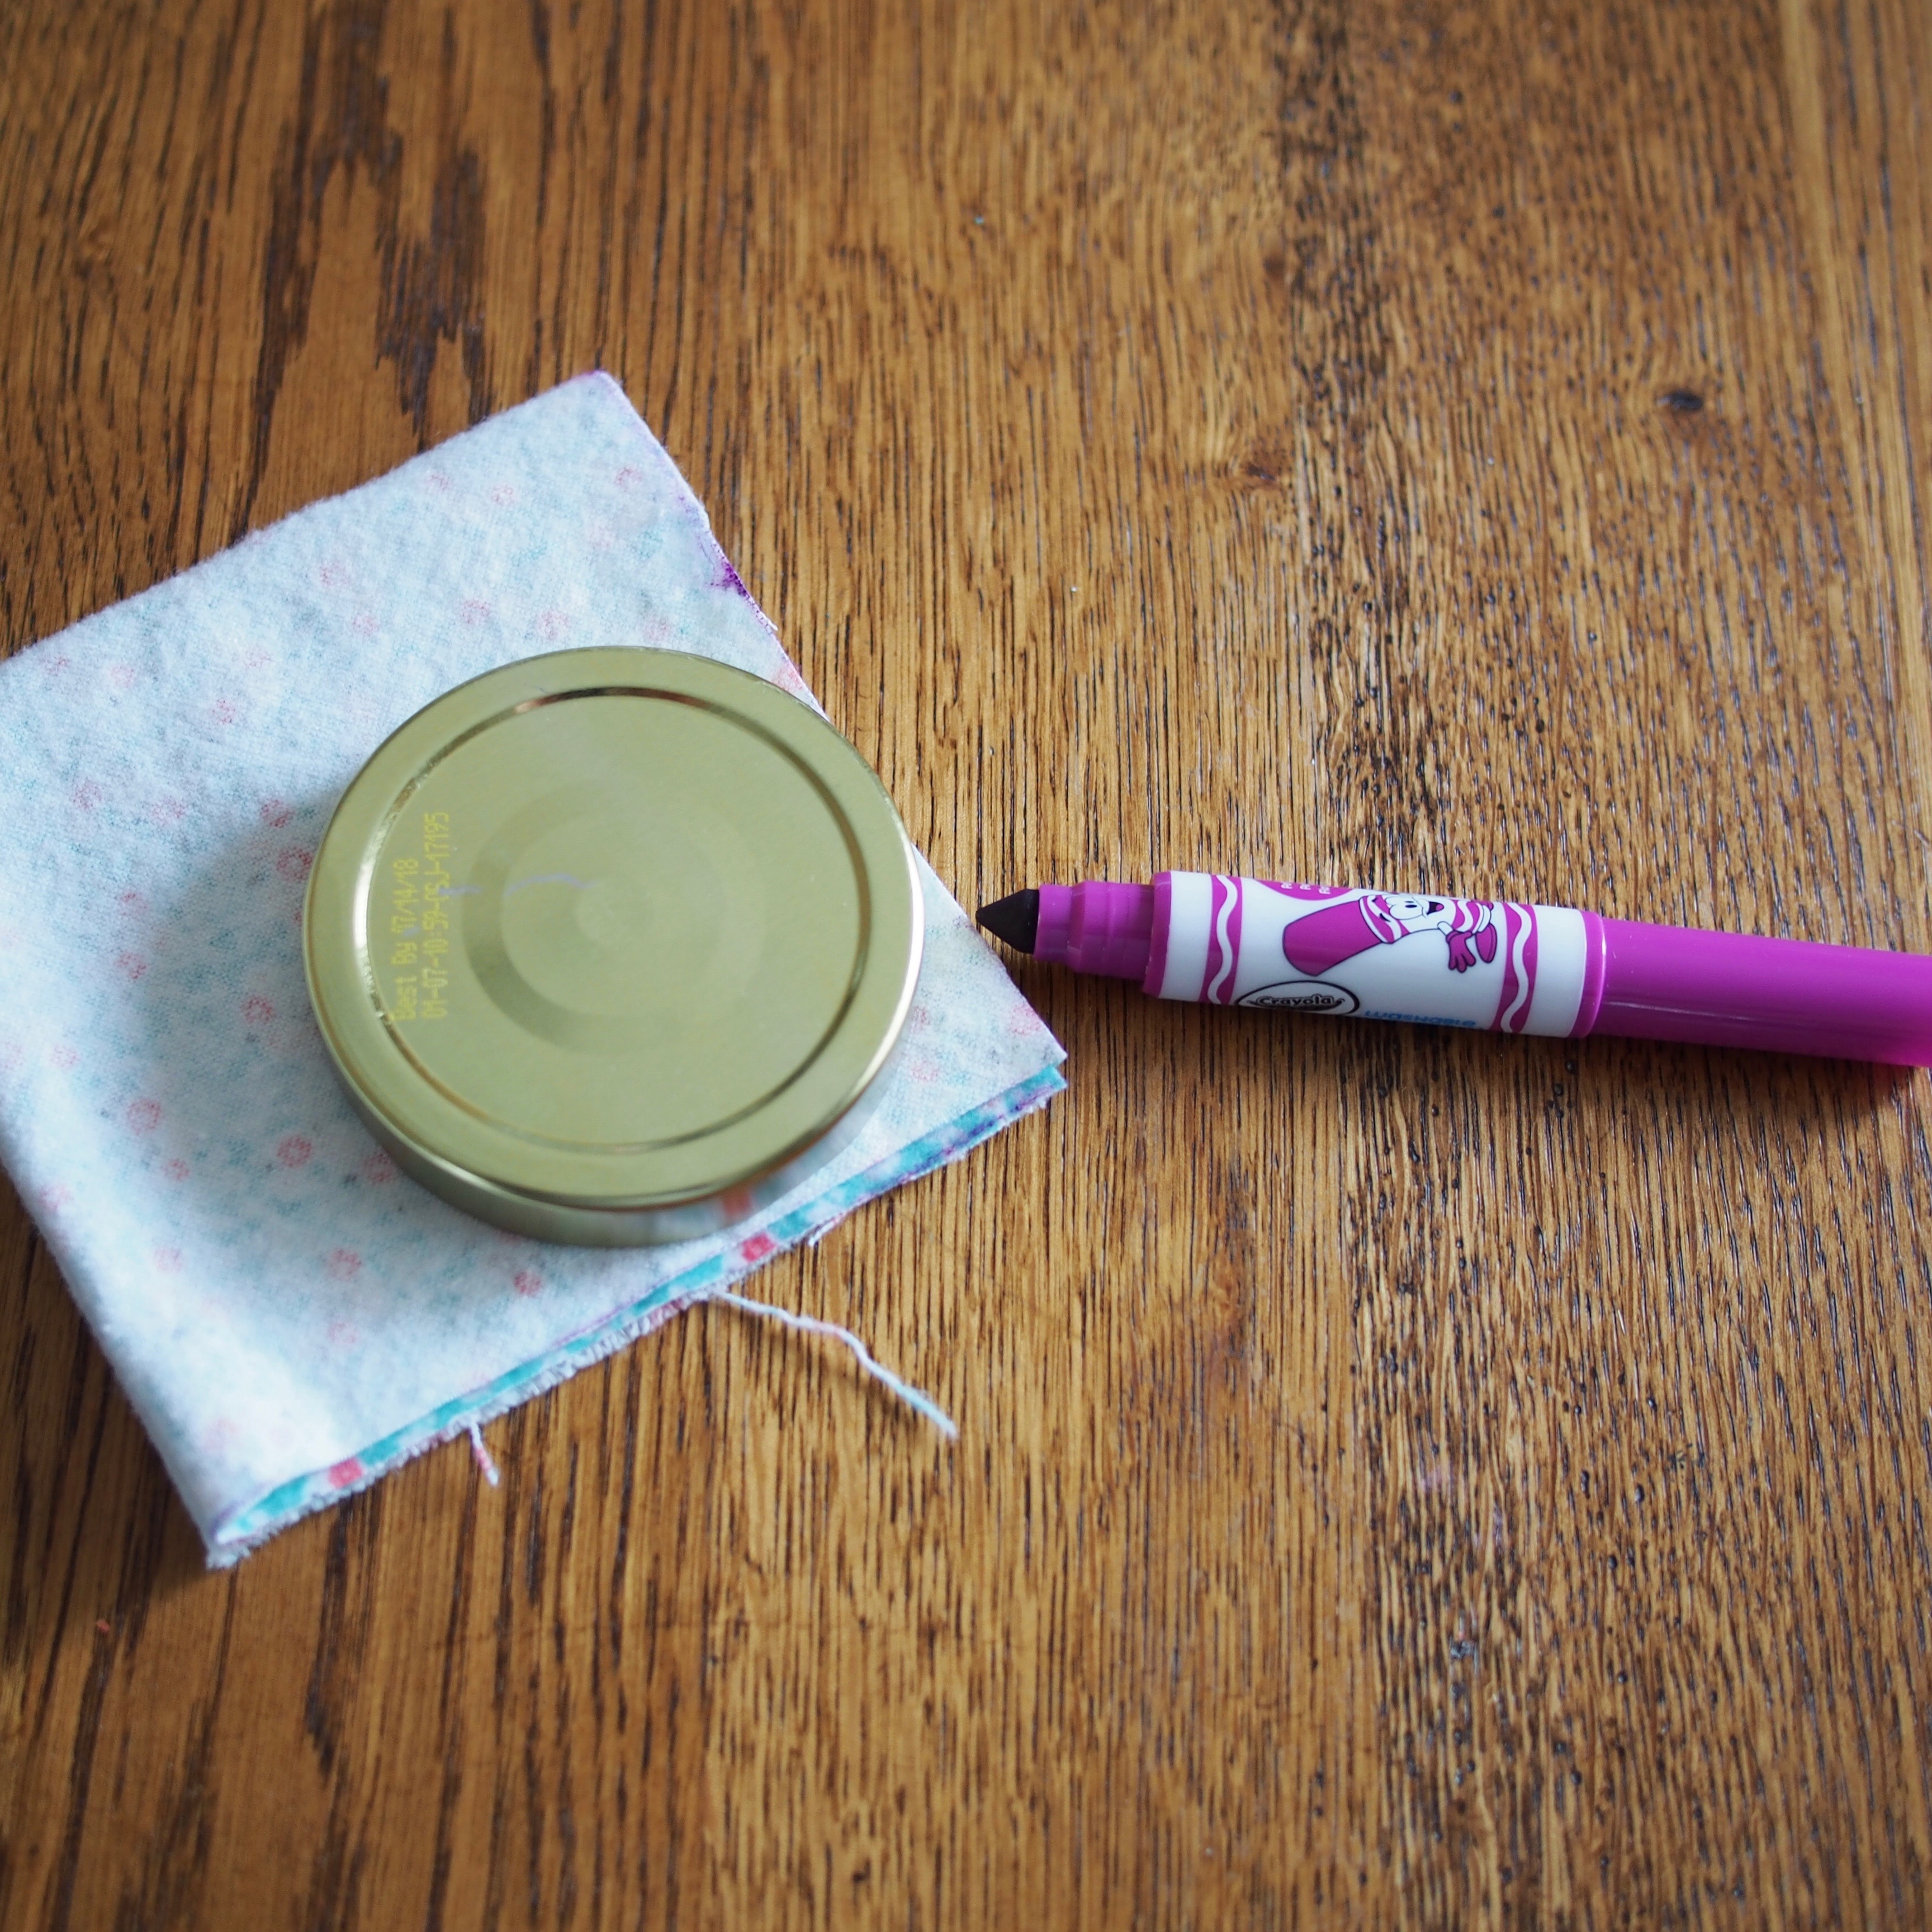
Sewing machine, ruler, washable marker, scissors, thread.
Step 1.
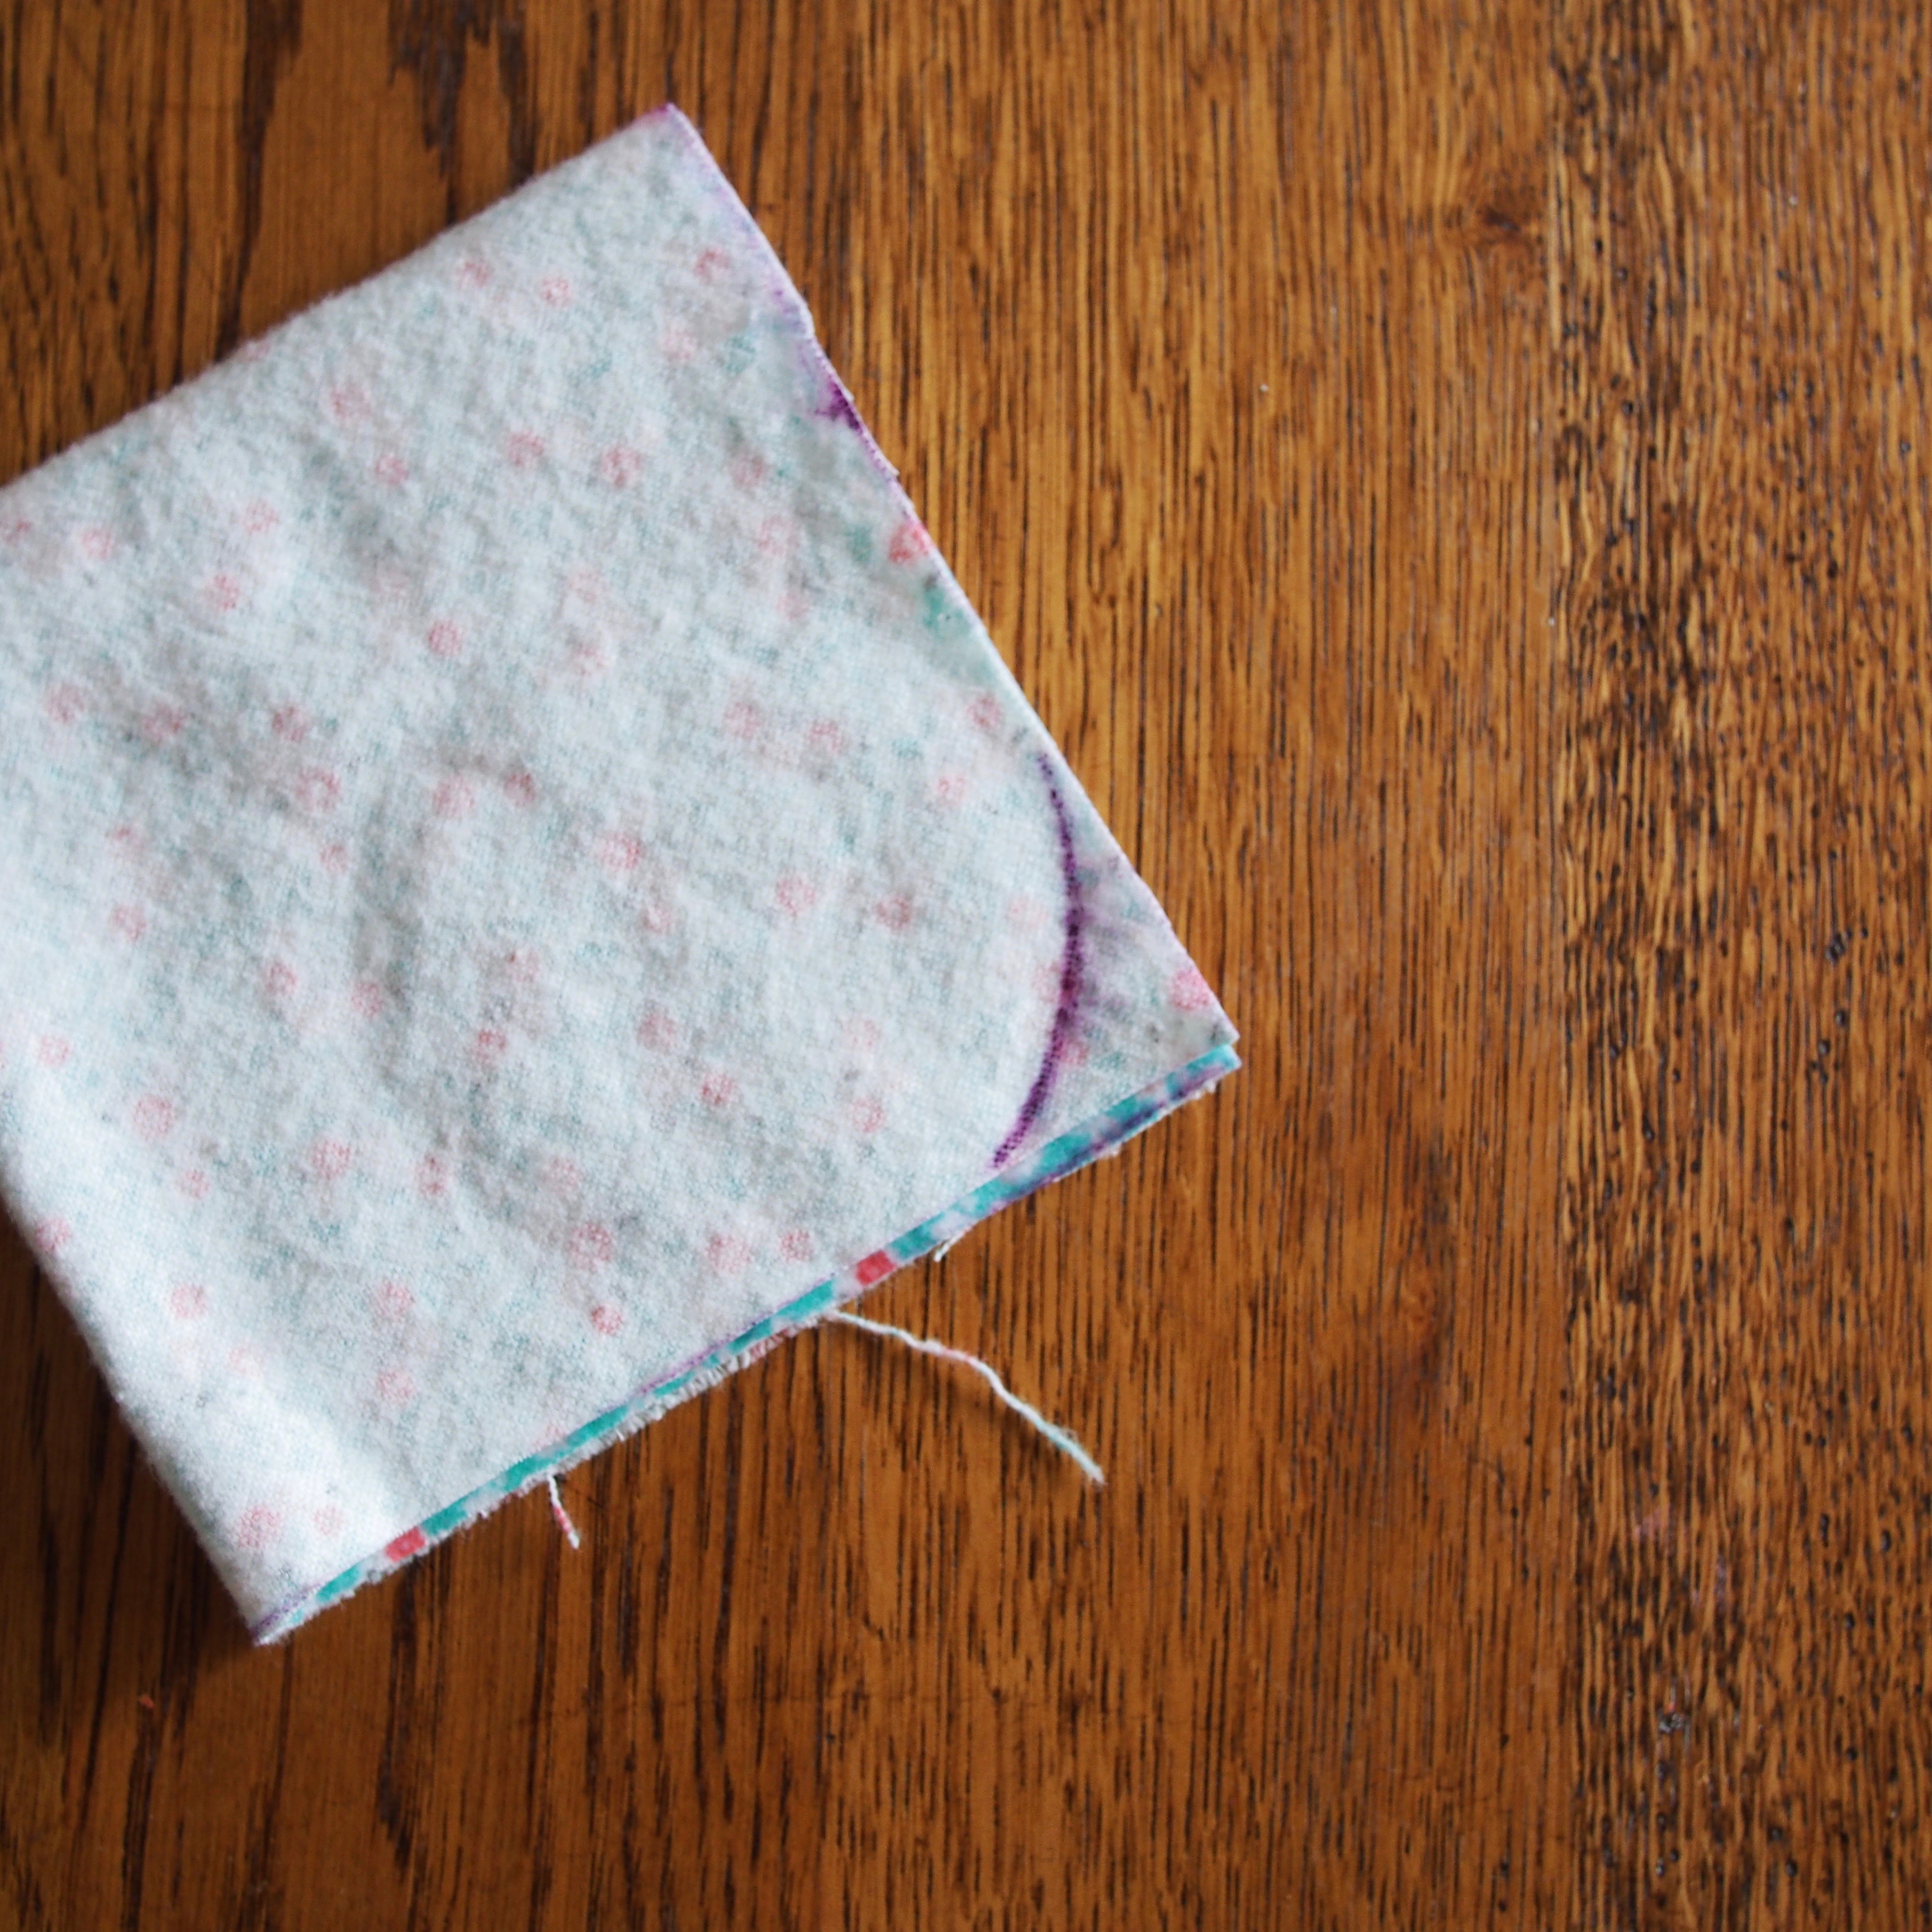
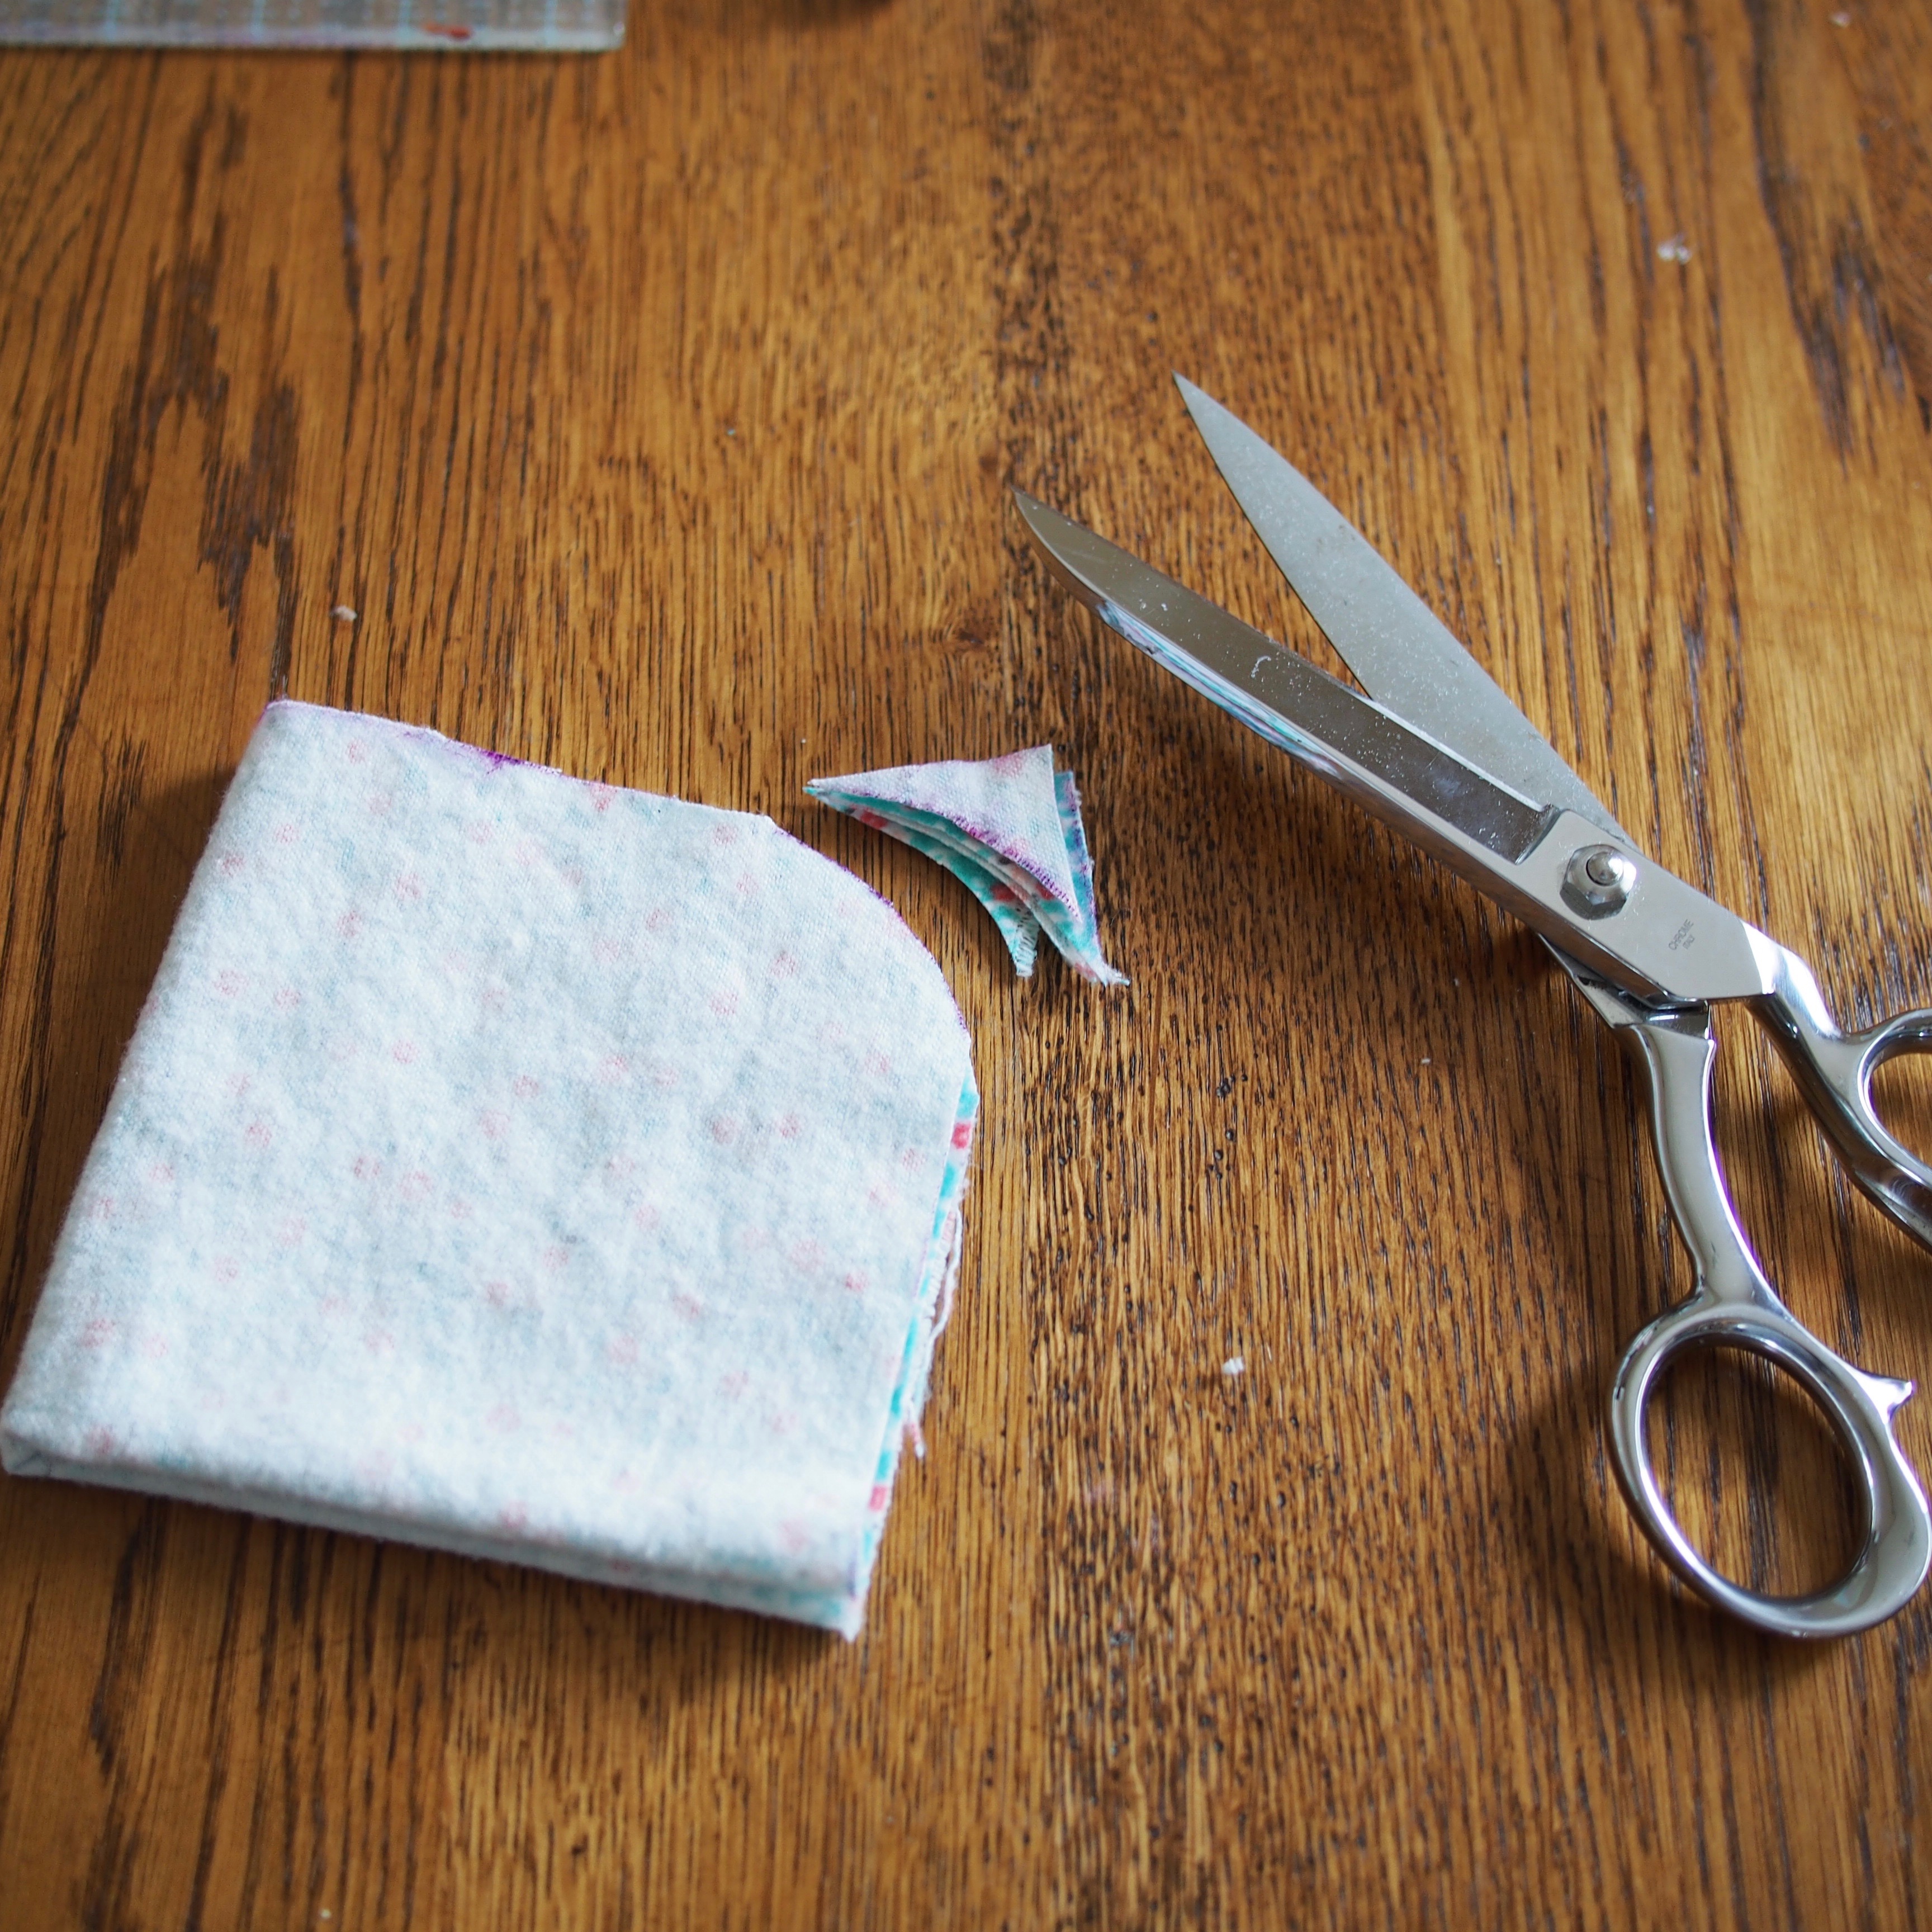
Fold each 9″ square into quarters. On the corner with all the open folds, use a cup to trace a rounded edge with a washable marker. Cut on the line, through all layers. Unfold and lay flat.
Step 2.
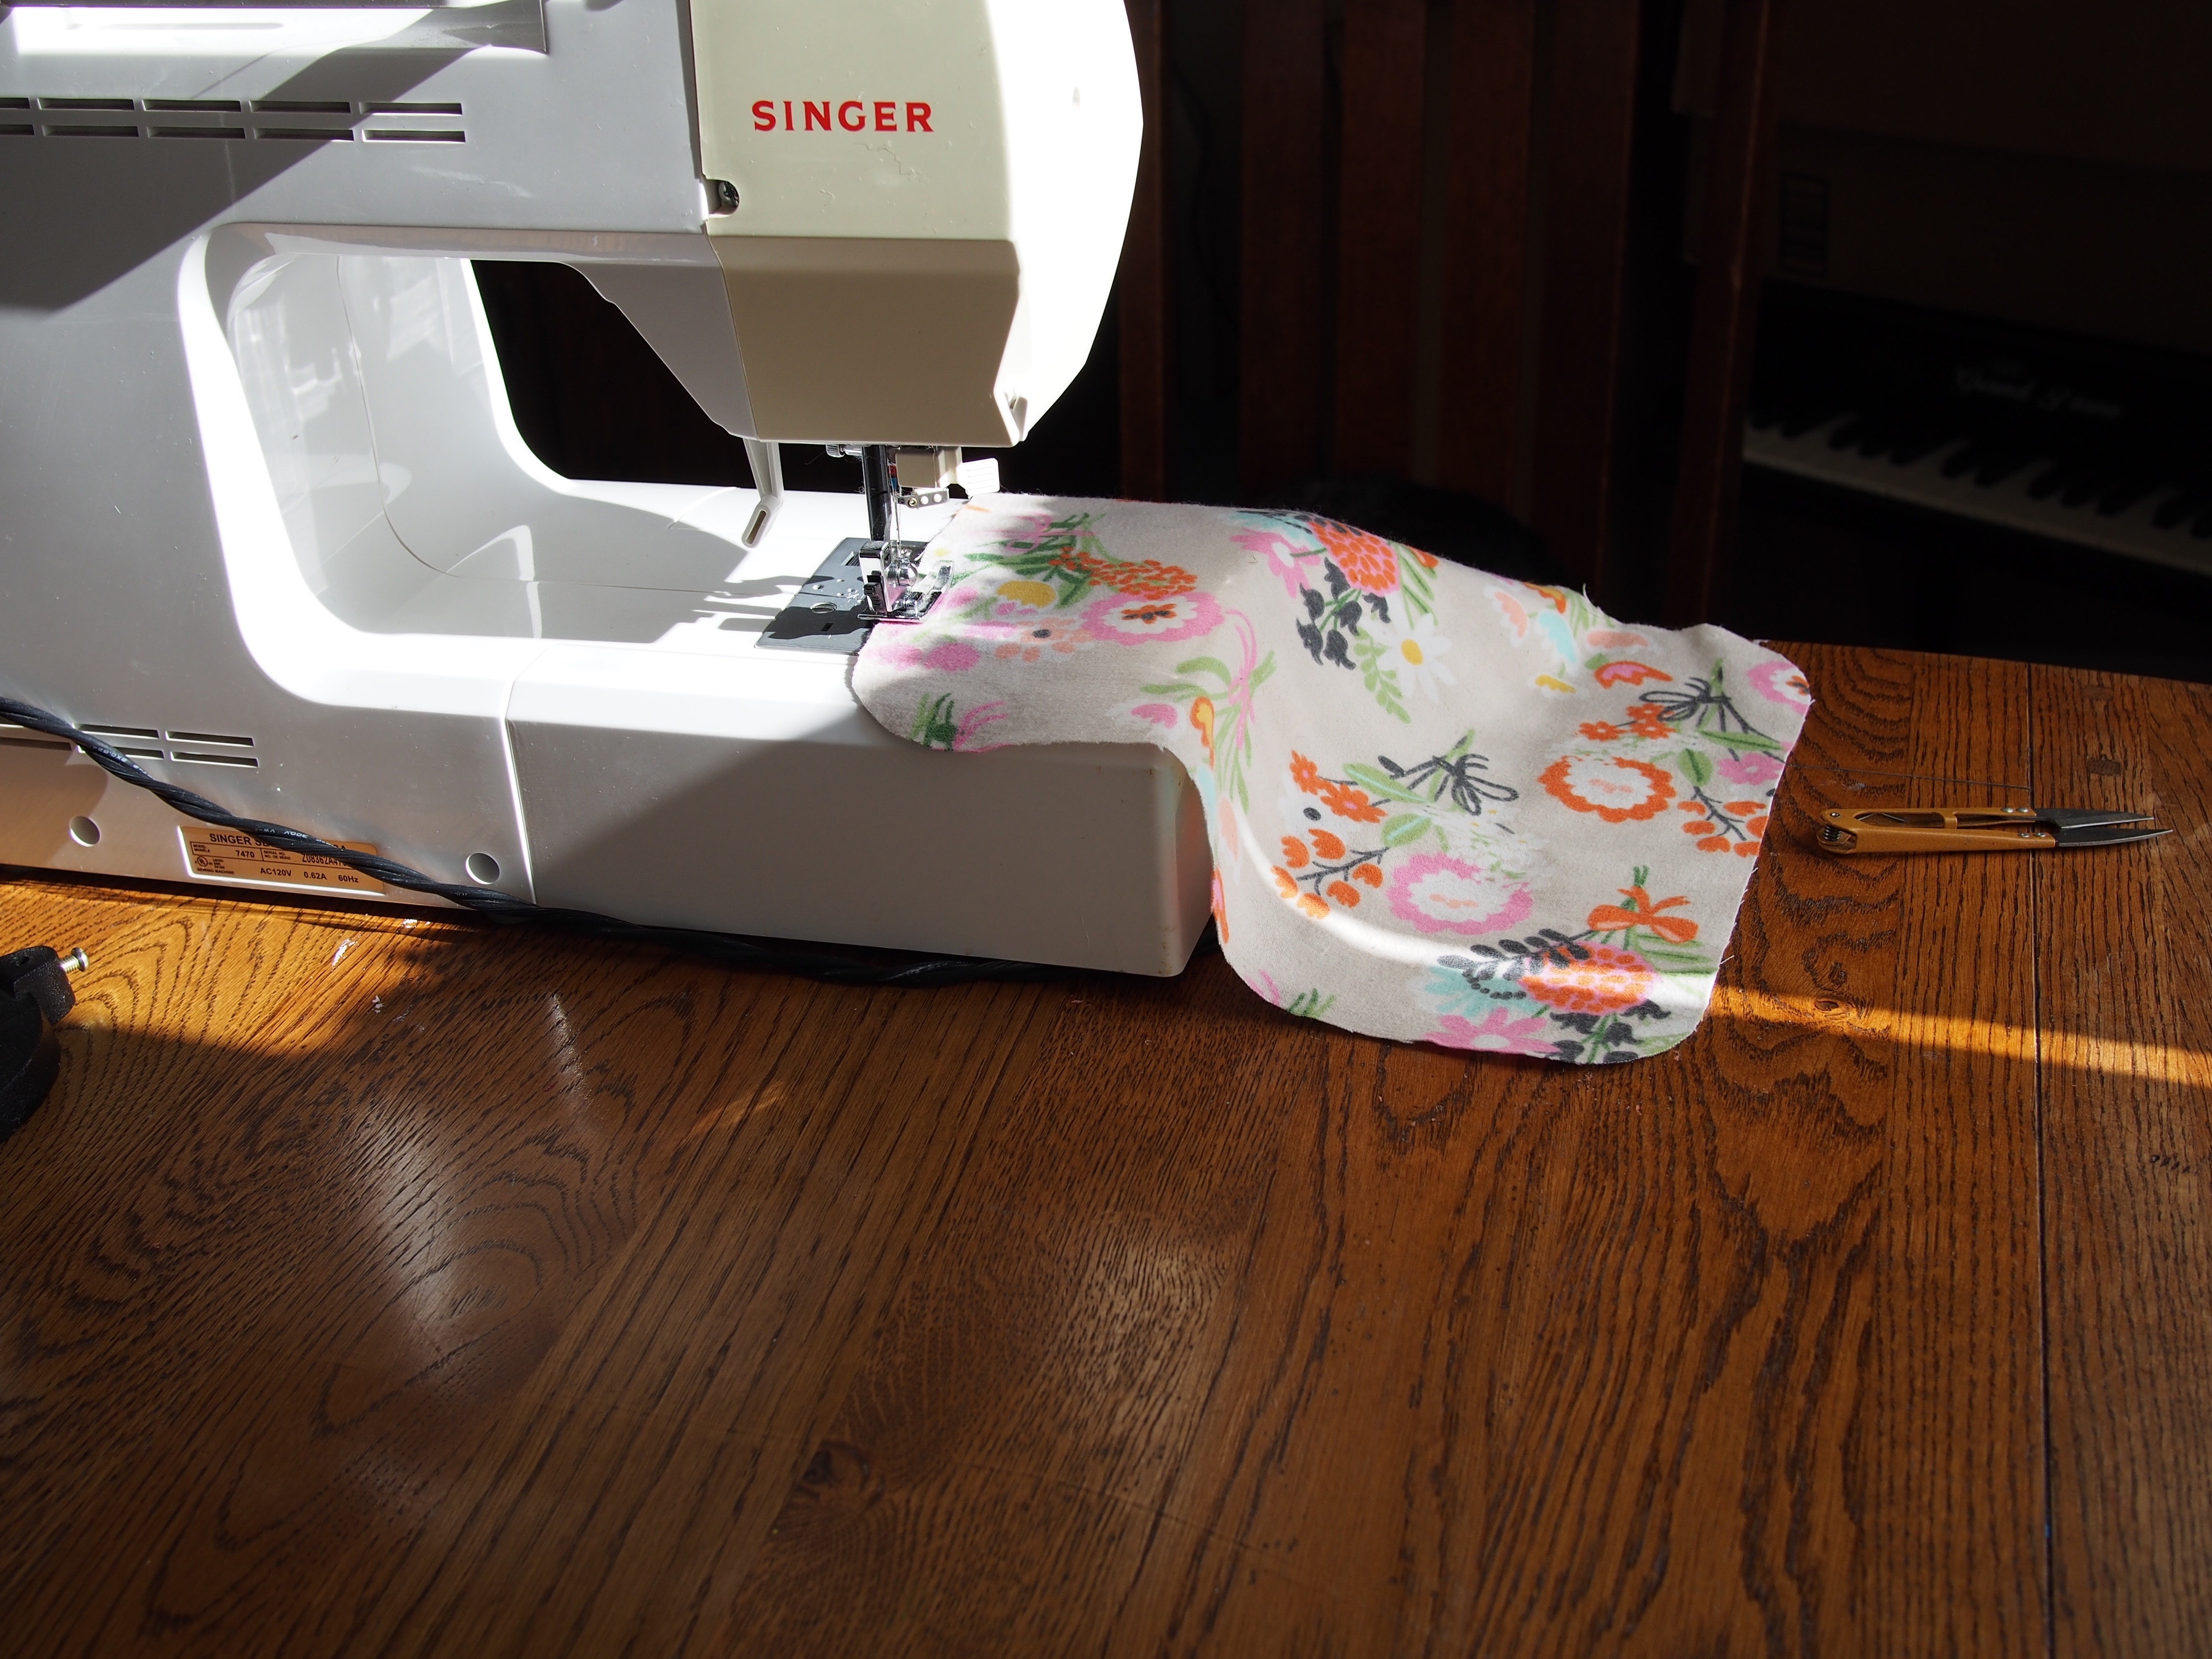
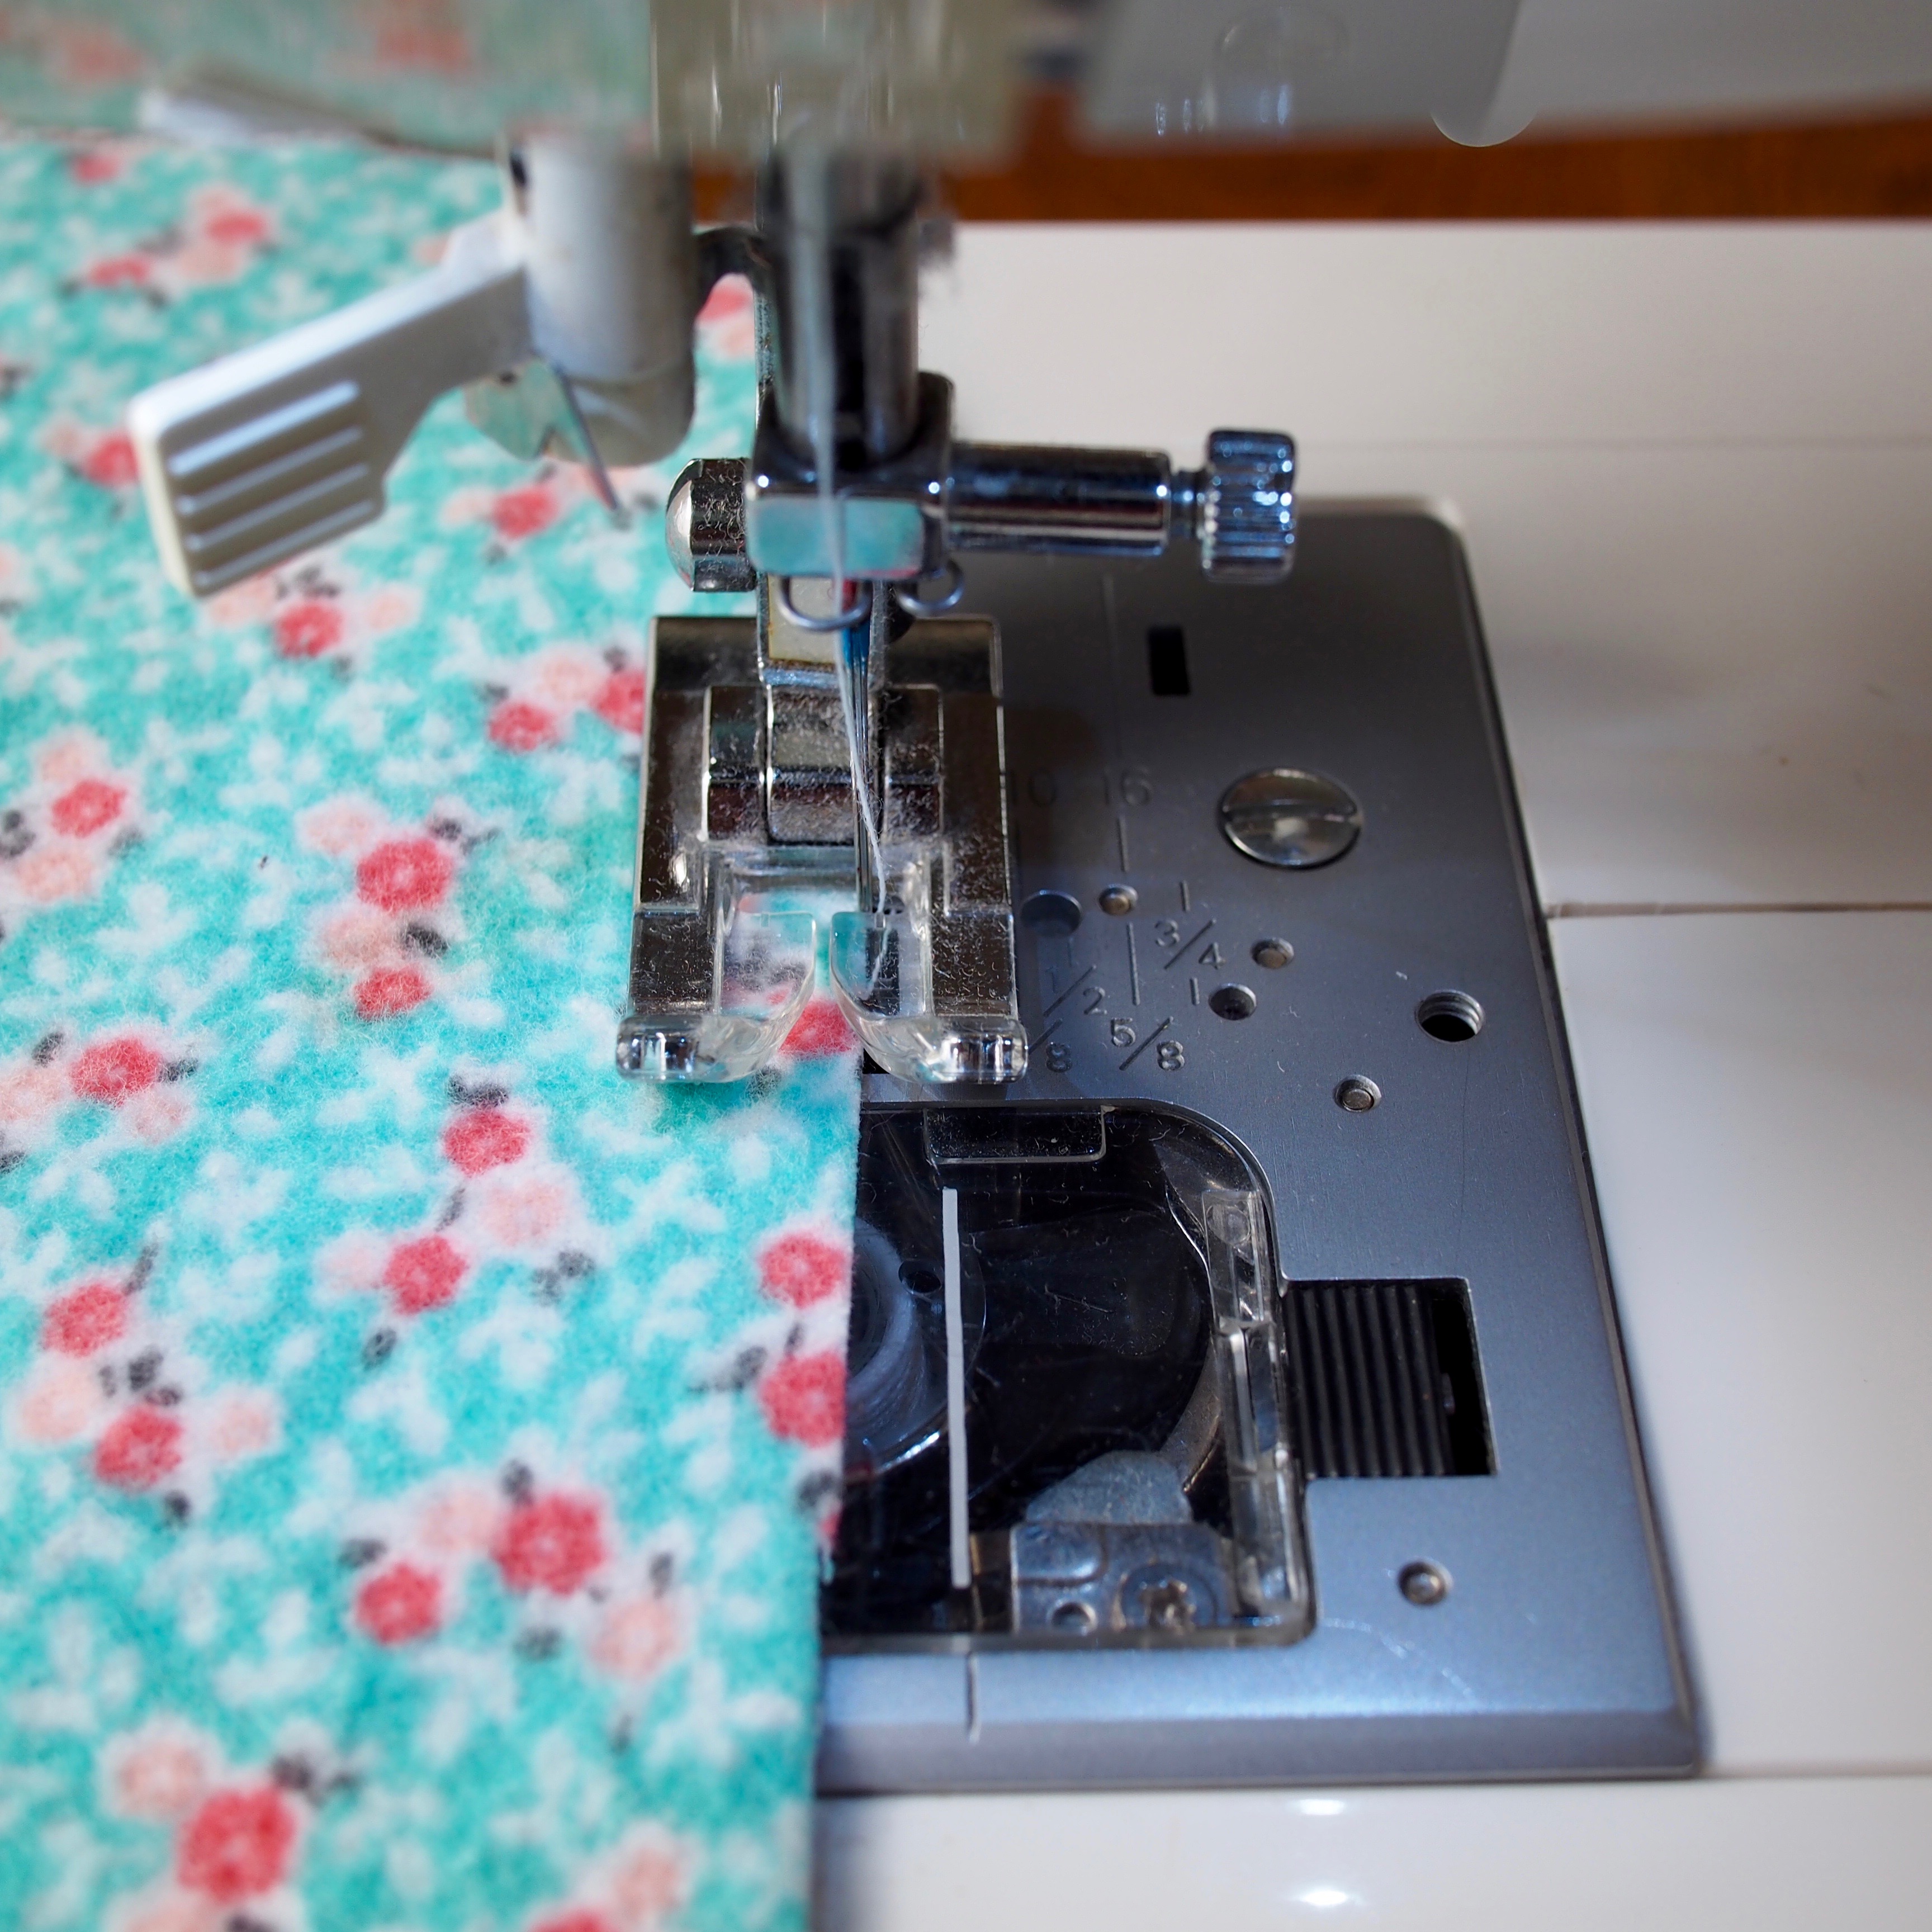
Set your sewing machine to zig zag stitch. We’re looking for a wide stitch (side to side), with a short distance between each stitch. I set my machine to nearly the widest setting and slightly shorter than the standard stitch. If you’re not familiar with stitch settings I’d suggest taking a scrap piece of fabric and playing around with the zig zag stitch options until you get something that looks like what you see in the pictures. A really long stitch length will mean lots of frayed fabric and a really short stitch length will mean lots of wasted thread, wavy napkin edges, and possibly lots of knots along the way. Take a close look at the placement of the needle in the following pictures.
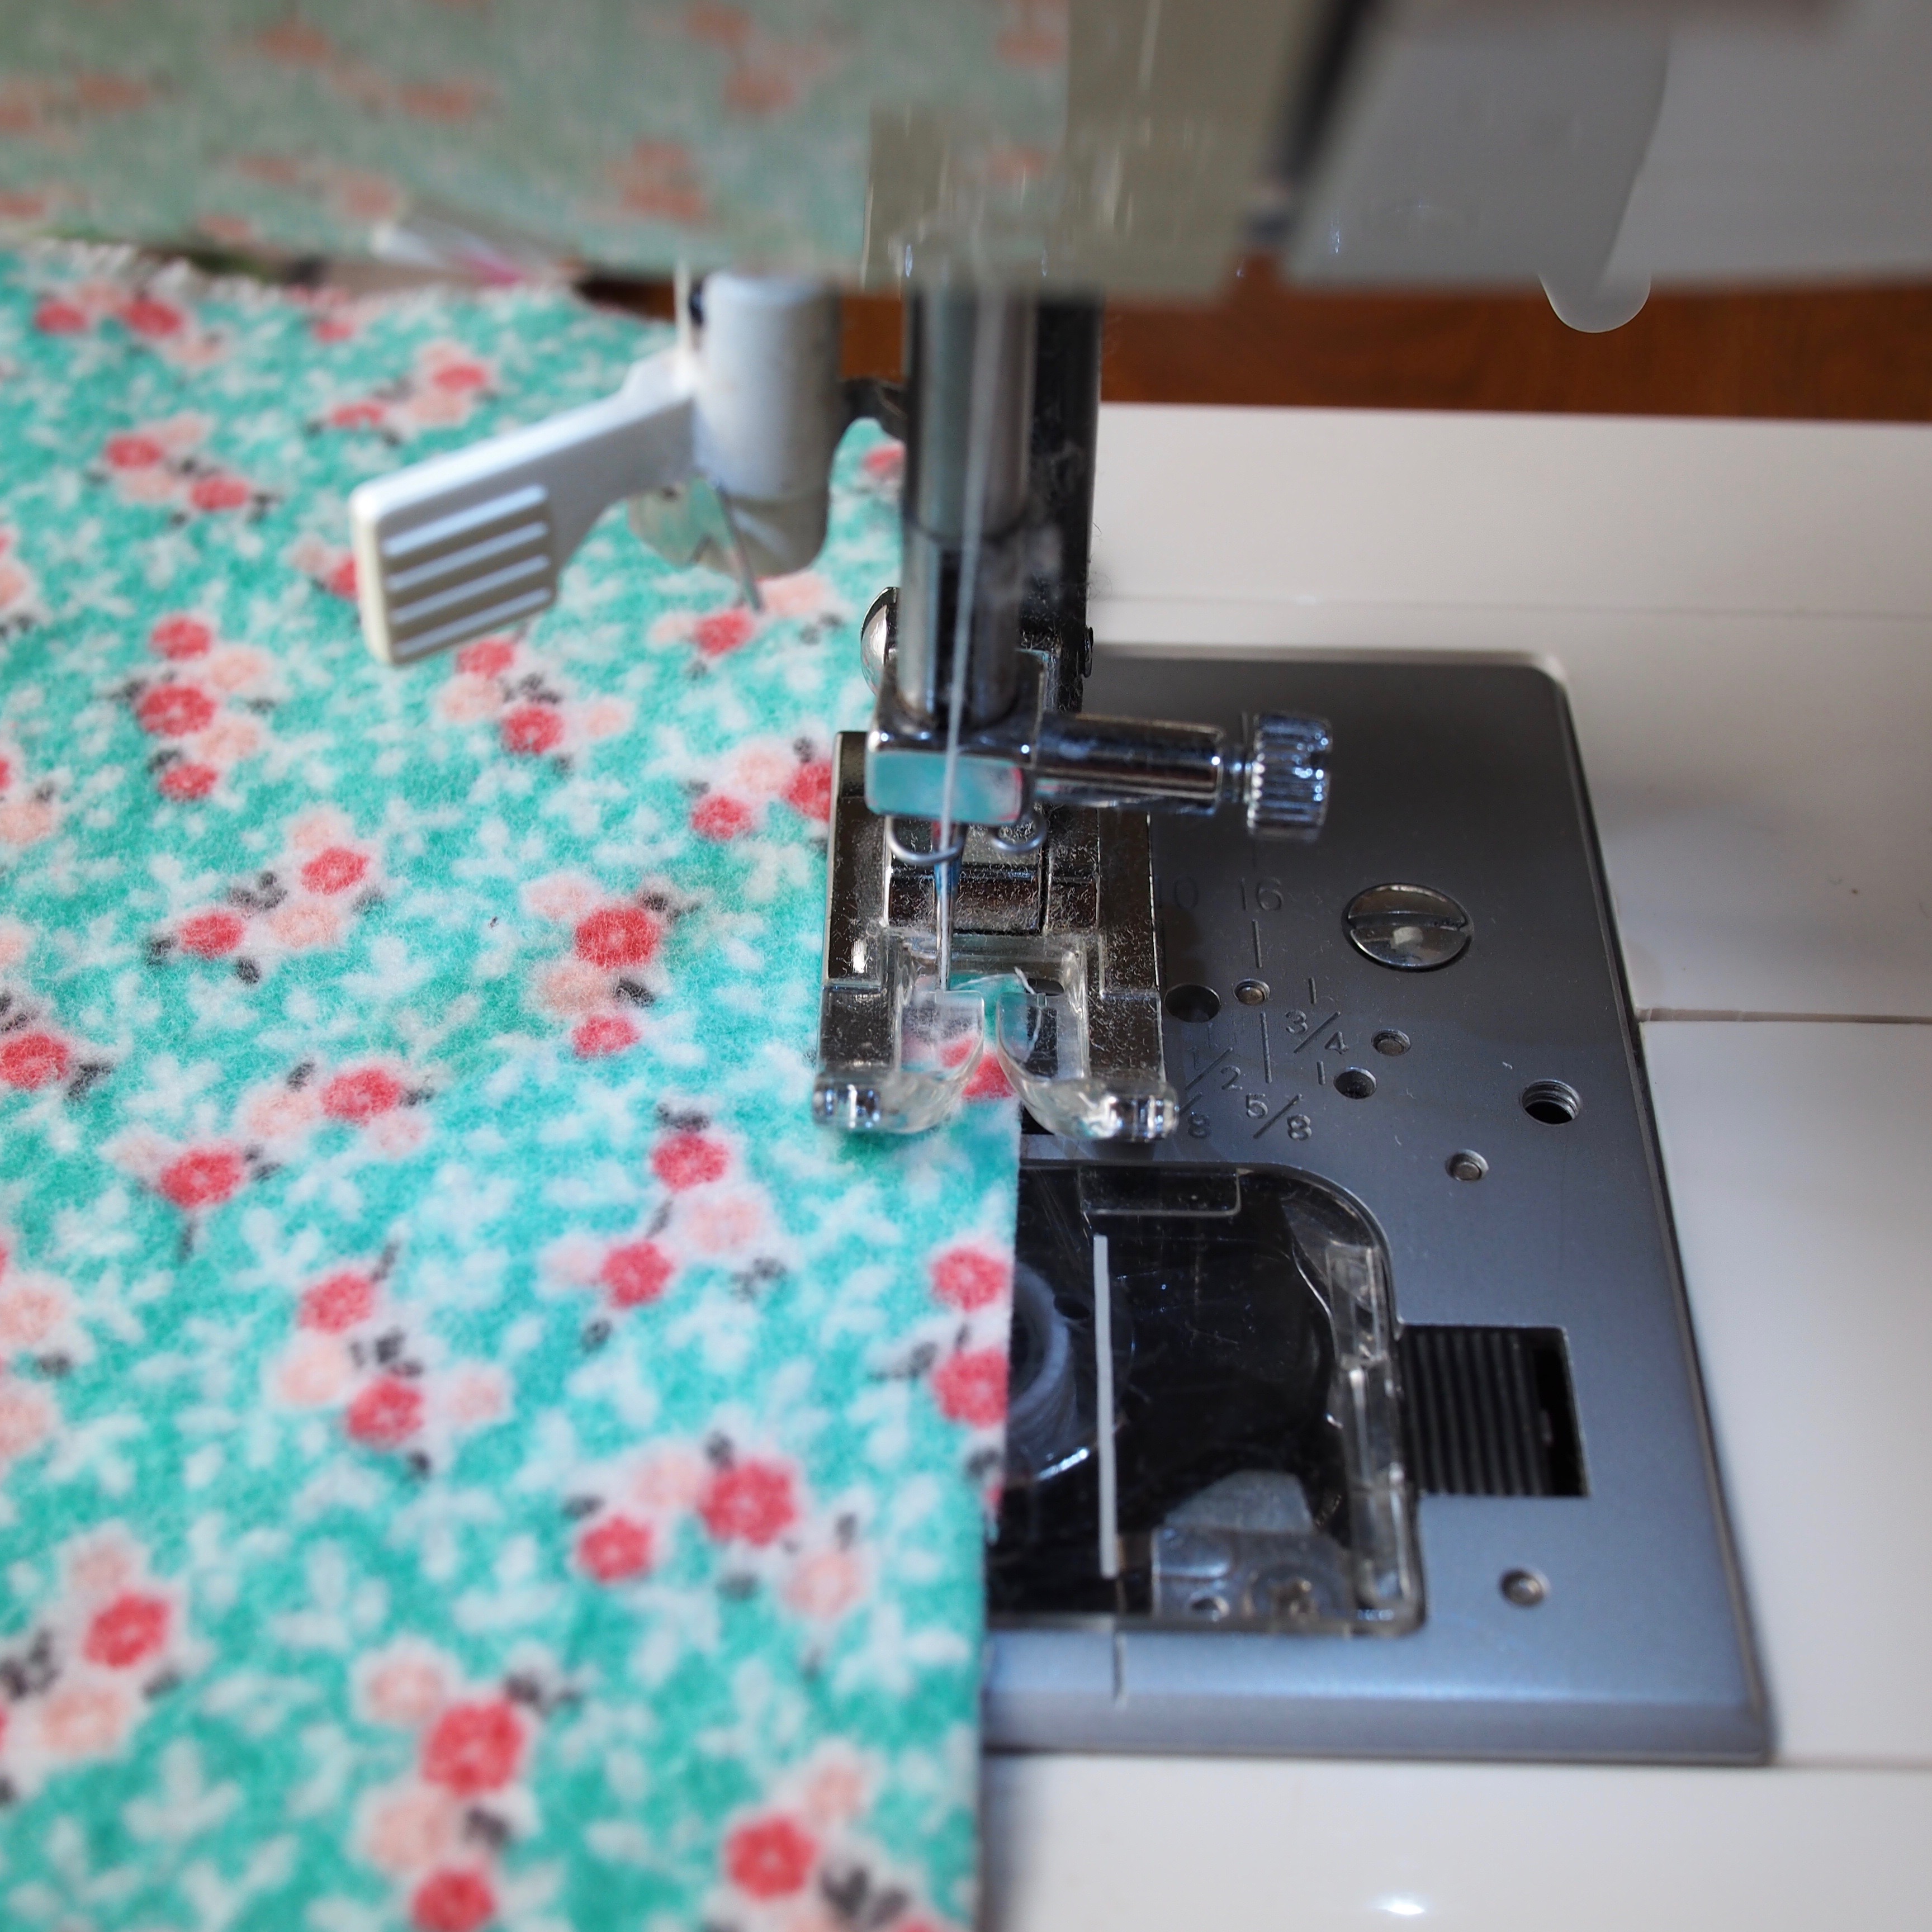
Step 3.
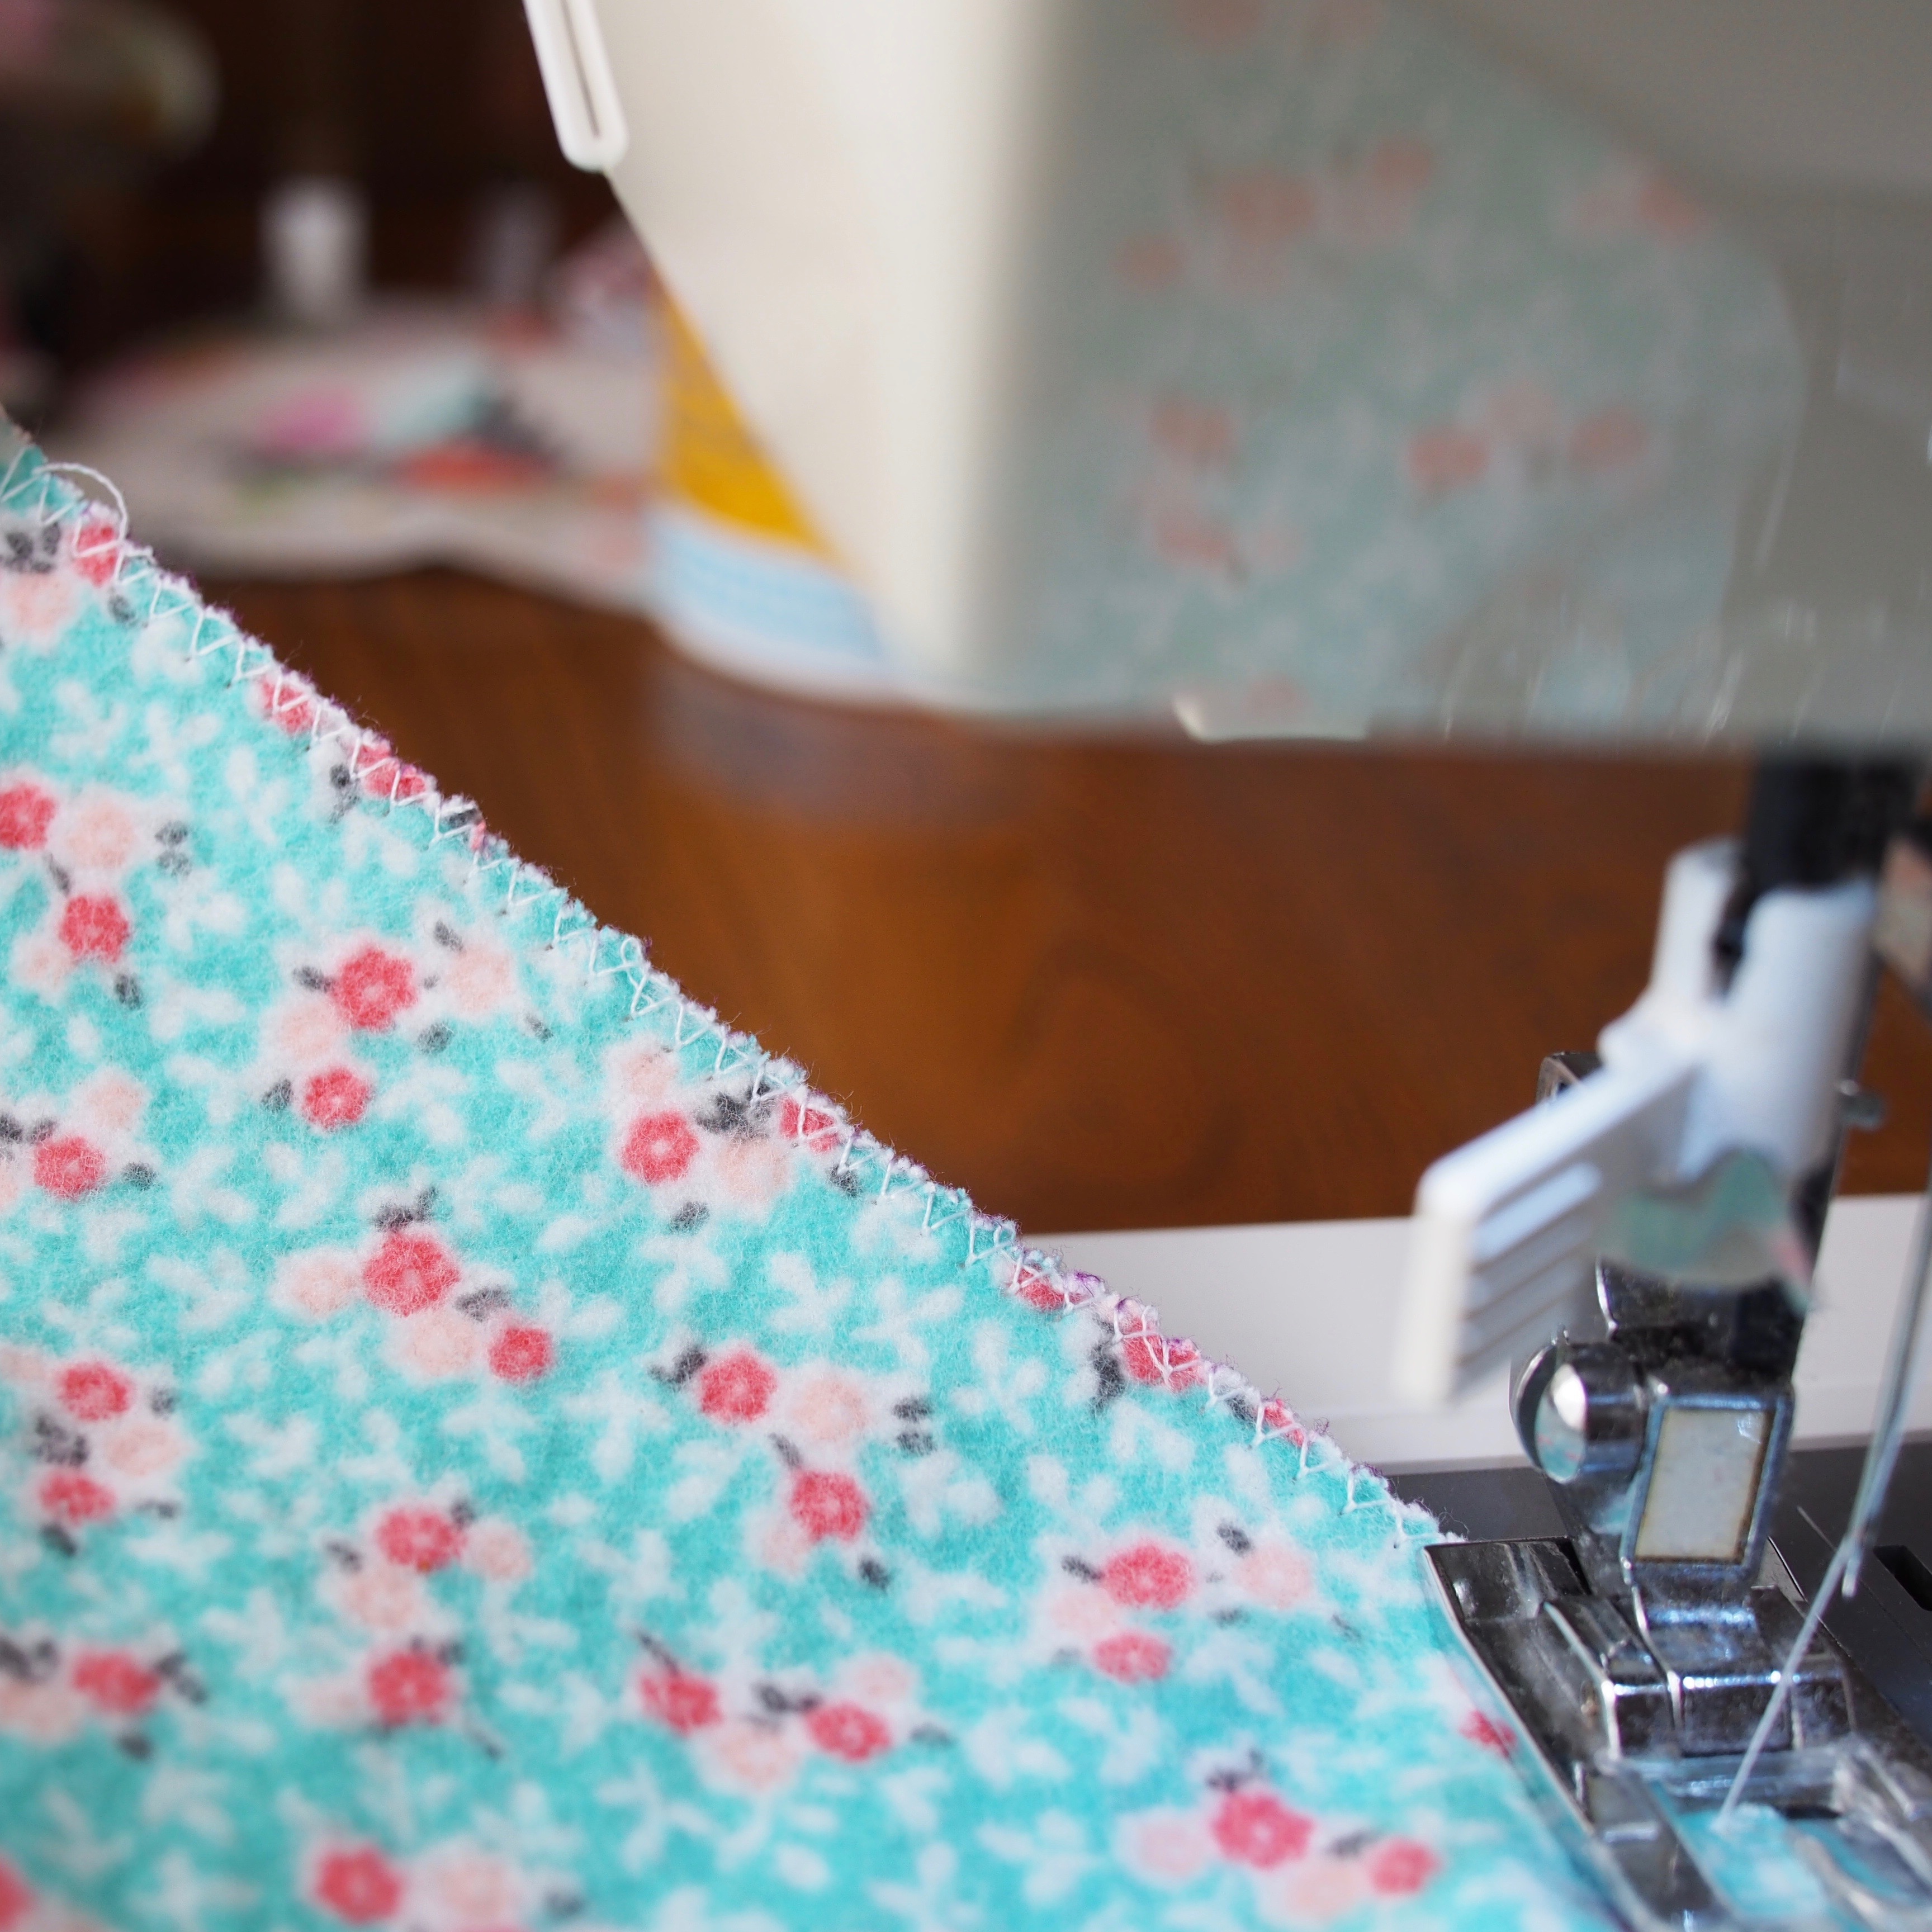
Go ahead and sew around your fabric, taking a little extra time as you go around the corners. To go around the corners, use your left hand to gently pivot the fabric as you stitch. Don’t yank the fabric. If you’re having a hard time going around corners it may help to insert the needle into the fabric, take your foot off the pedal, lift the sewing foot, and turn the fabric. Then put the sewing foot back down and continue sewing slowly. It’s okay to go back over spots you missed, and don’t stress out about “ugly” spots. These are family napkins after all, not tea with the Queen napkins. Using a fabric with a print on it helps hide not just stains, but also funky sewing. When you’ve gone all the way around the napkin, overlap your first stitches by about 1/2″ and stop sewing. Remove the needle and snip the loose threads. All done! YOU MADE A NAPKIN!
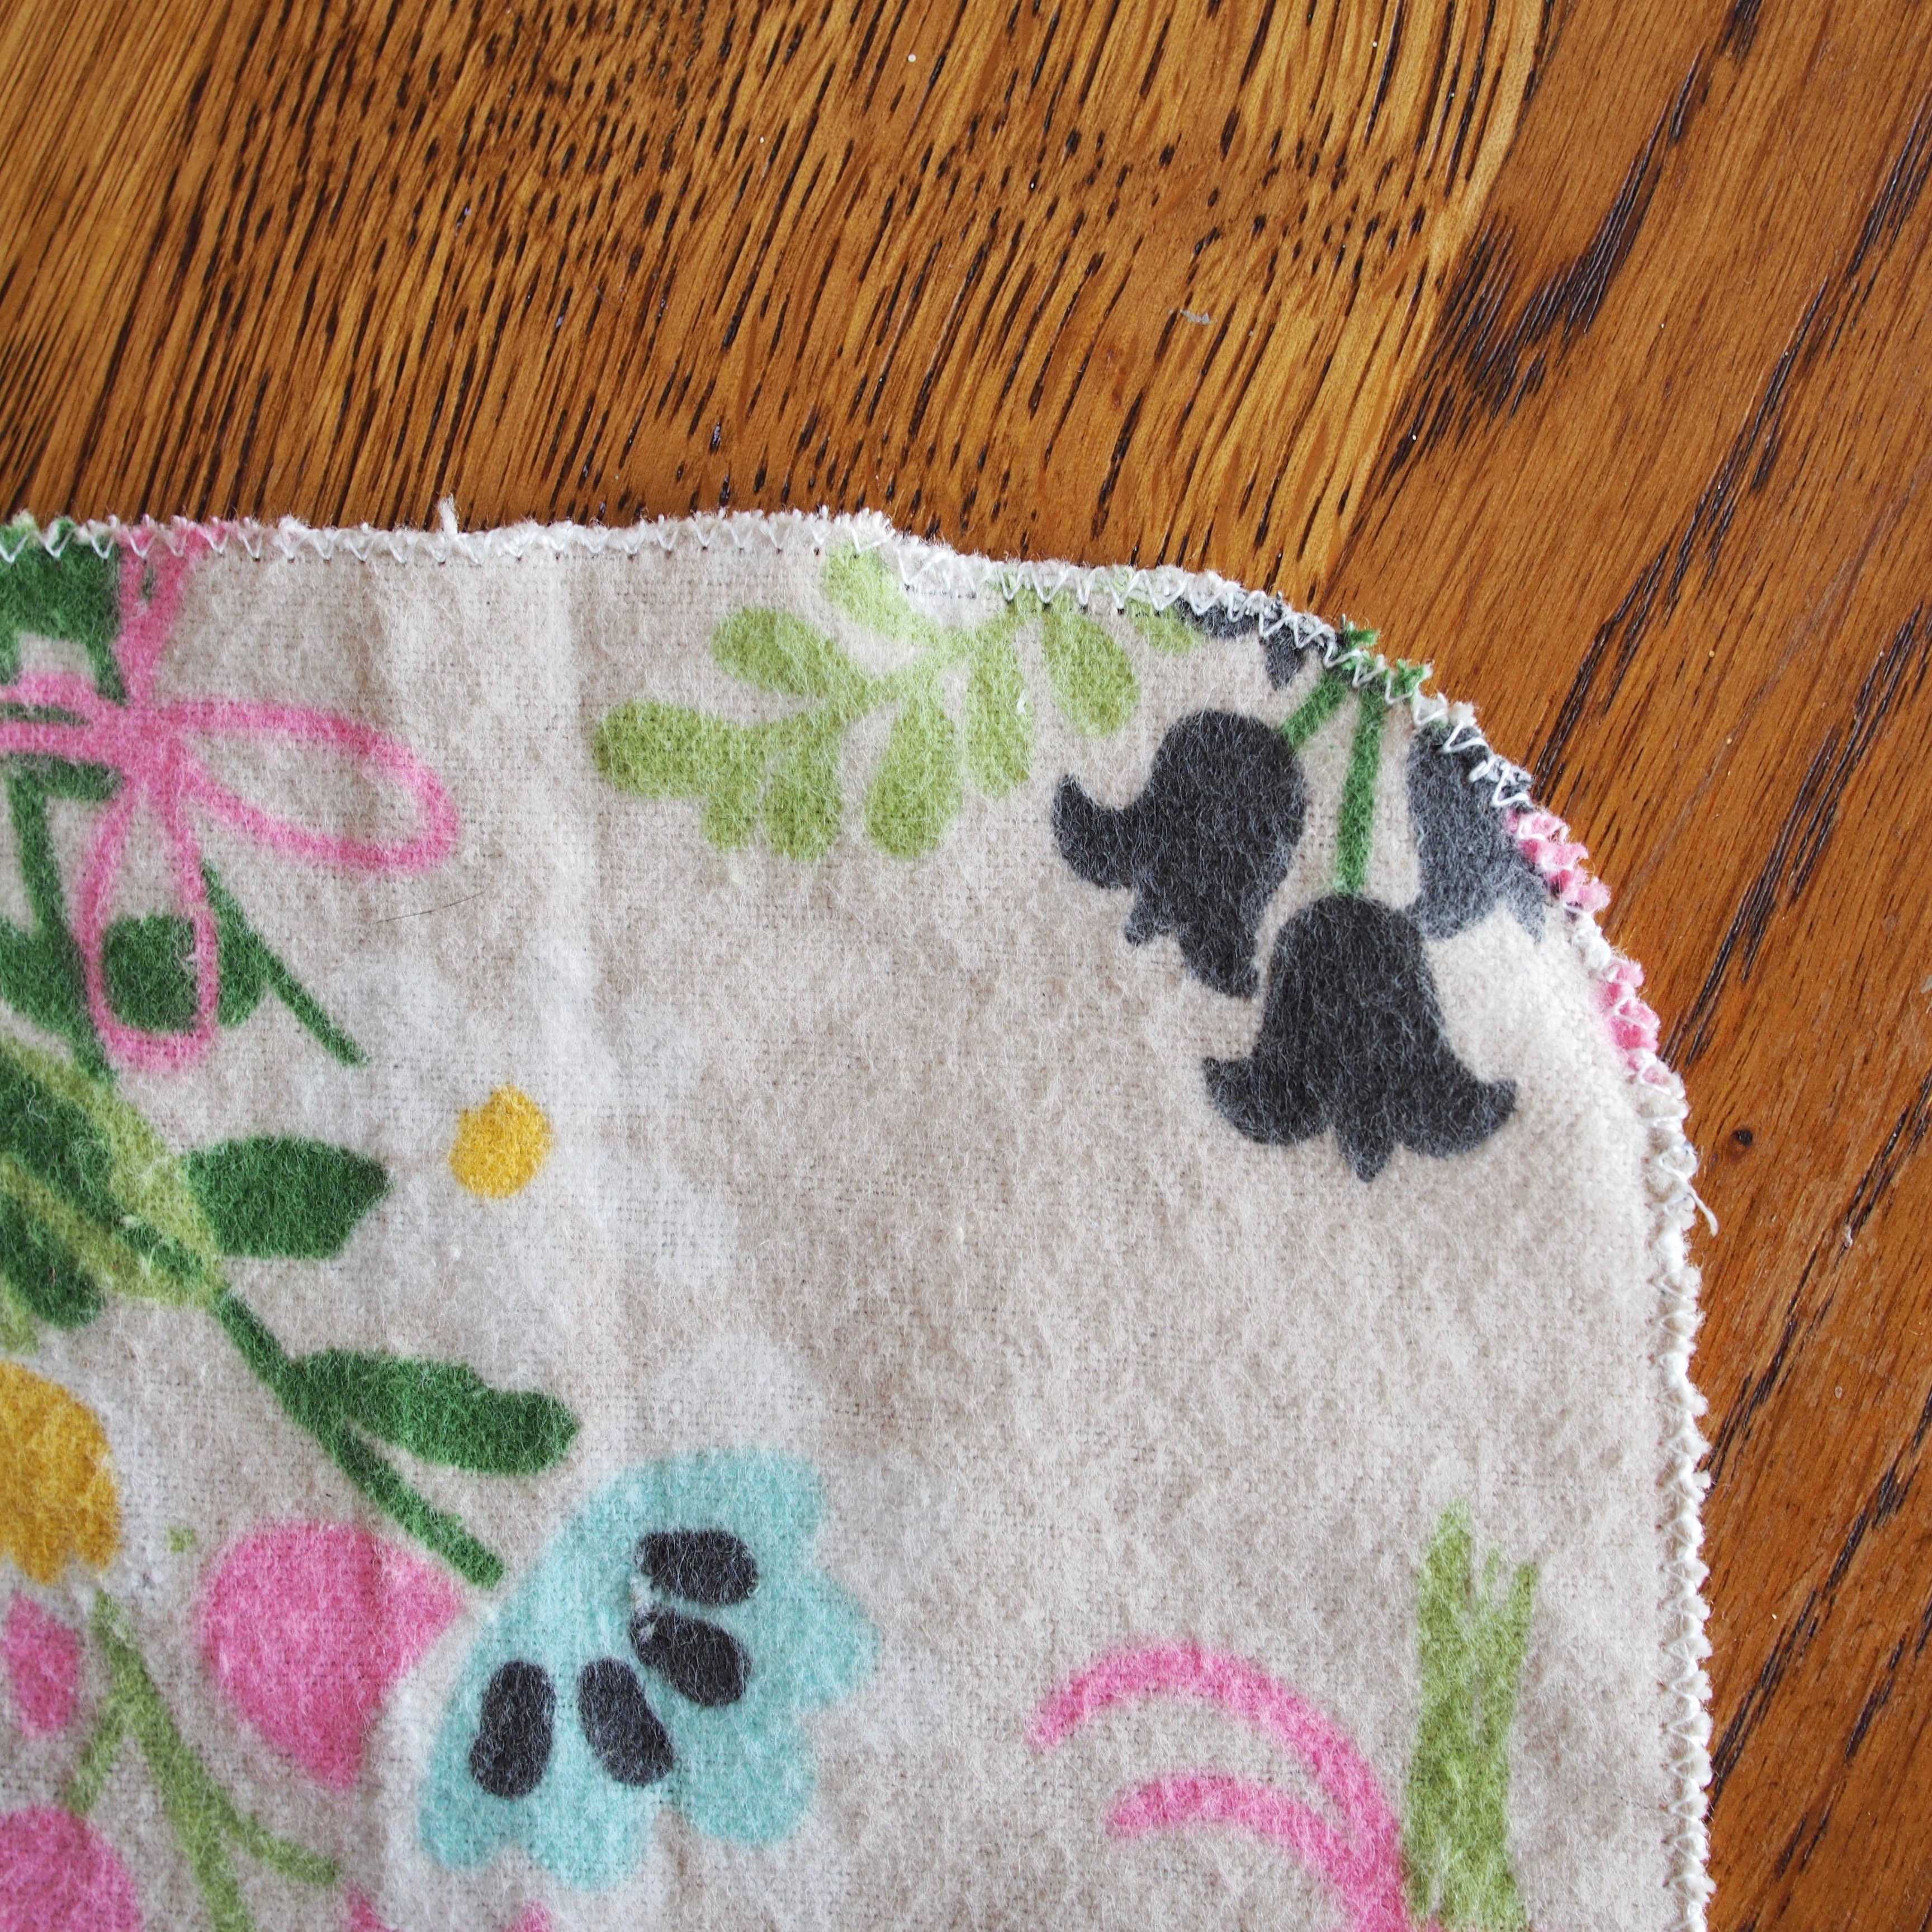
And there you have it. Zero waste. DIY. Pretty. Functional. Napkins.